How to Tile a Shower Floor Without a Pan in 3 Simple Steps
You might not realize that tiling a shower floor without a traditional pan requires more than just laying down tiles. Proper shower floor tiling without a pan involves creating the right slope and installing an effective waterproofing system to prevent leaks and ensure proper drainage.
If you skip these essential steps, you risk costly water damage. Let’s walk through how you can achieve a durable, waterproof shower floor in just three straightforward steps that professionals rely on.
By following these instructions, you can confidently tile your shower floor without a pan and enjoy a beautiful, functional bathroom upgrade.
Preparing the Shower Floor and Drainage
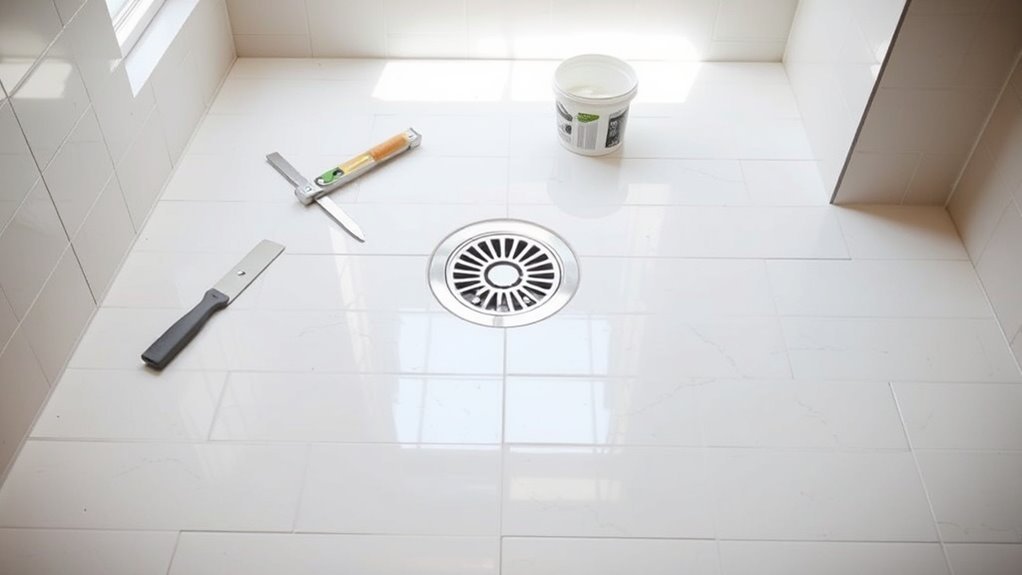
Before you begin tiling, position the drain at the lowest point of the slab to guarantee water flows properly. Proper drain positioning is vital during shower floor preparation for effective water drainage.
Position the drain at the slab’s lowest point to ensure proper water flow during shower floor preparation.
Recess the drain into the slab or use a slope float like Ardex AM100 to create a smooth sloped surface toward the drain without grinding the slab. Maintain a consistent sloping floor of about 1/4 inch per foot from the shower walls to the drain.
Once the slope is set, install a waterproof membrane over the entire shower floor without pan to prevent water infiltration and protect the subfloor.
Secure the drain connection tightly and test the slope with water before proceeding.
This assures your drain installation and waterproofing are effective and reliable.
Installing Tiles With Proper Slope and Waterproofing
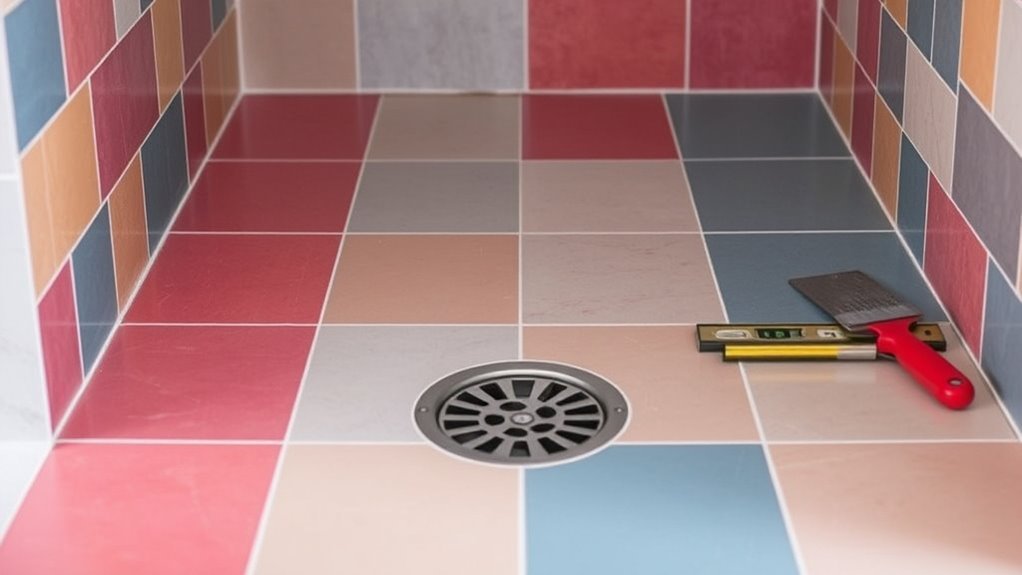
When you install tiles on your shower floor, maintaining the proper slope toward the drain is essential to prevent water pooling. Aim for a shower floor slope of about 1/4 inch per foot to ensure proper drainage.
Start by applying a self-leveling compound or using a floating tiling technique with Ardex AM100 to create a consistent slope and a drain recess slightly below floor level.
Next, install a waterproof membrane that extends up the walls, a critical waterproofing step to prevent water infiltration.
Finally, focus on tile installation with careful tile leveling to maintain the slope and ensure longevity.
Before proceeding, test drainage by pouring water to confirm efficient flow toward the drain. This method guarantees a durable, water-resistant shower floor.
Grouting, Sealing, and Final Inspection
Although the grout needs time to cure, you can prepare for sealing by cleaning off excess grout from the tiles within 15-20 minutes using a damp sponge.
After allowing the grout to cure for 48 to 72 hours, apply a high-quality grout sealer evenly over the grout lines with a brush or spray.
This step is vital for water resistance and prevents water penetration.
Once sealed, perform a final inspection to verify all grout lines are fully covered and free of cracks or gaps; repair any issues promptly.
To keep your shower floor in top shape, regularly clean and reseal grout lines every 1-2 years.
This routine maintains water resistance, prevents mold growth, and preserves the tile’s appearance for years to come.
Frequently Asked Questions
How to Tile a Shower With No Shower Pan?
You’ll create a sloped mortar bed toward the drain, apply a waterproof membrane over the subfloor and walls, then carefully tile, ensuring all seams and edges are sealed to prevent leaks without a traditional shower pan.
This method allows water to drain properly while protecting the underlying structure from moisture damage.
Proper slope and waterproofing are crucial steps to avoid water pooling and leakage.
What Is the 3/4/5 Rule for Tiling?
You’d think measuring a perfect corner is magic, but the 3/4/5 rule proves it’s just math.
Measure 3 units one way, 4 another, then check if the diagonal hits 5—that means you nailed a right angle.
What Can I Use Instead of a Shower Tray?
You can use a linear or point drain with a sloped, waterproofed floor instead of a shower tray.
Prefabricated liners, waterproof foam bases, or custom concrete slabs also work to create a seamless, panless shower base.
Do You Need a Shower Pan Under Tile?
You don’t always need a shower pan under tile if you use a waterproof membrane and guarantee the floor slopes properly to the drain.
Proper waterproofing and drainage are key to preventing leaks without a traditional pan.
Conclusion
Now that you know how to tile your shower floor without a pan, you’re set to create a sleek, water-safe space. Did you know that a proper 1/4 inch per foot slope prevents 99% of water pooling issues? By carefully prepping the drain, installing waterproofing, and sealing grout, you’ll keep your shower dry and durable for years.
Just follow these steps, and you’ll enjoy a beautiful, long-lasting floor that works as hard as you do. Proper shower floor tiling without a pan ensures excellent water drainage and prevents leaks. With the right technique, your tiled shower floor will be both functional and stylish, making your bathroom a standout feature.