How to Season a Stainless Steel Pan in 7 Easy Steps
You might have heard that stainless steel pans don’t need seasoning, but is that really true? While these pans are known for their durability and resistance to rust, seasoning can improve their performance by creating a more non-stick surface. Seasoning stainless steel cookware helps reduce food sticking and makes cleaning easier.
If you’re curious about how this process works and whether it’s worth your time, you’ll want to understand the steps that make seasoning effective and straightforward. Properly seasoning your stainless steel pan enhances its cooking capabilities and prolongs its lifespan.
Let’s explore how you can enhance your stainless steel cookware in just a few simple moves. With the right technique, your pan will deliver better cooking results every time you use it.
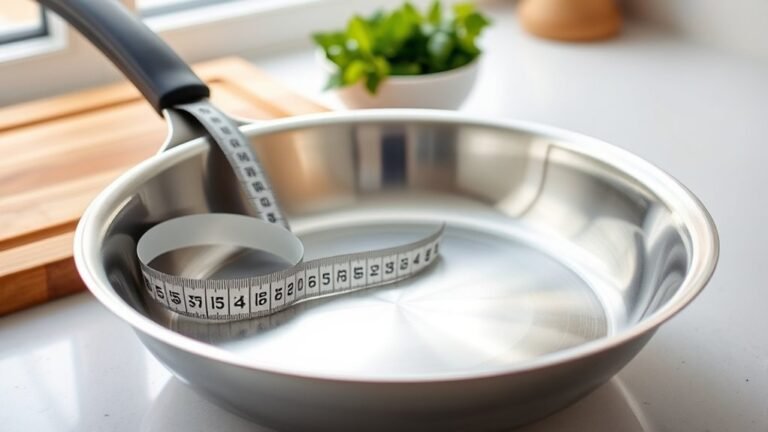
Gather Your Supplies and Prepare the Pan
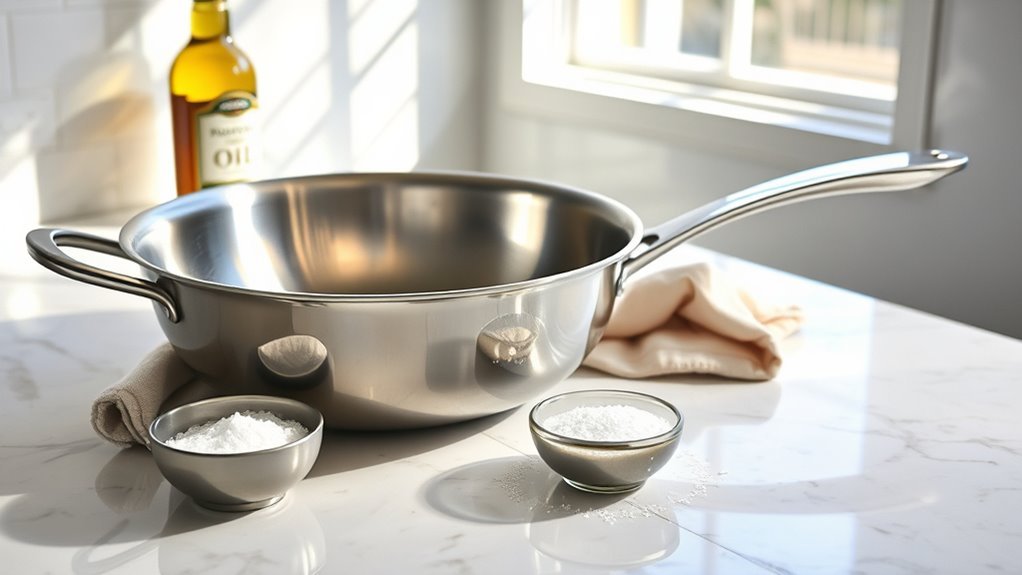
Before you begin seasoning your stainless steel pan, make sure you have all your supplies ready and the pan thoroughly cleaned.
Start by washing your stainless steel pan with warm water and gentle dish soap to remove residues like manufacturing oils or leftover food particles.
Begin by cleaning your stainless steel pan with warm water and mild soap to remove any residues.
After washing, dry the pan completely using a clean towel or allow it to air dry to ensure no moisture remains, as this can interfere with the seasoning process.
Next, prepare supplies such as high smoke point oils; grapeseed, avocado, or canola oil work best for an even coating.
Having everything ready to heat and at hand will help you move smoothly through the seasoning process without interruption.
Clean and Dry the Stainless Steel Pan
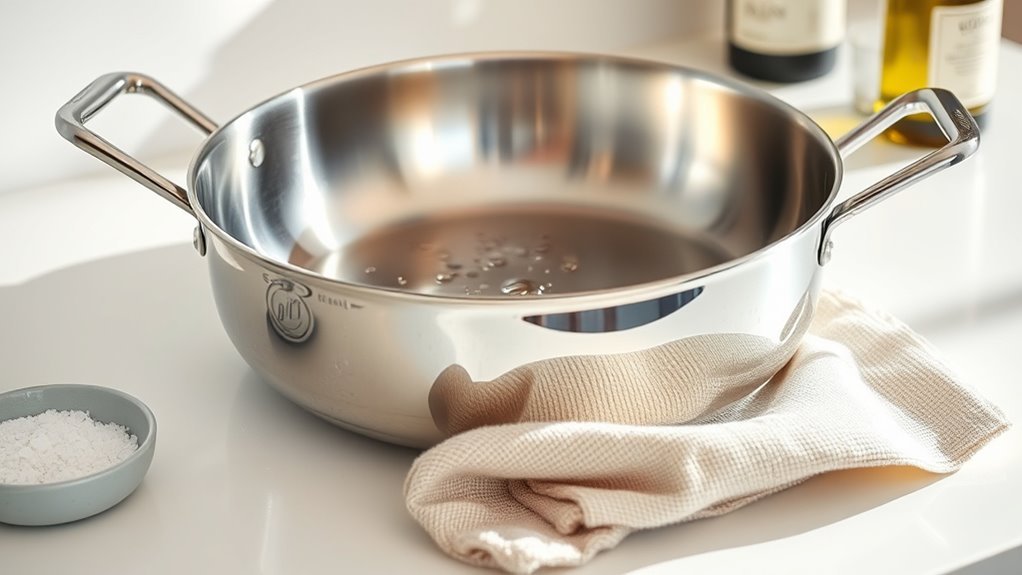
Although you might be enthusiastic to move on, you need to wash your stainless steel pan thoroughly with warm water and gentle dish soap to remove any manufacturing residues or oils.
Use a soft sponge or non-abrasive scrubber to clean the surface effectively without scratching it.
Avoid steel wool, as it can damage the pan’s finish.
Rinse the pan completely with warm water to remove all soap residues, ensuring a clean surface ready for seasoning.
After rinsing, dry the pan immediately using a clean, lint-free towel or paper towels to prevent water spots and rust from forming.
Make sure the pan is completely dry before you continue; this step is essential to achieve ideal bonding when you eventually apply oil for seasoning.
Preheat the Pan Over Medium Heat
When you preheat your stainless steel pan over medium heat for 2 to 3 minutes, you prepare the metal for seasoning by allowing it to expand and close its pores.
Proper preheating at medium heat guarantees metal expansion, which is essential for a strong seasoning bond.
Avoiding high heat during this initial heating prevents warping or damage.
To test the pan temperature, sprinkle a few water droplets onto the surface. If they sizzle and form beads that dance across the pan, you’ve reached the ideal heat.
This step confirms proper preheating, setting the stage for effective seasoning.
Waiting for the right pan temperature before moving forward optimizes how the oil will bond, ensuring your stainless steel pan develops a durable, nonstick layer.
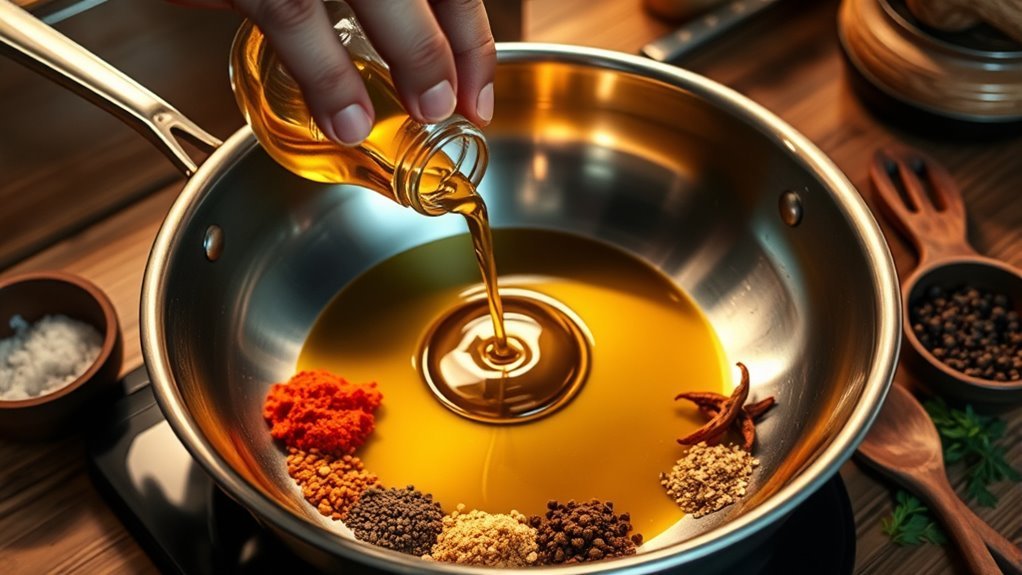
Apply a Thin Layer of High Smoke Point Oil
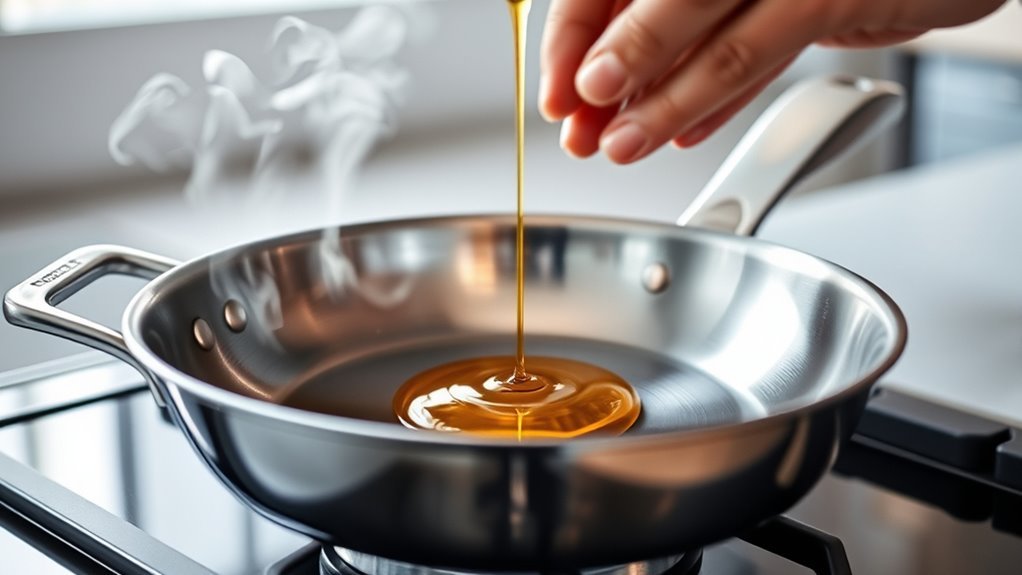
Since the pan is properly preheated, you can now add a small amount of high smoke point oil, like grapeseed or avocado oil, to create a thin, even layer that will form the base of your seasoning. Pour a small amount, about a teaspoon, into the warm pan.
Using a folded paper towel, spread evenly to cover the entire cooking surface with a thin layer of oil film.
Choosing smoke point oils ensures the seasoning stainless steel process withstands heat without burning. This thin layer not only protects the pan but also helps build a durable, non-stick surface over time.
Applying the oil carefully is essential for proper care, so avoid pooling or thick spots.
Next, you’ll heat the pan until the oil shimmers and smoke appears, signaling the seasoning is setting effectively.
Heat the Oiled Pan Until the Oil Smokes
Once you add the oil, heat the pan over medium-high heat until the oil starts to shimmer and just begins to smoke. This shimmering oil signals that the pan temperature is reaching the smoke point of your high-quality oil, typically between 420°F and 520°F.
When the oil smokes lightly, it indicates the pan has reached the necessary high heat for polymerization, a key step in the seasoning process.
At this temperature, thermal bonding occurs, forming a durable, non-stick layer on the stainless steel surface.
Using a thermometer can help guarantee the pan’s surface is around 400°F to 450°F, ideal for effective seasoning.
Heating until the oil smokes ensures a strong polymerized coating that enhances your pan’s performance.
Let the Pan Cool and Wipe Away Excess Oil
Although the pan has just reached the ideal temperature for seasoning, you’ll want to turn off the heat and let it cool completely before touching it. This pan cooling process is essential for proper cooling and allows oil polymerization to set the seasoning layer firmly.
As the pan cools down, the seasoning layer forms a smooth surface that enhances the non-stick effect.
Once cooled, use a paper towel or soft cloth to carefully wipe excess oil off the pan. This residual oil removal prevents sticky buildup and maintains the seasoning’s effectiveness.
Proper seasoning maintenance depends on wiping away excess oil while preserving a thin, even layer. Following this step ensures your stainless steel pan develops a durable, non-stick coating over time.
Repeat the Seasoning Process for Best Results
After letting your pan cool and wiping away the excess oil, you’ll want to apply another thin layer of oil with a high smoke point and heat it until it just starts to smoke.
Repeat the seasoning process by heating and wiping multiple times, ideally 3-5 seasoning cycles, to build up layers that enhance the nonstick surface.
This consistent seasoning helps maintain the nonstick surface, especially after cleaning or deep scrubbing.
By repeating heating and wiping, you improve durability and ensure the pan develops a stronger, more effective coating over time.
Don’t rush; allow the pan to cool completely between cycles to avoid sticky residue.
Regularly repeating the seasoning process keeps your stainless steel pan performing at its best, with a slick, resilient finish that lasts through frequent use.
Frequently Asked Questions
How to Properly Season a Stainless Steel Pan?
You clean the pan well, heat it until hot, then apply a thin layer of high smoke point oil.
Heat until it smokes, cool completely, and wipe off excess oil.
This forms a durable nonstick surface.
What Oil to Season a Stainless Steel Pan?
You’d pick avocado or grapeseed oil, not olive or coconut—those are like using dial-up in a fiber-optic world.
Use oils with high smoke points to season your stainless steel pan for a strong, lasting non-stick surface.
What Is the Trick to Stainless Steel Pans?
The trick’s preheating your pan until water beads and skims, then applying a thin oil layer heated just to smoking.
That bonds a slick, temporary nonstick surface, making cooking smoother and cleaning easier for you.
What Do You Do Before First Use of Stainless Steel Pans?
Before first use, you should wash your stainless steel pan thoroughly with warm water and mild soap, dry it completely, and preheat it on medium heat.
This preps the surface for better cooking and seasoning.
Conclusion
Now that you’ve seasoned your stainless steel pan, you’ve crafted a sleek shield against sticking and stubborn bits. Like a gentle dance between heat and oil, this ritual transforms your pan into a smooth, non-stick surface ready to handle any culinary adventure.
Keep repeating the cycle, and your pan will reward you with effortless cooking and easy cleanup—a trusty kitchen companion that only gets better with each use. By consistently seasoning your stainless steel pan, you enhance its natural non-stick properties and extend its lifespan.
Enjoy the magic you’ve created and experience the joy of cooking with a perfectly seasoned stainless steel pan every time!