How to Make Gravy From Pan Drippings in 7 Easy Steps
You might not realize that the secret to rich, flavorful gravy lies in properly handling those pan drippings after roasting. Pan drippings are the key ingredient for making delicious homemade gravy that enhances any meal. Many people overlook the importance of skimming fat and making a roux before adding broth, which can make all the difference in texture and taste.
If you want to transform simple drippings into a smooth, glossy gravy that complements any meal, there’s a straightforward process you’ll want to follow. Paying attention to these steps will help you create the perfect gravy every time.
Gather Essential Ingredients
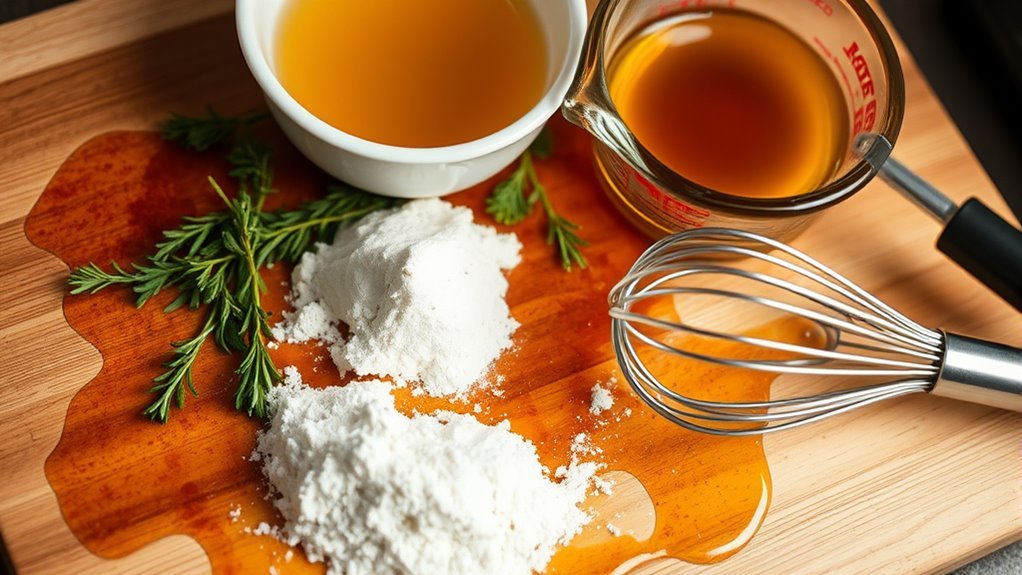
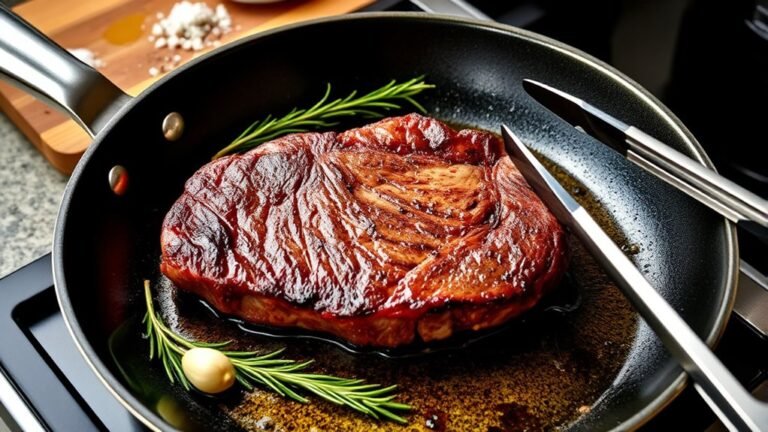
Before you start making gravy, gather the essential ingredients: the flavorful browned bits left in the pan after roasting, about 2 tablespoons of fat (or melted butter if there’s not enough), flour, and a warm liquid like broth or water. These pan drippings form the base of your gravy, providing rich flavor.
Start your gravy with pan drippings, fat or butter, flour, and warm broth for rich, savory flavor.
You’ll use the fat to make a roux by mixing it with flour, which thickens the gravy. Prepare your stock or broth at a warm temperature to add gradually, ensuring a smooth consistency.
Don’t forget to have seasonings like salt and pepper ready to enhance the taste.
With these essentials on hand, you’re set to create a delicious gravy that captures every bit of flavor from your roast.
Prepare the Pan Drippings
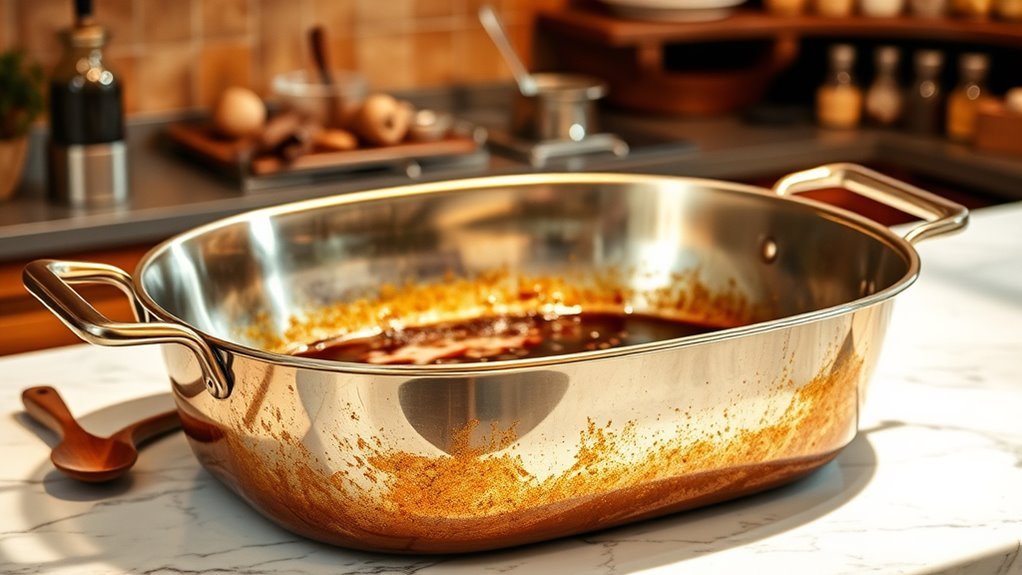
While you’re still working in the kitchen, strain the pan drippings through a fine-mesh sieve into a bowl to remove any browned bits and solids. This step guarantees your gravy will be smooth and free of unwanted chunks.
Next, follow these steps:
- Use warm water or broth to loosen caramelized bits stuck to the pan, then pour that liquid through the sieve as well.
- Let the fat naturally separate from the liquid, rising to the top.
- Skim about 2 tablespoons of fat off for your gravy base.
- Measure the fat to confirm you have enough, discarding or saving the remaining solids and liquid for other uses.
This careful solid removal and fat separation prepares your drippings perfectly for the next step.
Measure and Heat the Fat
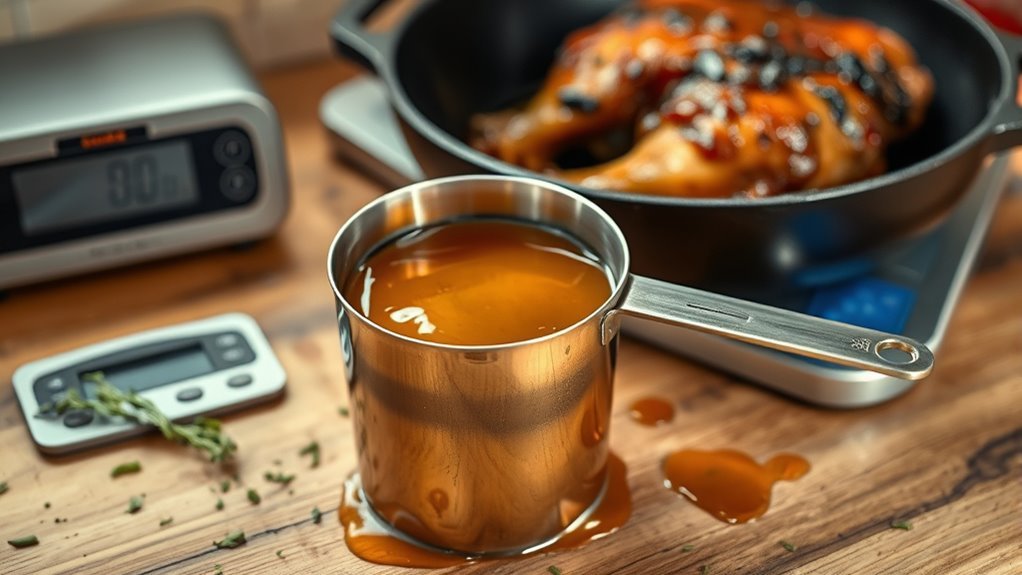
Once the fat has separated from the pan drippings, skim about 3 tablespoons using a spoon or gravy baster, being careful to leave behind the browned bits.
After measuring the fat, transfer it into a clean skillet to cook.
Place the skillet over medium heat and gently heat the fat until it shimmers but doesn’t smoke. This shimmer signals that the fat is hot enough to start making the roux.
You can confirm this by swirling the skillet and watching for a slight rippling on the fat’s surface.
Heating the fat properly is essential because it assures the flour you add next will cook evenly, preventing lumps and giving your gravy a smooth, rich texture.
Make the Roux With Flour
To thicken your gravy, you’ll combine equal parts of the hot fat you’ve skimmed with an equal amount of flour in a skillet. This creates the base for your easy gravy, a roux that’s essential for smooth thickening.
- Add flour to the hot pan drippings, stirring constantly.
- Whisk the mixture to fully incorporate the flour into the fat, forming a smooth, paste-like roux.
- Cook over medium heat, whisking continuously until the roux turns a light golden brown, about 1-2 minutes.
- Avoid overcooking to prevent a burnt taste.
Once your roux is golden brown and smooth, it’s ready to thicken your hot stock, ensuring a lump-free, flavorful gravy.
Gradually Add Stock While Whisking
As you slowly pour the stock into the roux, whisk constantly to prevent lumps from forming and guarantee a smooth texture. Add about ½ cup at a time, whisking continuously to incorporate the flour gradually.
This steady whisking helps achieve a smooth, lump-free gravy and prevents a raw flour taste. Controlling the amount of stock added lets you manage the gravy’s consistency effectively.
| Step | Action | Purpose |
|---|---|---|
| 1 | Pour stock gradually | Prevent lumps |
| 2 | Whisk continuously | Incorporate flour evenly |
| 3 | Observe consistency | Adjust gradual additions |
| 4 | Finish adding stock | Achieve smooth gravy texture |
Simmer and Thicken the Gravy
After gradually adding the stock and whisking to a smooth consistency, bring your gravy to a gentle simmer over medium-low heat. This step activates the thickening process.
To thicken your gravy perfectly, follow these steps:
- Keep whisking constantly to prevent lumps and maintain a smooth texture.
- Let the gravy cook for 5 to 8 minutes or until it bubbles steadily and reaches the desired consistency.
- Adjust heat as needed to maintain a gentle simmer without splattering.
- Once thickened, turn off the heat. Your gravy should have a glossy appearance and a silky feel.
Pay close attention during cook time to ensure the gravy doesn’t over-thicken or burn.
Season and Serve the Gravy
How do you guarantee your gravy bursts with flavor before serving? First, strain the gravy made from pan drippings through a fine-mesh sieve to achieve a smooth texture, removing any solids.
Then, taste and adjust seasonings by adding salt, pepper, or a splash of lemon juice to brighten the flavor. Keep the gravy hot by warming it gently if it cools down.
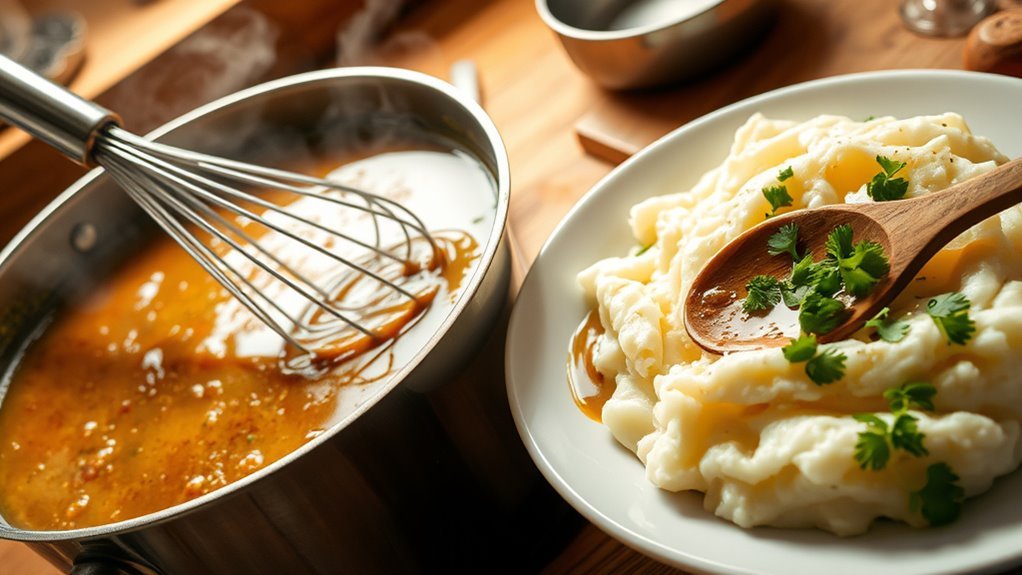
When ready, serve the gravy hot over roasted meats, mashed potatoes, or biscuits for maximum enjoyment.
If you have leftovers, store them in an airtight container in the refrigerator for up to one week.
Frequently Asked Questions
How to Make Gravy From Pan Juice?
You deglaze the pan with stock, strain the juice, then whisk reserved fat with flour to make a roux.
Gradually add the juice, stirring constantly, until the gravy thickens and becomes smooth and flavorful.
How to Make Gravy With Easy Steps?
You’ll whisk, you’ll simmer, you’ll stir—simple steps to savory success. Start with fat and flour, add warm broth slowly, simmer till thick, then finish with butter, salt, and pepper for a luscious, smooth gravy.
How to Turn Pan Drippings Into a Sauce?
You’ll want to deglaze the pan with stock, strain the drippings, then whisk equal parts fat and flour to make a roux.
Slowly add the drippings while whisking until the sauce thickens smoothly.
What Is the 3 2 1 Rule for Gravy?
Think of the 3-2-1 rule as your gravy’s secret recipe: you’ll use 3 parts fat, 2 parts flour, and 1 part liquid.
This perfect trio guarantees a smooth, rich sauce that’ll dance on your taste buds.
Conclusion
Now that you know how to turn pan drippings into delicious gravy, you’re ready to elevate any meal. Did you know that 85% of home cooks say gravy is the key to making leftovers taste fresh again? By mastering this simple technique, you’ll add rich flavor and a comforting touch to your dishes every time.
So, don’t waste those drippings—transform them into a glossy, savory sauce that everyone will love! Making gravy from pan drippings is an easy way to enhance your cooking and impress your family and guests. Use this method to create homemade gravy that’s full of flavor and perfect for any occasion.