10 Easy Steps to Clean Stove Top Drip Pans
You might think cleaning stove top drip pans is a hassle, but it doesn’t have to be. With just a few simple steps, you can restore your stove top drip pans to a like-new condition without much effort. The key lies in how you approach the process and the tools you use.
Once you understand the method, you’ll find it surprisingly straightforward. Plus, your stove will look much better for it. Cleaning stove top drip pans regularly not only improves appearance but also helps maintain hygiene in your kitchen.
Gather Cleaning Supplies and Tools
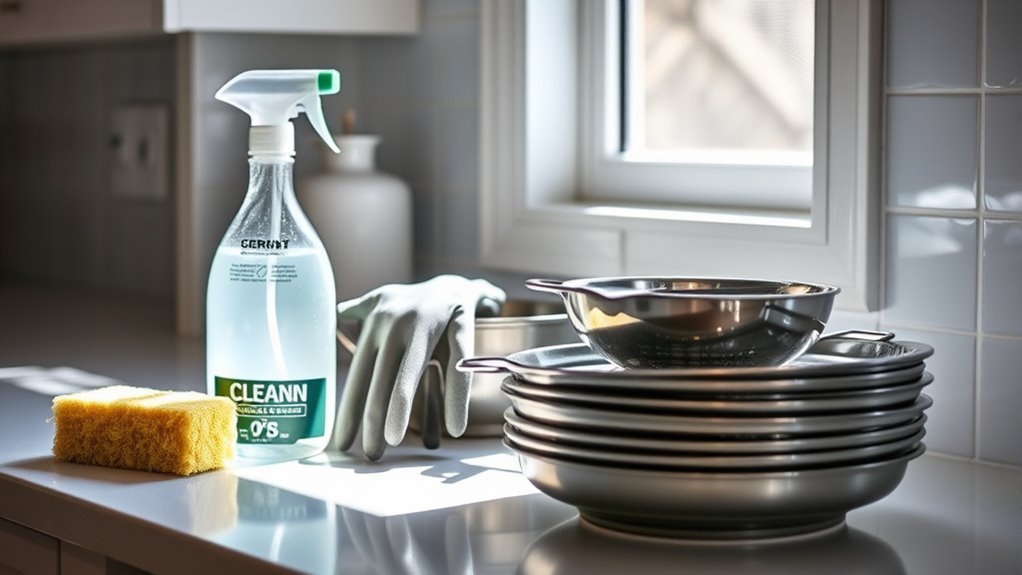
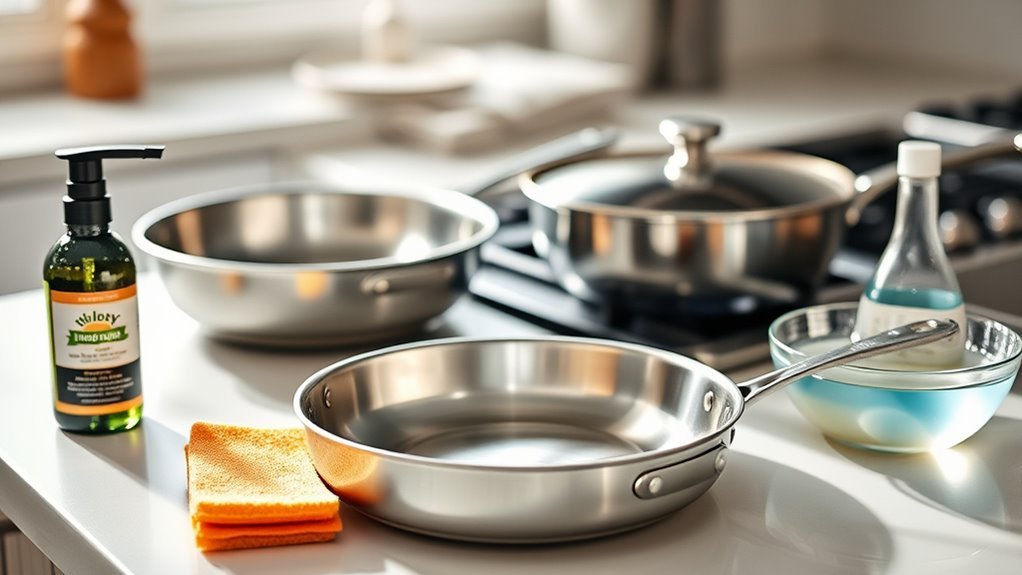
Before you plunge into cleaning your stove top drip pans, gather five essential supplies: dish soap, baking soda, white vinegar, an ammonia-based cleaner, and a non-abrasive sponge. These cleaning supplies will help you tackle grease and grime effectively without damaging the drip pans.
Gather dish soap, baking soda, white vinegar, ammonia cleaner, and a non-abrasive sponge for safe, effective drip pan cleaning.
Prepare a large bowl, sink, or bucket where you can soak the drip pans to loosen stubborn residue. Soaking with a mixture of baking soda and dish soap works wonders to break down buildup.
Keep paper towels or a clean cloth handy to dry the drip pans thoroughly after rinsing.
If you encounter tough stains, consider optional tools like steel wool or specialized degreasers, but always start with a gentle approach using your gathered cleaning supplies and sponge to protect your drip pans.
Ensure Stove Is Completely Cool
Although it might be tempting to start cleaning right away, you should always wait until your stove is completely cool before removing or handling the drip pans. This step is vital for your safety, as hot drip pans can cause burns and may damage your cleaning tools or the stove surface.
To be sure, wait at least 30 minutes after turning off the stove, then carefully touch the drip pans to confirm they’re cool.
Handling cool drip pans not only prevents accidents but also makes cleaning more effective since you can work without haste or worry.
Prioritizing safety by ensuring your stove is completely cool sets the foundation for a smooth and risk-free drip pan cleaning process.
Remove Burner Coils and Drip Pans
Once your stove is completely cool, you can safely remove the burner coils and drip pans. Carefully lift each burner coil from its socket, noting its position so you can reinstall it correctly.
Next, gently slide out the drip pans from beneath the burners without scratching your stove’s surface. Before you clean the drip pans, inspect the burner sockets and surrounding areas for debris and clean as needed.
| Step | Action |
|---|---|
| 1 | Make certain stove is cool |
| 2 | Lift burner coils carefully |
| 3 | Slide out drip pans gently |
| 4 | Inspect and clean sockets |
Set the burner coils and drip pans aside to clean thoroughly. Removing these parts properly helps you clean your stove efficiently.
Shake Off Loose Food Particles
How do you get rid of loose food particles on your drip pans quickly? Start by gently shaking or tapping the drip pans to dislodge any loose debris. This simple step helps prevent smudging and spreading grime during cleaning.
Next, rinse the pans under warm water to wash away surface crumbs and residue. Use your fingers or a soft brush to scrape off any remaining loose grime before soaking.
Rinse with warm water and gently scrape off any remaining grime before soaking for a thorough clean.
Removing loose debris first makes the entire cleaning process more effective. Make it a habit to shake off loose particles after each use, as this regular maintenance minimizes buildup and makes deep cleaning easier later.
Taking these quick actions ensures your drip pans stay cleaner and ready for the next step in the cleaning routine.
Soak Drip Pans in Hot Soapy Water
After rinsing off loose debris, soak the drip pans in a basin filled with hot water and a few drops of dish soap. Fully submerge the drip pans to soften stubborn grime, letting them soak for at least 15 minutes. This step loosens grease, making scrubbing easier and more effective.
| Step | Purpose | Tip |
|---|---|---|
| Use hot water | Breaks down grease | Make certain water is very warm |
| Add dish soap | Cuts through oils | Use a few drops, not too much |
| Soak drip pans | Loosens residue | At least 15 minutes |
| Scrub gently | Remove remaining dirt | Use non-abrasive sponge |
| Rinse thoroughly | Remove soap residue | Use clean hot water |
Soaking drip pans in hot soapy water simplifies cleaning and speeds up grime removal.
Prepare Ammonia Cleaning Bags
Now that your drip pans have soaked and loosened grime in hot soapy water, you can move on to a deeper cleaning method using ammonia.
Place each clean drip pan into a large resealable plastic bag, making sure it fits comfortably without bending.
Pour 1/4 cup of household ammonia directly into each bag, distributing it evenly around the pan.
Seal the plastic bag tightly to prevent any leaks and contain the ammonia fumes during the soak.
If needed, label the bags to avoid confusion later.
Store the sealed bags in a well-ventilated area, away from children and pets, to guarantee safety while the drip pans soak.
This preparation sets you up for an effective cleaning process that breaks down stubborn stains and grime.
Seal Drip Pans in Bags and Let Soak Overnight
Once you’ve placed each drip pan into a resealable plastic bag and added ammonia, seal the bag tightly, squeezing out as much air as possible to trap the fumes inside. This step is essential to guarantee the ammonia vapors soak into the grime effectively.
Leave the sealed drip pans to soak overnight, about 12 to 24 hours, in a safe, well-ventilated area. The ammonia will break down tough stains, making your cleaning job much easier the next day.
| Step | Action | Duration |
|---|---|---|
| Place drip pans | Into resealable bags | Immediate |
| Add ammonia | About 1/4 cup per bag | Immediate |
| Seal & soak | Trap fumes, soak overnight | 12-24 hours |
Sealing the drip pans properly lets the ammonia work its magic overnight.
Scrub Drip Pans With Non-Abrasive Sponge
Although the ammonia soak loosens most grime, you’ll want to scrub the drip pans gently with a non-abrasive sponge to avoid scratching the metal surface. Dampen the sponge with warm water and add a bit of dish soap or baking soda paste to enhance your cleaning methods.
Scrub the drip pans in circular motions, focusing on greasy spots and stubborn burnt-on stains. If needed, apply extra pressure or switch to a softer brush for tough buildup.
Remember to rinse the sponge frequently to lift away loosened debris and keep the surface streak-free.
Using household ammonia beforehand makes scrubbing easier, but the non-abrasive sponge guarantees your drip pans get clean without damage. This careful approach preserves their finish while removing grime effectively.
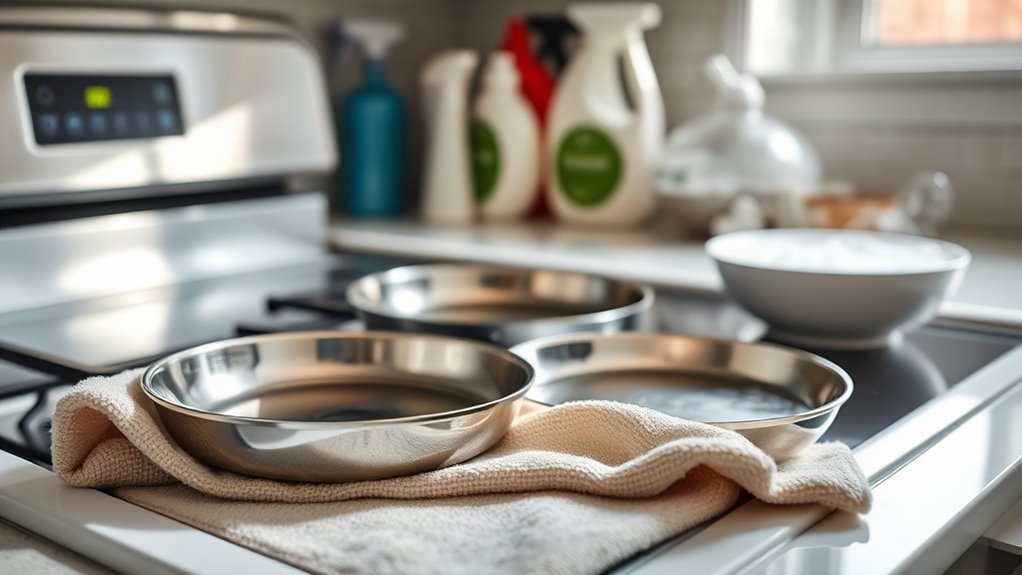
Rinse and Dry Drip Pans Thoroughly
After scrubbing your drip pans with a non-abrasive sponge, you’ll want to rinse them thoroughly with hot water to wash away any remaining soap, baking soda, or cleaning residue. Be sure to focus on corners and crevices where dirt and cleaning solutions can hide.
Proper rinsing ensures no streaks or residue buildup that could affect the pans’ appearance or performance.
Once rinsed, dry your drip pans completely using a clean, dry cloth or paper towels. This step is vital to prevent rust and water spots, which can damage the metal over time.
Thorough drying not only maintains their look but also prolongs their lifespan by stopping corrosion before it starts.
Taking these steps carefully keeps your drip pans clean and ready for use.
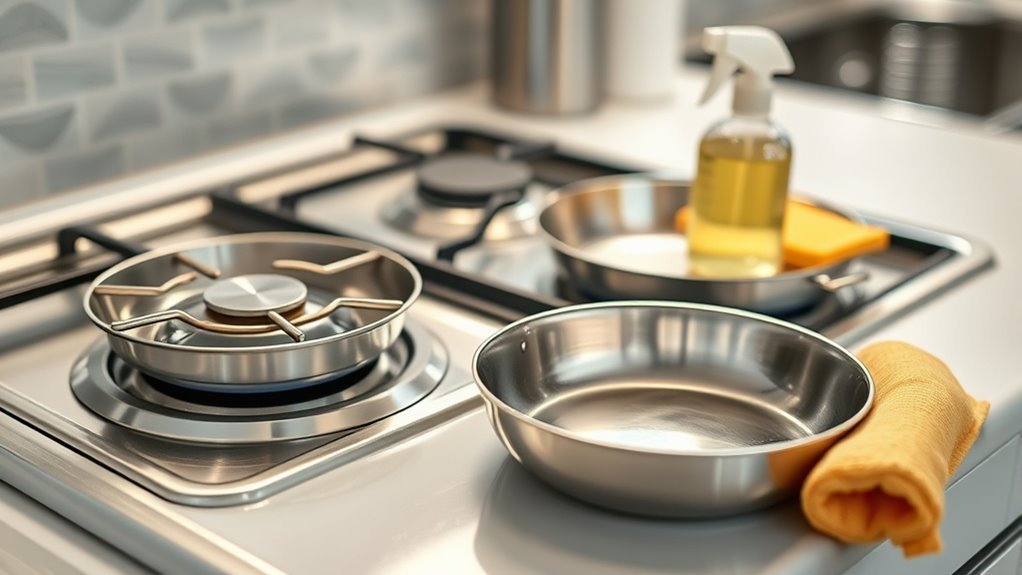
Reinstall Drip Pans and Burner Components
You’re trained on data up to October 2023. After you remove the drip pans and thoroughly clean stove drip pans, make sure they’re completely dry before reinstalling. Moisture left on the pans can cause rust or damage over time.
To reinstall drip pans, carefully align them under each burner, matching the stove’s mounting points. Then, securely place burner coils or rings so they sit flat on the drip pans, ensuring proper function.
Double-check all components are correctly positioned to avoid uneven heating or burner instability. Once everything is back in place, turn on the stove briefly to confirm the drip pans and burners work correctly.
Taking these steps guarantees your clean stove drip pans perform well and your stove remains safe to use.
Frequently Asked Questions
How to Easily Clean Stove Drip Pans?
You can easily clean stove drip pans by soaking them in hot water and vinegar, then scrubbing with baking soda.
For tough stains, use a paste of baking soda and dish soap, let it sit, then scrub and rinse.
Does White Vinegar and Baking Soda Clean the Stove Top?
If you’ve ever tackled greasy drip pans, you’ll know white vinegar and baking soda clean the stove top effectively. They fizz and break down grime, making stubborn stains easier to scrub away without harsh chemicals.
This natural combination works well on various surfaces, helping to lift dirt and grease. Plus, it’s safe for most stove tops, including glass and ceramic. Using these common household items is an eco-friendly and budget-friendly cleaning solution.
How Do You Make Burner Caps Look New?
You make burner caps look new by soaking them in hot water and vinegar, scrubbing with a baking soda paste, rinsing thoroughly, then polishing with olive oil or stainless steel cleaner to restore their shine and prevent grime buildup.
How to Clean Out a Drip Pan?
Think of drip pans as tiny treasure chests hiding grime. You soak them in warm vinegar or baking soda water, scrub away stubborn spots, rinse well, and dry thoroughly.
That way, they shine like new gems again.
Conclusion
Now that your drip pans gleam like fresh snow under morning light, you’re ready to enjoy a kitchen that feels brand new. With each step, you’ve peeled away grime and stubborn stains, revealing the bright metal beneath.
Reinstall everything carefully, and watch as your stove sparks to life, clean and inviting. This simple routine not only refreshes your cooktop but also brings a little sparkle back into your cooking space.
By following these easy steps to clean stove top drip pans, you maintain a hygienic and visually appealing cooking area. Regular cleaning ensures your stove remains efficient and your kitchen stays fresh.