How to Clean Drip Pans on an Electric Range in 10 Easy Steps
If you’ve noticed stubborn stains or burnt-on food on your electric range’s drip pans, it’s time to tackle their cleaning properly. Cleaning drip pans on an electric range might seem like a hassle, but with the right approach, it’s straightforward and effective. Taking a few careful steps can restore their shine and keep your stove working safely.
Before you start, there are important preparations you’ll want to make that set the stage for an easier cleanup. Following these tips will help you clean drip pans on an electric range efficiently and bring back their original look.
Turn Off and Cool Down the Stove
Before you begin cleaning, make sure you turn off all burners and unplug the stove to avoid any electrical hazards. Safety comes first when dealing with your electric range.
Once everything’s off and unplugged, allow the stove and drip pans to cool down completely. This step is essential to prevent burns or any injuries.
Allow your stove and drip pans to cool fully to avoid burns before cleaning.
You should wait at least 30 minutes or until the stovetop surface feels cool to the touch before handling any components. Never try to remove drip pans or touch burners while they’re still hot, as this can cause serious harm or damage.
Taking these precautions ensures you can clean your drip pans safely and effectively without risking electrical problems or burns.
Remove Burner Coils and Grates
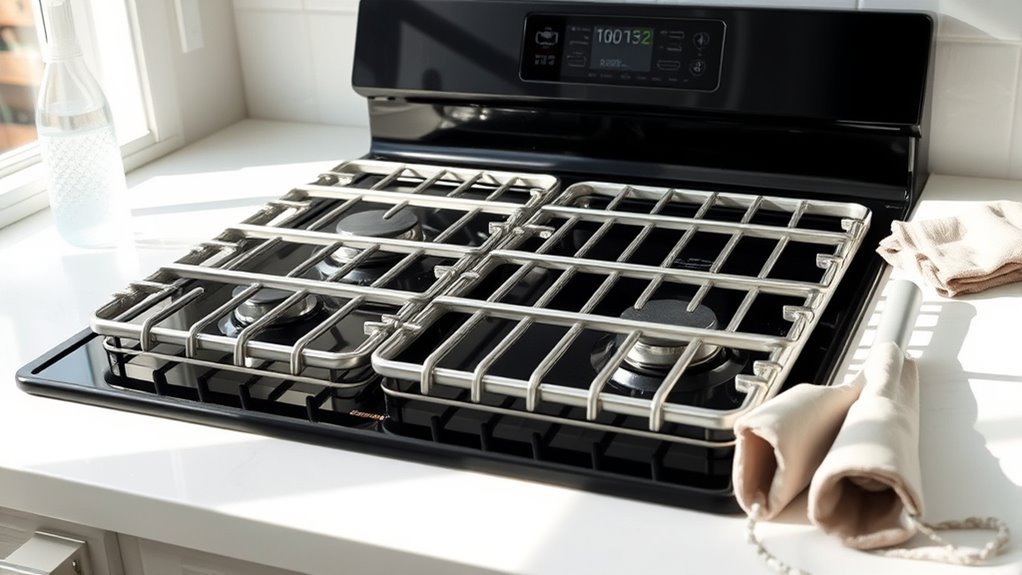
Since safety is essential, you’ll want to turn off and unplug the electric range before removing the burner coils and grates.
Start by carefully lifting each burner coil from its receptacle, making sure to note their placement for easy reassembly.
Next, remove the grates by lifting them straight up without scratching or damaging the surface.
Once disassembled, inspect both the burner coils and grates for any signs of damage or corrosion.
If you spot any issues, consider replacing the affected parts to maintain ideal performance and safety.
Set aside the coils and grates in a safe area so they won’t get lost or damaged while you proceed with cleaning.
Taking these steps ensures you handle the components properly and keep your range in good condition.
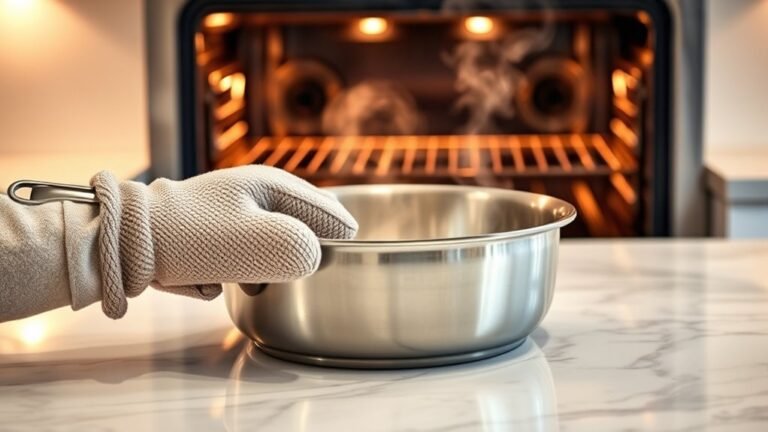
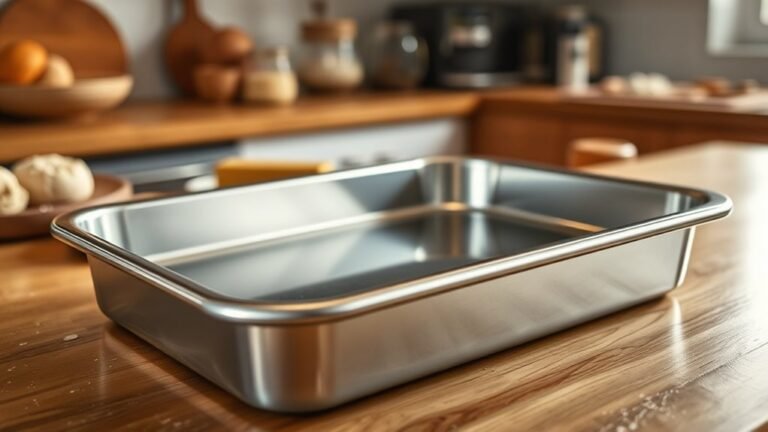
Lift Out the Drip Pans
Although you’ve already removed the burner coils and grates, make certain your stove is completely turned off and cooled before you carefully lift out the drip pans by their edges to avoid bending or scratching them.
On your electric range, these drip pans sit beneath the burners on the stovetop and can accumulate food debris over time. To remove them safely, grasp each drip pan’s edges gently and lift straight up, preventing any damage.
Before lifting out the pans, check for stuck-on residue around their edges to avoid spreading mess. Once removed, place the drip pans on a protected surface like a countertop or newspaper, preparing them for thorough cleaning.
This careful removal process ensures you can clean the drip pans effectively without harming your electric range.
Rinse Off Loose Debris
How do you effectively remove loose debris from your drip pans? Start by removing the pans from your electric range and rinsing them under warm running water. This helps wash away loose food particles and grease easily.
Use a soft brush or a non-abrasive scrub pad to gently dislodge any stubborn debris stuck to the surface. Make sure you rinse thoroughly to drain away all loosened debris, leaving the pans clean and ready for the next step.
Gently scrub with a soft brush or non-abrasive pad, then rinse thoroughly to remove loosened debris.
Rinse each drip pan under warm water to remove crumbs and grease.
Use a soft brush to scrub away stuck-on debris without scratching.
Check for any leftover crumbs and rinse again if needed for a spotless clean.
Pat the pans dry to prevent water spots before continuing.
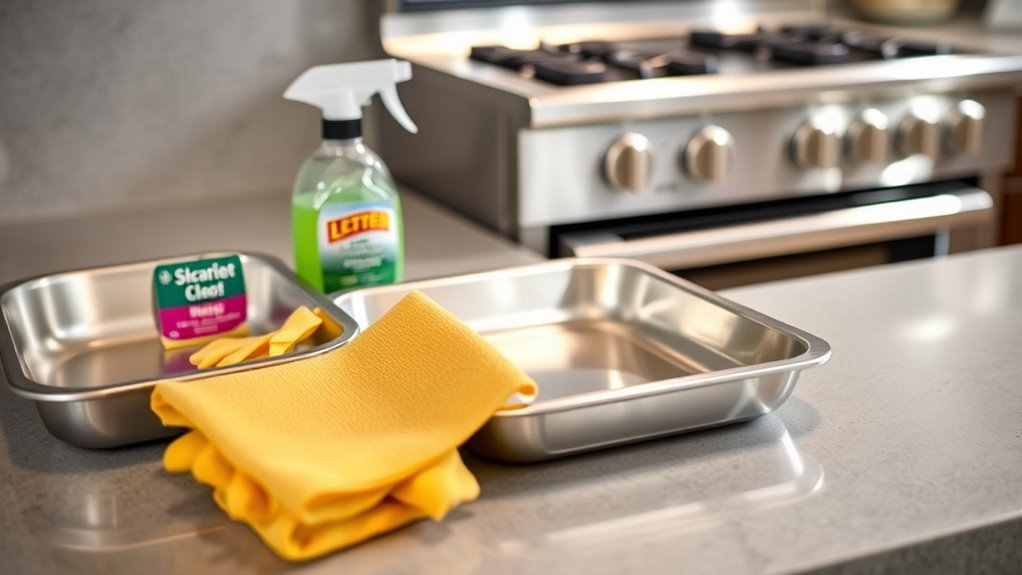
Prepare a Cleaning Solution
Before you start scrubbing, prepare a cleaning solution that effectively cuts through grease and grime. Mix equal parts white vinegar and hot water in a large bowl or sink. Add a few drops of dish soap to help break down stubborn residue.
For tougher stains on your drip pans, sprinkle baking soda directly onto their surfaces before applying the solution. To guarantee even coverage, use a spray bottle to apply the vinegar mixture over the drip pans.
This natural cleaning solution will help remove baked-on grease and dirt. Once prepared, you’ll be ready to soak the drip pans so the grime loosens, making the scrubbing process easier and more effective.
This step is essential for restoring your drip pans’ cleanliness.
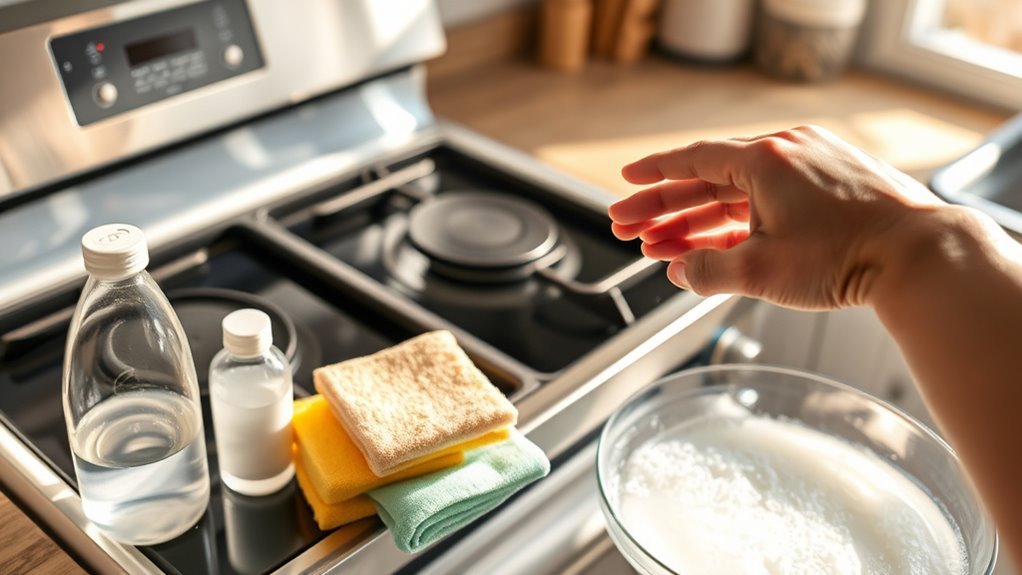
Soak Drip Pans in Solution
Once you’ve prepared your cleaning solution, the next step is to soak the drip pans to help loosen stubborn grime. First, remove the drip pans from your electric range and rinse off any loose debris with warm water.
Start by removing drip pans and rinsing off loose debris with warm water before soaking.
Then, fully submerge the drip pans in the hot vinegar solution you made.
Soaking allows the solution to break down baked-on residue, making cleaning easier.
To get the best results when soaking your drip pans:
- Let them soak for 15 to 30 minutes for regular grime.
- For heavily baked-on stains, soak overnight.
- Always rinse the drip pans thoroughly with clean water after soaking.
This soaking step is vital for effective cleaning before you move on to scrubbing.
Scrub Away Stubborn Stains
Although soaking your drip pans helps loosen grime, you’ll still need to scrub away stubborn stains to get them completely clean. Start by applying a paste made from baking soda and dish soap directly onto the tough spots, letting it sit for at least an hour to break down grime.
For extra cleaning power, soak the drip pans in hot vinegar beforehand.
When it’s time to scrub, use a non-abrasive scrubbing pad or steel wool with gentle pressure to avoid damaging the surface. Focus on areas with burnt-on residue until the stains lift.
This combination of soaking and scrubbing guarantees your drip pans become spotless, making your cleaning effort effective without harming the pans.
Rinse and Dry Thoroughly
After scrubbing away stubborn stains, you’ll want to rinse your drip pans thoroughly with warm water to wash off any leftover cleaning residue or debris. Make sure to clean every corner so no grime remains.
Next, dry the pans completely to prevent rust or damage when the stove heats up. Use a microfiber cloth or a soft sponge to gently wipe away excess water without scratching the surface.
Then, let the pans air dry for 10-15 minutes in a well-ventilated spot.
Remember to:
- Rinse thoroughly to remove all cleaning agents
- Dry with a microfiber cloth to avoid scratches
- Ensure no water stays in crevices to prevent rust
This careful rinse and dry process keeps your drip pans spotless and ready for use.
Reassemble Burner Components
Before you reassemble the burner components, make sure every drip pan and part is completely dry to avoid corrosion or electrical problems. Start by aligning each drip pan with its burner on the electric stove, ensuring the openings match the coil terminals.
Next, insert the electric coil terminals into their receptacles and press gently until secure. Finally, reposition the burner caps and grates so they sit evenly.
| Step | Action | Tip |
|---|---|---|
| 1 | Align drip pans with burners | Match openings and terminals |
| 2 | Insert coil terminals | Press gently to secure |
| 3 | Place burner caps | Ensure even seating |
| 4 | Reposition grates | Lock into place properly |
Double-check all parts are aligned and secure before using the stove.
Maintain Clean Drip Pans Regularly
Keeping your drip pans clean is essential for both your stove’s performance and appearance. Regular cleaning prevents grease buildup and makes tough stains easier to remove. After each use, wipe down the drip pans with a damp cloth or sponge to catch any spills before they harden.
For deeper cleaning, soak the drip pans monthly in a solution of vinegar and baking soda to break down burnt-on residue and stains.
Here’s how to maintain clean drip pans regularly:
- Wipe spills promptly once the stovetop cools to avoid stubborn buildup.
- Use a non-abrasive scrubber during cleaning to protect the drip pans’ surface.
- Replace any damaged or heavily stained drip pans to keep your stove looking and working its best.
Frequently Asked Questions
How to Clean Drip Pans on an Electric Stove?
You’ll remove the drip pans once cooled, soak them in hot water and vinegar, sprinkle baking soda, scrub gently, rinse thoroughly, and dry completely before reinstalling.
This keeps them clean, grease-free, and rust-resistant.
How to Get a Drip Pan Out of an Electric Stove?
Picture the drip pan snug beneath the coil; you simply unplug the stove, wait for it to cool, then gently lift or slide the pan out—unscrewing clips if needed.
Grasp the edges to avoid grease.
How to Remove Burnt Food From Drip Pans?
You’ll soak the drip pans in hot vinegar and baking soda, then scrub gently with a non-abrasive pad.
For tough burns, apply a baking soda and dish soap paste, let it sit, then scrub and rinse thoroughly.
Does White Vinegar and Baking Soda Clean the Stove Top?
When white vinegar meets baking soda, bubbles fizz like a mini volcano, and yes, they clean your stove top effectively.
You’ll easily lift grime and stains without harsh chemicals, leaving your surface sparkling fresh and bright.
Conclusion
Now that you know how to clean your drip pans, keeping them spotless is easier than ever. Remember, “a stitch in time saves nine”—regular cleaning prevents tough buildup and keeps your stove looking great and working safely.
Just follow these simple steps consistently, and you’ll avoid bigger messes down the road. With a little effort, your electric range will stay in top shape, making cooking more enjoyable every time.
By maintaining clean drip pans on your electric range, you enhance both the appearance and efficiency of your stove. Regular cleaning ensures a safer cooking environment and prolongs the life of your appliances.