5 Easy Steps to Clean a Burnt Non-Stick Pan
A burnt non-stick pan can feel like a lost cause, a symbol of kitchen mishaps. But don’t rush to toss it out just yet. Cleaning a burnt non-stick pan properly can save you time and money.
With a few simple steps, you can restore its surface without harsh scrubbing or chemicals. If you’re ready to save your pan and keep your cooking smooth, understanding the right approach is key.
Let’s explore how to bring it back to life safely and effectively.
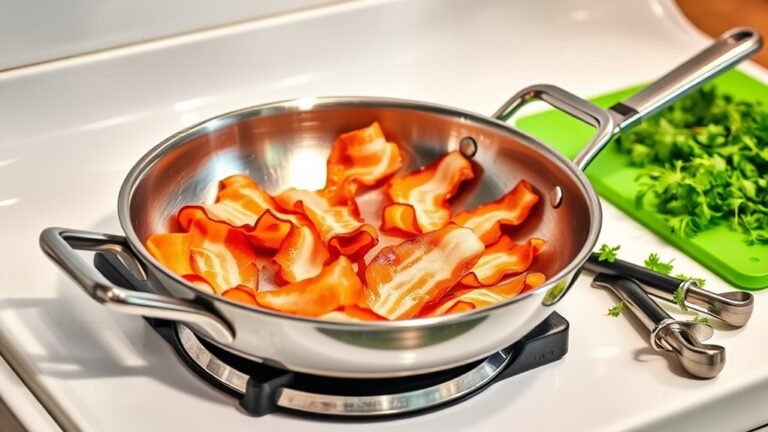
Cool and Prepare the Pan
Before you start cleaning, always let your non-stick pan cool completely to protect its surface. Pouring cold water into a hot pan can cause warping or damage the coating, so patience is key.
Once the pan is cool, carefully remove any excess food or burnt residue to make cleaning easier. Handle the pan gently to avoid scratches or dents that worsen during cleaning.
Next, rinse the pan with warm water to help loosen any dried-on burnt food. Warm water softens residue without shocking the pan’s surface, which helps preserve its non-stick quality.
Taking these steps to cool and prepare the pan properly sets the stage for effective and safe cleaning without risking damage.
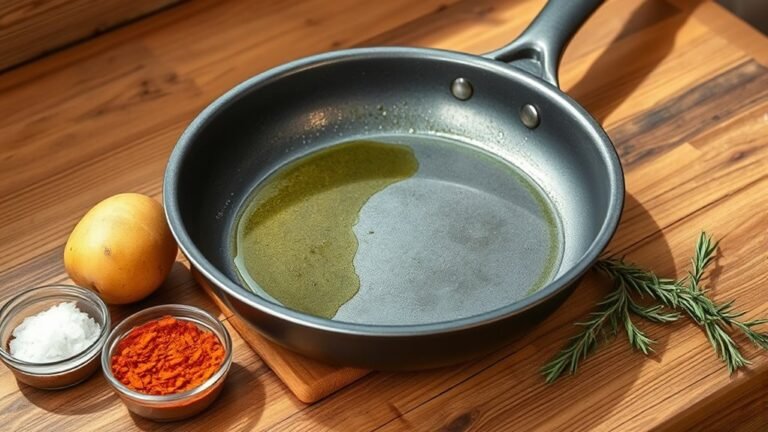
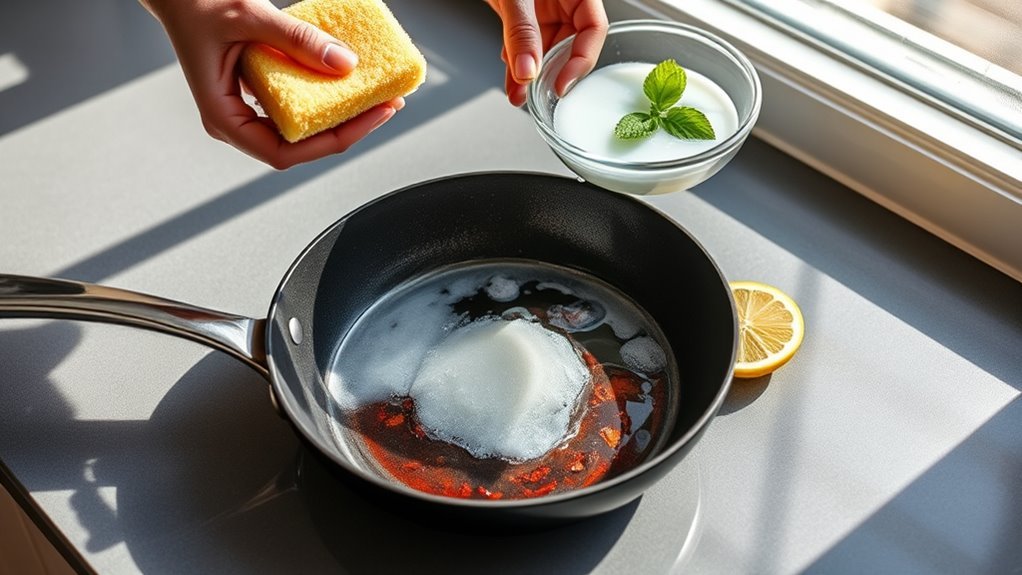
Boil Baking Soda Solution
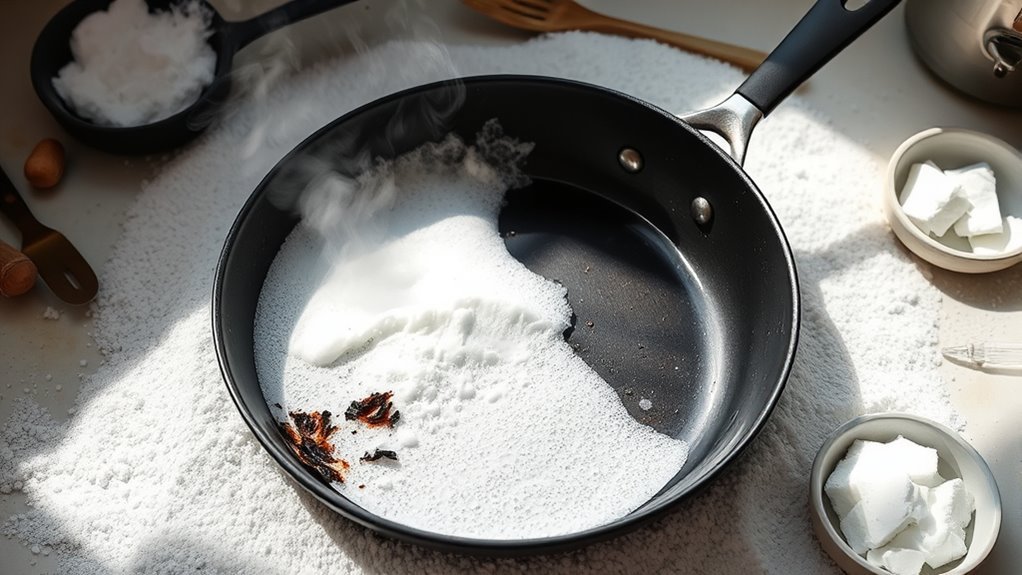
When you fill your burnt non-stick pan with water and add baking soda, you create a powerful solution that loosens stubborn residue. Start by adding enough water to cover the burnt area, then mix in 2-3 tablespoons of baking soda.
Fill the burnt pan with water, add baking soda, and create a powerful solution to loosen stubborn residue.
Place the pan on medium heat and bring the mixture to a boil. Let it simmer for 5-10 minutes to break down the burnt particles effectively.
After boiling, turn off the heat and allow the solution to cool completely before pouring it out to avoid burns.
This boiling method is a simple yet effective cleaning step that softens tough stains, making your pan easier to clean.
If some burnt spots persist, you can repeat the boil with baking soda until the pan’s surface looks much better.
Gently Scrub the Burnt Areas
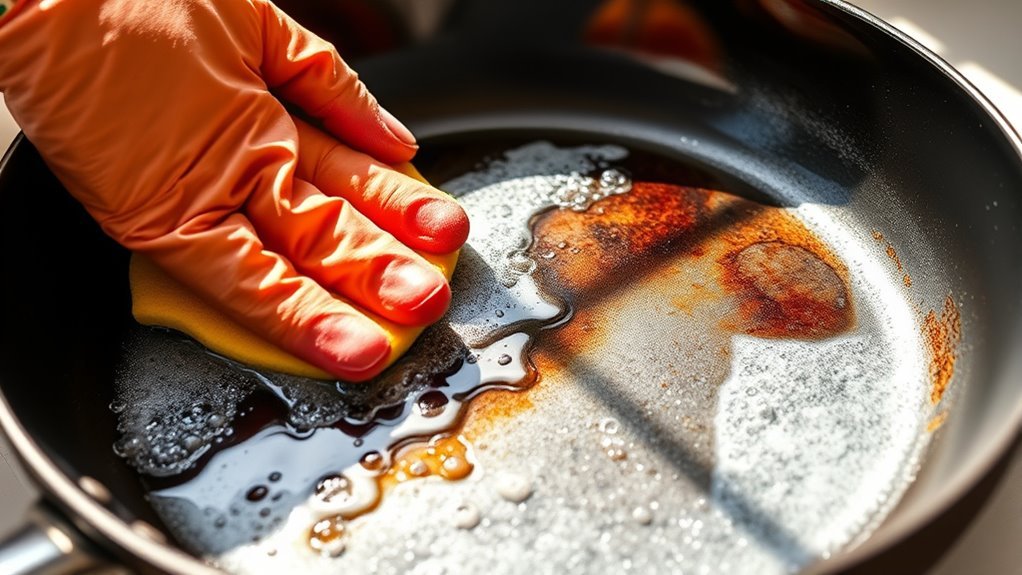
Although the baking soda solution loosens most of the burnt residue, you’ll still need to gently scrub the affected areas to remove any remaining stubborn spots. Use a soft sponge or a non-abrasive scrubber to avoid damaging the non-stick coating while cleaning.
Apply a paste made from baking soda and water directly onto the burnt areas and let it sit for 15-30 minutes to soften the residue.
For extra cleaning power, mix in a small amount of white vinegar before scrubbing.
Gently move the sponge in circular motions to lift the burnt food without scratching the surface. Avoid metal utensils or steel wool, as they can ruin your pan’s non-stick finish.
This careful approach helps you clean effectively while preserving your pan’s longevity.
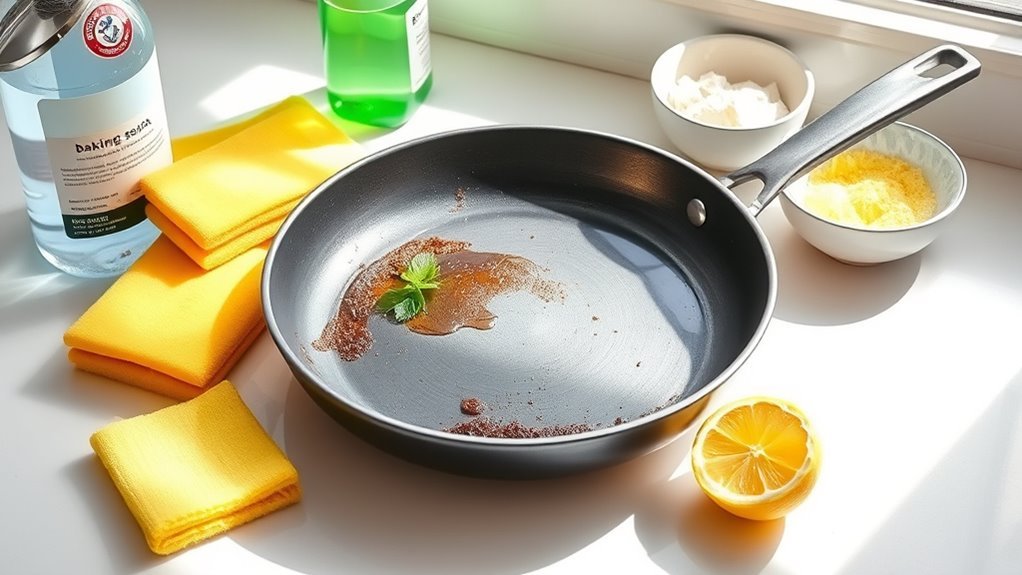
Rinse and Dry Thoroughly
After gently scrubbing the burnt spots, you’ll want to rinse your non-stick pan with warm water to wash away any loosened residue. This step guarantees all debris is removed without damaging the surface.
Use a soft sponge or cloth to avoid scratches, and make sure to rinse off all soap completely to prevent buildup that could harm the non-stick coating.
Always rinse off all soap and use a soft sponge to protect your non-stick pan’s surface.
Once rinsed, it’s vital to dry your pan thoroughly to avoid rust or water spots.
To rinse and dry your pan effectively:
Use warm water and a gentle sponge to remove leftover residue.
Rinse thoroughly to eliminate soap traces.
Dry completely with a clean towel or air dry before storing.
Following these steps preserves your pan’s longevity and performance.
Maintain Your Non-Stick Pan Properly
To keep your non-stick pan performing at its best, you should handle it with care and follow simple maintenance habits. Always use non-abrasive sponges for cleaning, and avoid soaking the pan too long to prevent residue buildup.
Store pans with soft cloths between them to avoid scratches. Cook on low to medium heat to maintain the coating, and regularly season your pan with a light oil layer.
| Action | Why It Matters | Tips to Maintain |
|---|---|---|
| Use soft sponges | Protects the non-stick surface | Avoid metal scrubbers |
| Clean promptly | Prevents residue buildup | Don’t soak too long |
| Store carefully | Avoids scratches | Use soft cloth separators |
| Cook on low heat | Extends coating lifespan | Avoid overheating |
| Season with oil | Maintains non-stick properties | Apply a thin oil layer |
Frequently Asked Questions
How to Clean a Nonstick Pan That Is Burned?
You’ll want to let the pan cool, then sprinkle baking soda and add water to make a paste.
Let it sit, scrub gently with a soft sponge, rinse thoroughly, and dry to protect the coating.
How Do You Clean a Badly Burnt Pan?
You don’t need King Midas’ touch; soak your burnt pan in hot soapy water, scrub gently with baking soda paste, and for stubborn stains, boil vinegar and water.
Rinse, dry, and watch the magic unfold.
Will Vinegar Remove Non-Stick Coating?
Vinegar won’t remove your non-stick coating outright, but if you use it too often or undiluted, it can weaken the surface over time.
How to Remove Baked on Grease From Non-Stick Pans?
You can remove baked-on grease by boiling warm water with baking soda in the pan, then gently scrubbing with a soft sponge.
For stubborn spots, use a baking soda paste or boil vinegar and water to loosen residue.
Conclusion
Now that you know these five easy steps, cleaning your burnt non-stick pan won’t feel like an uphill battle. Just take your time to cool, soak, scrub gently, and rinse thoroughly, and you’ll have your pan looking good as new.
Remember, a little care goes a long way—treat your pan right, and it’ll stick with you through countless meals. Keep these tips in mind, and you’ll never dread cleanup again!
By following these easy steps to clean a burnt non-stick pan, you can maintain your cookware’s longevity and performance. Effective cleaning not only restores your pan’s appearance but also ensures safe and enjoyable cooking every time.