How to Change an Oil Pan Gasket in 7 Easy Steps
Did you know that over 30% of engine oil leaks stem from a faulty oil pan gasket? If you’ve noticed oil spots under your car or a burning smell, it might be time to replace that gasket. Changing an oil pan gasket is a crucial maintenance task to prevent engine damage and maintain optimal performance.
While the task might appear intimidating, you can approach it step-by-step with the right tools and precautions. Let’s walk through the essential process to guarantee a smooth and effective gasket change. Follow these simple steps to ensure your vehicle runs smoothly and stays leak-free.
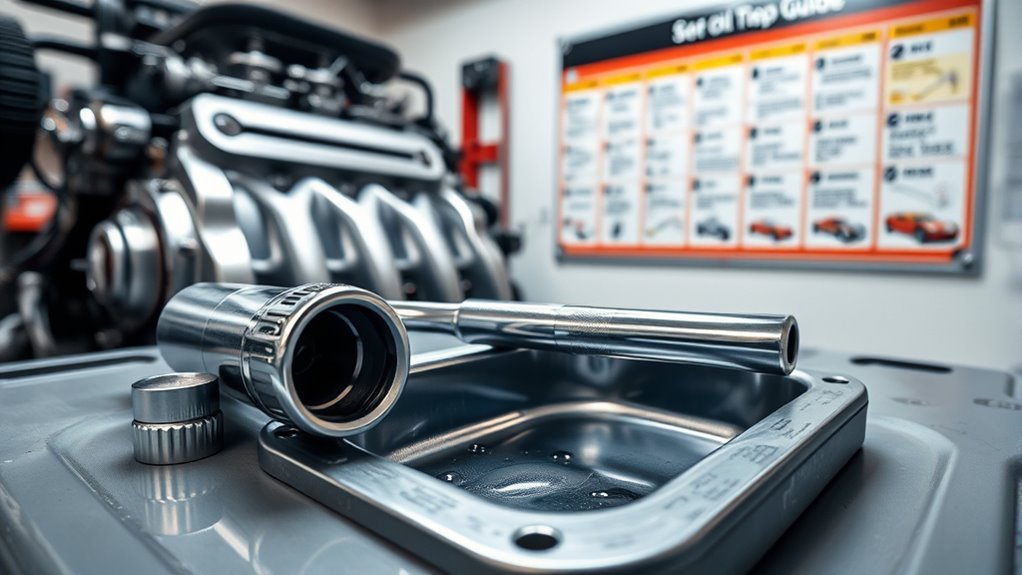
Gather Tools and Prepare Your Workspace
Before you begin changing your oil pan gasket, gather all essential tools like a socket set, torque wrench, scraper, and gasket sealant to guarantee a smooth process. You’ll also need the correct replacement gasket tailored to your vehicle’s make and model.
Prepare your workspace by parking on a level surface, engaging the parking brake, and ensuring the area is well-lit. Have a drain pan, rags, and cleaning supplies on hand to manage any spills and thoroughly clean the mating surfaces.
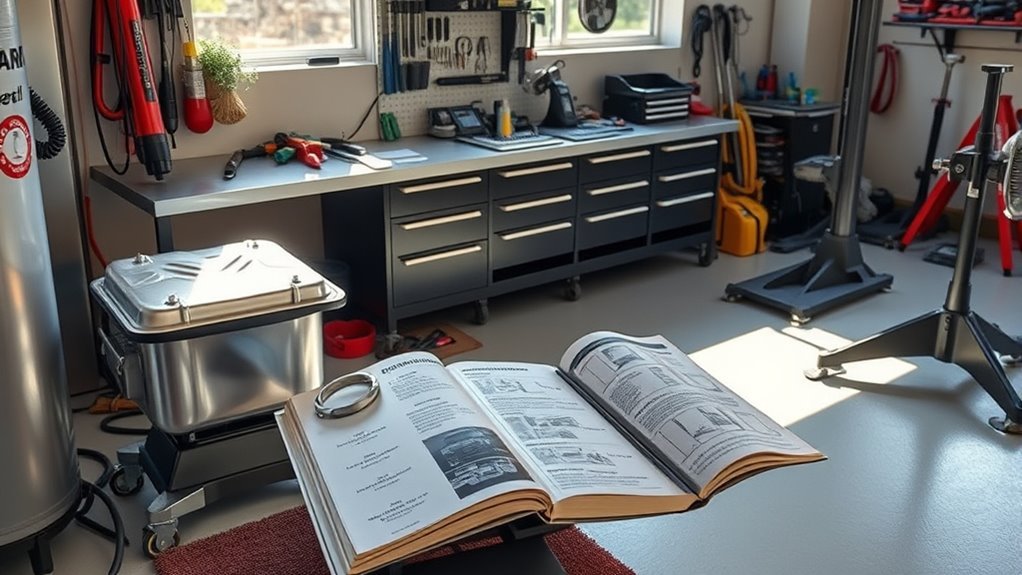
Consult your vehicle’s service manual to understand specific disassembly steps, bolt locations, and torque specs. Organizing your tools and supplies before starting will save you time and prevent mistakes, making the gasket replacement process straightforward and efficient.
Safely Lift the Vehicle and Drain Engine Oil

Once you’ve confirmed the vehicle is parked on a level surface with the parking brake engaged and the engine turned off, you can safely lift the front using a jack.
Always support the vehicle with jack stands placed under the recommended lift points to prevent accidents.
Next, position an oil catch pan beneath the oil drain plug to catch the engine oil as it drains out.
Use a socket wrench to remove the oil drain plug and let the oil fully drain before reinstalling and tightening the plug to avoid leaks.
Remember to:
- Securely lift and support the vehicle with a jack and jack stands
- Place a catch pan under the oil drain plug to collect draining engine oil
- Remove the drain plug and allow all oil to drain completely before proceeding
Disconnect Sensors and Remove Exhaust Components
Although it may seem tricky, disconnecting the O2 sensor and removing exhaust components is essential for accessing the oil pan gasket.
Start by pressing the release tab on the O2 sensor connector and sliding it out carefully to avoid damage. Use a pick tool to lift the small plastic lock on the connector.
Next, remove the nuts securing the exhaust components with a 13mm socket and ratchet. If nuts are rusted, use heat or cutting tools to loosen them.
Support the exhaust with a bungee cord to prevent it from falling once unbolted.
Slide it downward and forward for clearance, removing the rubber cover with a trim tool to access mounting points.
With sensors disconnected and exhaust components out, you’re ready to remove the gasket near the drain plug.
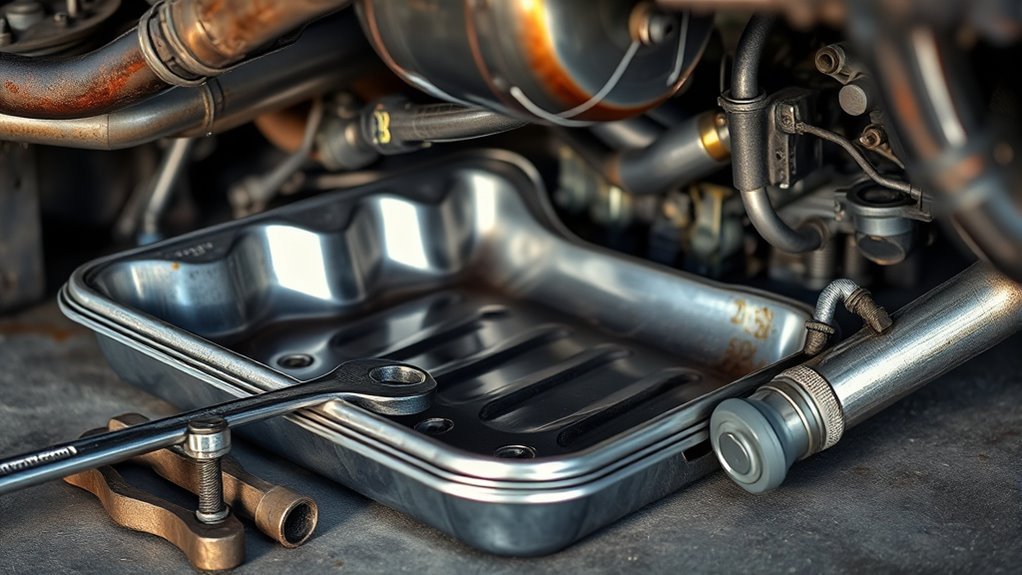
Remove the Oil Pan and Extract the Old Gasket
With the sensors disconnected and exhaust components moved aside, you can now focus on removing the oil pan. First, loosen and remove all bolts securing the oil pan, making sure none are missed. Support the oil pan as you do this to avoid dropping or damaging any parts.
Once loose, gently pry the pan away from the engine block to break the seal without bending or cracking it. Before fully detaching the pan, drain the oil into a container to avoid spills.
After removal, carefully extract the old gasket using a gasket scraper or pick.
- Loosen and remove all oil pan bolts evenly
- Pry the pan gently to break the seal
- Drain the oil and remove the old gasket carefully
Clean Mating Surfaces and Apply New Gasket or Sealant
Before installing the new gasket, you need to thoroughly clean all mating surfaces using brake cleaner or a degreaser to remove oil, dirt, and old gasket material. Use a gasket scraper or razor blade carefully to eliminate any remaining residue or old sealant, ensuring the surfaces are smooth and flat. This step is crucial for a proper seal.
Next, apply a thin, even layer of gasket sealant or RTV silicone if your manufacturer recommends it. This helps prevent leaks and enhances the gasket’s sealing ability.
Position the new gasket accurately on the oil pan or engine block, aligning bolt holes and reference marks.
Double-check that all surfaces are clean and free of debris before moving on to reassemble for a leak-free seal.
Reinstall the Oil Pan and Torque Bolts Correctly
Once you’ve positioned the oil pan and aligned the new gasket with the bolt holes, hand-tighten all the bolts to hold it in place securely.
To reinstall the oil pan properly, follow the manufacturer’s torque specifications carefully.
Use a torque wrench to avoid over-tightening or uneven pressure.
Tighten the bolts in a spiral pattern from the center outward, ensuring the new gasket seals evenly.
Key steps to remember:
- Align the new gasket precisely with all bolt holes before fitting the oil pan.
- Use a torque wrench to tighten bolts to the recommended ft-lb setting, usually between 18 and 30.
- Recheck all bolts with the torque wrench after initial tightening to confirm even pressure and proper sealing.
This guarantees a reliable seal without leaks or damage.
Replace Oil Filter, Refill Oil, and Inspect for Leaks
How do you guarantee your engine stays protected after replacing the oil pan gasket? Start by replacing the oil filter. Use a strap wrench to remove the old filter, making sure its gasket comes off to prevent leaks.
Lubricate the rubber seal of the new oil filter with fresh engine oil, then install it by hand, tightening to the specified torque.
Next, refill oil with the manufacturer-recommended type and quantity, checking the dipstick to confirm the proper level.
Start the engine and let it run a few minutes to circulate oil, then turn it off and recheck the level, adding more if needed.
Finally, inspect for leaks around the oil filter and the oil pan gasket to ensure a secure, leak-free seal.
Frequently Asked Questions
Is an Oil Pan Gasket Easy to Replace?
It depends on your vehicle, but if you have the right tools and follow the manual, you’ll find it doable.
Some cars make it tricky, but with patience and care, you can replace the gasket yourself.
How Long Does It Take to Replace an Oil Pan Gasket?
You’ll usually spend 3 to 8 hours replacing an oil pan gasket, depending on your vehicle and experience. If you’re skilled, it might take less, but expect longer if parts are hard to access or additional repairs are needed.
How to Easily Remove an Old Gasket?
You’ll want to use a gasket scraper or razor blade carefully to lift the old gasket without damaging the surface. Apply solvent to soften residue, then gently tap edges with a plastic tool to loosen stubborn spots safely.
How to Install a Rubber Oil Pan Gasket?
You’ll align the rubber gasket carefully with the oil pan and engine block, apply sealant if needed, then position it precisely.
Tighten bolts gradually in a crisscross pattern, following torque specs to prevent leaks or damage.
Conclusion
Congrats, you’ve just mastered the ancient art of oil pan gasket swapping—because who doesn’t want to play mechanic and risk a little engine oil baptism? Now that you’ve drained, pried, cleaned, and torqued your way to glory, go ahead and pat yourself on the back.
Just remember: if your car suddenly leaks like a sieve, it’s not you—it’s the gasket’s dramatic flair. Either way, you’re officially one step closer to being a grease-stained hero!
Changing an oil pan gasket can seem daunting, but with these simple steps, you’re equipped to handle this essential car maintenance task like a pro. Keep practicing, and soon replacing an oil pan gasket will be second nature!