How Long to Pan Fry Chicken Thighs in 10 Essential Steps
You might not realize that the thickness and temperature of your chicken thighs can drastically change cooking times when pan frying. Cooking chicken thighs perfectly requires attention to these details to avoid undercooking or drying out your meat. By understanding the importance of timing and temperature, you can achieve juicy, tender results every time.
If you don’t account for these factors, you risk undercooking or drying out your meat. By following a clear, step-by-step approach, you can master the timing and technique needed to achieve perfectly cooked, juicy chicken every time.
Let’s break down exactly what you need to do to get it right.
Choosing the Right Chicken Thighs

When choosing chicken thighs for frying, pick boneless, skinless pieces that are uniform in size and thickness to guarantee they cook evenly.
Uniform size helps you avoid undercooked or overcooked spots during pan frying, ensuring every bite is juicy and tender.
You’ll want to select high-quality chicken thighs from reputable sources or butchers, where freshness and proper handling matter most.
Look for thighs with a darker, reddish color—that’s a sign of good meat quality and the right fat content, which adds flavor and moisture.
Avoid overly thick or uneven pieces, as they’ll need different cooking times, complicating the pan frying process.
Sticking to these tips will set you up for perfectly cooked chicken thighs every time.
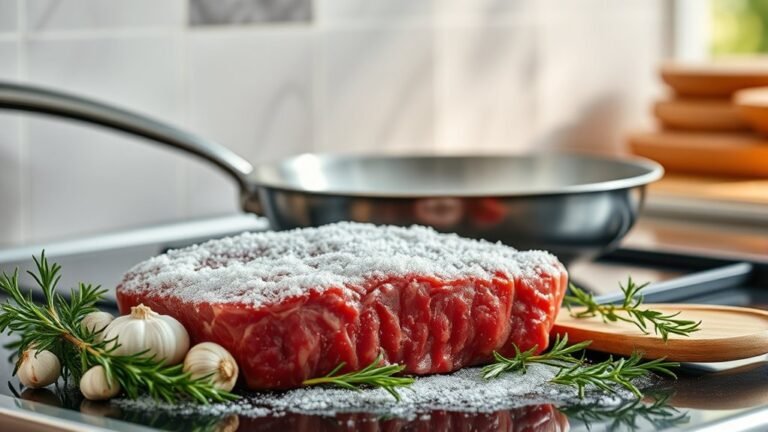
Preparing and Seasoning the Chicken
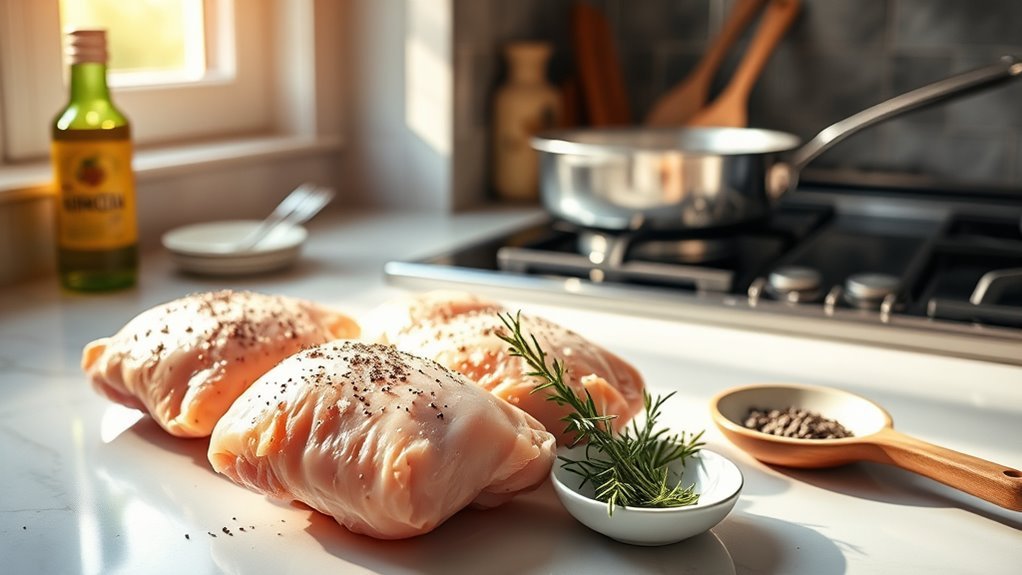
Although selecting the right chicken thighs is essential, properly preparing and seasoning them makes all the difference in flavor and texture. Start by drying the chicken thighs thoroughly with paper towels; this removes excess moisture and helps achieve a crispy crust.
Proper preparation and seasoning transform chicken thighs, starting with drying them thoroughly for a crispy crust.
Next, apply your seasoning generously: salt, pepper, paprika, or cumin work great. For deeper flavor, marinate the chicken thighs for at least 30 minutes or up to 24 hours. Make sure to coat all surfaces evenly to maximize taste during frying.
Here’s a quick prep checklist:
- Use boneless, skinless chicken thighs for even cooking
- Dry the thighs completely before seasoning
- Season generously with salt, pepper, and spices
- Marinate for 30 minutes to 24 hours for better flavor penetration
This approach guarantees your chicken thighs come out flavorful and perfectly textured.
Selecting the Proper Pan and Oil
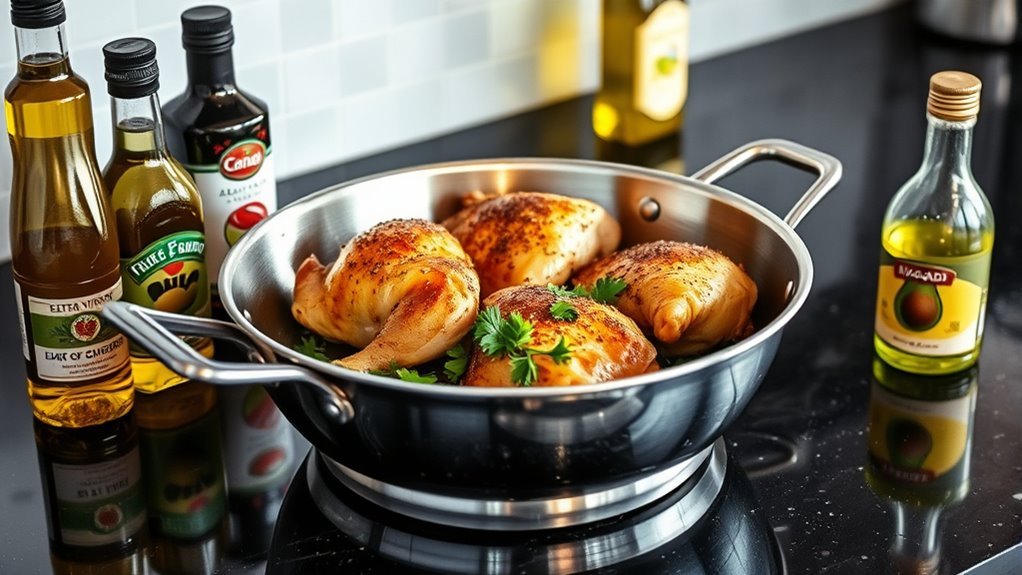
Choosing the right pan and oil plays a crucial role in frying chicken thighs to perfection. Opt for a heavy-bottomed cast iron skillet to guarantee even heat distribution and a great sear. Use oils with a high smoke point like light olive oil to avoid burning.
Always add oil after your pan is preheated over medium heat, and use just enough, about 1 to 3 tablespoons, to coat the bottom. Avoid overcrowding to maintain temperature and achieve a crispy crust.
| Pan Type | Benefit |
|---|---|
| Cast iron | Even heat, great sear |
| Stainless steel | Durable, good heat transfer |
| Olive oil | Healthy, flavorful |
| Vegetable oil | High smoke point |
| Canola oil | Neutral flavor |
Heating the Pan to Ideal Temperature
To achieve perfectly fried chicken thighs, you’ll want to preheat your skillet over medium heat for 2 to 3 minutes before adding any oil. This step guarantees even heat distribution, which is essential for successful pan searing.
Follow these steps to reach the ideal temperature:
- Heat the pan on medium heat until a drop of water sizzles and evaporates within 1-2 seconds.
- Use a thermometer to confirm the surface temperature is around 350-375°F (177-190°C).
- Add 1 to 2 tablespoons of oil and wait until it shimmers. This indicates the oil is hot enough.
- Avoid overcrowding to maintain steady heat and consistent temperature during frying.
Getting the pan to the ideal temperature sets the stage for crispy, juicy chicken thighs.
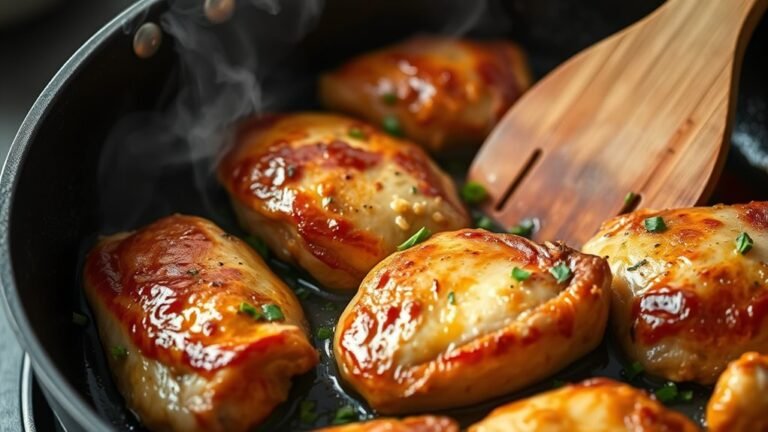
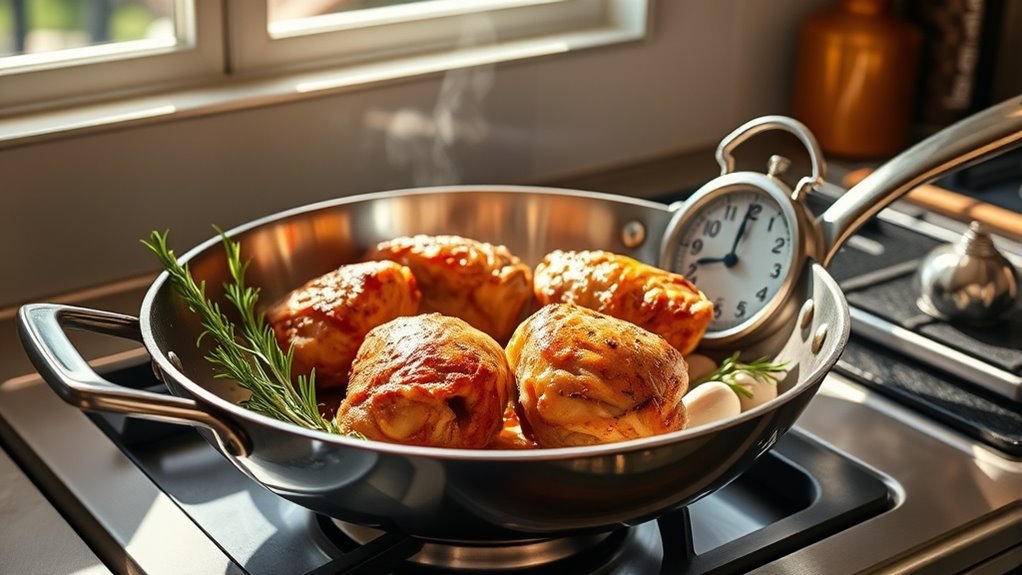
Placing Chicken Skin-Side Down
When you place the chicken thighs skin-side down in the hot skillet, you start rendering the fat and crisping the skin, which is essential to achieving that perfect texture.
To pan fry chicken thighs properly, set your heat to medium to avoid burning while allowing the skin to crisp evenly.
Press down gently on the chicken during the first minute to ensure uniform contact with the pan.
Resist the urge to flip too soon. Wait until the skin releases naturally, which usually takes about 5 to 7 minutes.
This cooking time is vital; it lets the skin turn golden brown and crisp without overcooking the meat underneath, giving you tender chicken thighs with a perfectly crisped skin every time.
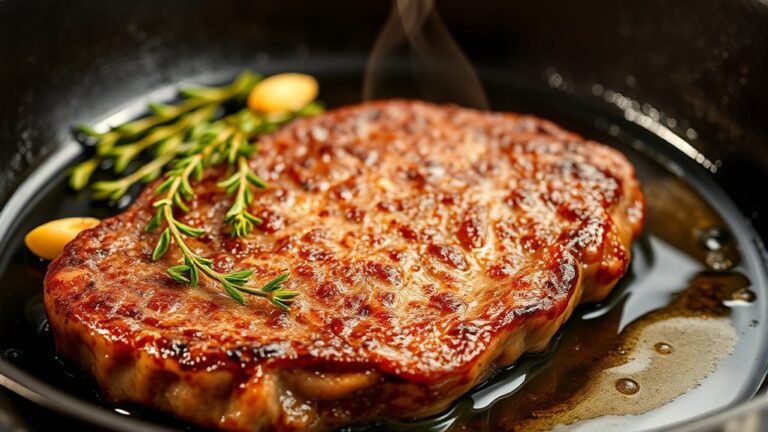
Cooking Time for the First Side
Although it might be tempting to flip the chicken thighs early, you should let them cook on the first side for about 5 to 7 minutes over medium-high heat until the skin turns golden brown and lifts easily from the pan. Proper cooking time on the skin side is essential for a crispy, well-seared crust.
When pan frying the first side, keep these points in mind:
- Cook until the skin is golden brown and releases naturally from the pan.
- Use visual cues like bubbling fat and color change to gauge readiness.
- Maintain consistent pan temperature to avoid burning or undercooking.
- Avoid flipping too soon to ensure proper searing on the first side.
Following these will help you nail the perfect cooking time for the first side.
Flipping and Cooking the Second Side
Once the chicken thigh releases naturally from the pan, you’ll know it’s ready to flip and cook the second side. This usually happens after the first side has developed a deep golden-brown sear, which takes about 5-7 minutes.
Use tongs or a spatula to flip the thigh gently, protecting the crispy skin from tearing. After flipping, cook the second side for another 5-7 minutes. This ensures even cooking and helps the internal temperature reach the safe mark of 165°F (74°C).
Remember to let the chicken rest for 5 minutes after flipping; this allows the juices to redistribute, keeping the meat tender and juicy.
Following these steps guarantees perfectly seared and thoroughly cooked chicken thighs every time.
Checking Internal Temperature for Doneness
To guarantee your chicken thighs are both safe and delicious, you’ll want to check their internal temperature with a meat thermometer. This ensures proper doneness without undercooking or drying out your chicken.
Follow these steps for accurate results:
- Insert the meat thermometer into the thickest part of the chicken thigh, avoiding the bone.
- Look for a minimum internal temperature of 165°F (74°C) to confirm safety.
- For extra juiciness and crispiness, aim for 170-180°F (77-82°C).
- When the thermometer reads correctly and juices run clear, your chicken thighs are perfectly done.
Checking the internal temperature during pan frying helps you serve tender, flavorful chicken every time.
Resting the Chicken Before Serving
While you might be enthusiastic to dig in, letting your fried chicken thighs rest for about 5 minutes helps the juices settle, so each bite stays moist and flavorful. Resting chicken allows juices redistribution, which keeps the meat moist and tender instead of drying out when sliced.
During this proper resting time, the internal temperature remains stable, preventing juice loss and enhancing flavor. To maintain heat without sogginess, cover the chicken loosely with foil while it rests. This step is especially important for thicker or bone-in thighs, ensuring they don’t dry out.
Plus, rested chicken thighs are easier to carve and serve, preserving their juicy texture. Don’t skip this essential step—proper resting time makes a noticeable difference in your fried chicken’s taste and tenderness.
Tips for Achieving Crispy Skin and Juicy Meat
Achieving crispy skin and juicy meat starts by thoroughly patting your chicken thighs dry; this simple step helps the skin crisp up beautifully during frying.
When you pan fry, follow these tips:
- Place thighs skin-side down in a hot skillet and don’t move them for 20-25 minutes to render fat and develop crispy skin.
- Flip only when the skin releases easily and is golden brown.
- Use a meat thermometer to check the internal temperature reaches 165°F (74°C) for juicy meat.
- For extra crispness, finish in a preheated 475°F oven for 8-10 minutes, ensuring the internal temperature hits 180°F (82°C).
Frequently Asked Questions
How Long Do You Pan Fry Chicken Thighs?
You pan fry boneless chicken thighs for about 5-7 minutes per side, and bone-in thighs for 8-10 minutes per side.
Make sure the internal temperature hits 165°F before serving for safety and juiciness.
What Is the 7/10-7 Method for Fried Chicken?
The 7/10-7 method means you fry chicken thighs 7 minutes on the first side, 10 on the second, then 7 more minutes flipping to crisp skin and cook evenly.
Keep oil around 350°F for best results.
How Long to Cook Chicken Thighs on Top of the Stove?
You’ll cook boneless chicken thighs about 5-7 minutes per side on medium heat, reaching 165°F.
That’s roughly enough time to sear a golden crust, just like a crispy 10-inch skillet pizza.
How Long Do Raw Chicken Thighs Take to Cook?
Raw chicken thighs take about 20 to 25 minutes to cook through on medium heat. You’ll want to flip them once the skin crisps and use a thermometer to guarantee they reach 165°F for safe, juicy results.
Conclusion
Just like a well-tended flame brings warmth and light, taking the right time to pan fry your chicken thighs guarantees they turn golden and satisfying. By patiently searing each side and checking for that perfect 165°F, you’re not rushing a simple meal—you’re crafting comfort on a plate.
Let your chicken rest; like a story’s pause, it deepens flavor and juiciness. With these steps, you’ll serve more than food—you’ll serve care. Mastering how long to pan fry chicken thighs ensures every bite is tender, flavorful, and perfectly cooked.