How Do You Clean Stove Drip Pans in 10 Easy Steps
Think of your stove drip pans as the unsung foundation of a clean kitchen, quietly catching spills and stains. Cleaning stove drip pans regularly is essential for maintaining a spotless cooking area and preventing stubborn buildup. When they’re neglected, your cooking space can feel cluttered and less inviting.
You might not realize how much a thorough cleaning can improve both the look and function of your stove. If you want to restore those pans to their best condition without hassle, there’s a straightforward process you can follow—one that’s easier than you might expect.
Turn Off and Cool the Stove
Before you begin cleaning, make sure you turn off all stove controls and unplug the appliance. This step is vital for your safety and prevents any accidental burns or electrical hazards while working.
Once the stove is off and unplugged, allow it to cool completely. You should wait at least 30 minutes to ensure both the stove surface and burner components have cooled down thoroughly.
Allow the stove to cool for at least 30 minutes before cleaning to avoid burns and damage.
Handling hot parts can lead to burns or damage, so never rush this process. Cooling the stove fully also protects the drip pans from warping or other heat damage when you eventually remove them.
Prioritizing these safety measures makes the cleaning process smoother and safer, preventing any accidents as you move on to cleaning the drip pans.
Remove Burner Components and Drip Pans
Once the stove is completely cool and off, you can start removing the burner components and drip pans. First, lift off the grates and any decorative rings covering the drip pans on your stovetop.
For electric stoves, gently push the coil edges into their receptacles to lift and remove the burner components carefully.
If you have gas burners, lift the burner caps, then remove the drip pans located underneath.
Removing these parts allows you to access areas that need thorough cleaning. After removal, place the drip pans and burner components in warm, soapy water to soak.
Soaking helps loosen grime and makes the cleaning process much easier.
Make sure all parts are completely cooled before handling to avoid burns during this step.
Shake Off Loose Food Particles
Although you’ve already removed the drip pans, you’ll want to shake off any loose food particles before soaking them.
Hold each pan firmly with both hands and give it a few controlled shakes over a trash can or sink to dislodge loose food and debris.
If crumbs stick stubbornly, tap the sides and bottom lightly with a rubber spatula or brush to help remove them.
After shaking, use a soft brush or cloth to wipe away any remaining debris.
Repeat this process if necessary to ensure your pan is free of loose food before moving on to the next cleaning step.
This simple shaking step helps remove loose particles, making the pan easier to clean thoroughly later.
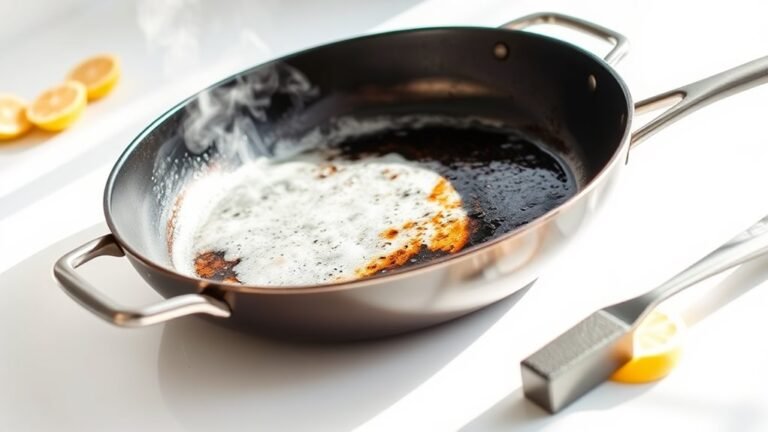
Soak Drip Pans in Hot, Soapy Water
After shaking off loose food particles, the next step is to soak your drip pans in hot, soapy water. Fill a large sink or bucket with hot water and add a few drops of dish soap to create an effective cleaning solution.
Submerge the drip pans completely, making sure they’re fully covered to loosen grease and baked-on grime. Let them soak for at least 15 to 30 minutes. If your drip pans are heavily soiled, extend the soaking time or gently agitate the water to help dislodge stubborn debris.
Once soaked, use a non-abrasive sponge to wipe away loosened grime before rinsing thoroughly with clean water. This soaking step softens buildup, making the overall cleaning process much easier and more efficient.
Prepare a Vinegar and Water Solution
Because vinegar’s acidity breaks down grease and burnt-on food effectively, you’ll want to mix equal parts hot water and white vinegar in a large bowl or sink to create a powerful cleaning solution for your stove drip pans.
Mix equal parts hot water and white vinegar to effectively break down grease and burnt-on food on drip pans.
This vinegar solution is your go-to for grime removal, loosening stubborn debris that plain water can’t tackle.
Using hot water enhances the white vinegar’s effectiveness, ensuring better residue breakdown and making it easier to clean stove drip pans thoroughly.
Once you prepare this mixture, you’re ready to soak drip pans, allowing the solution to penetrate and soften the grime.
This step is vital for a deeper clean and sets you up for easier scrubbing later.
Preparing a hot water and vinegar solution is simple but essential for efficient drip pan cleaning.
Soak Drip Pans in Vinegar Solution
When you fill a basin or sink with equal parts hot water and white vinegar, you create a powerful solution that loosens baked-on grime on your stove drip pans.
To soak drip pans, fully submerge them in this vinegar solution, making sure each pan is completely covered.
Let them soak for at least 30 minutes; this time allows the vinegar mixture to break down grease and stubborn residues effectively.
After soaking, take the drip pans out and gently scrub with a non-abrasive sponge to clean off loosened dirt and residues.
Finally, rinse the pans thoroughly under warm water, dry them with a clean cloth, and reinstall.
This simple soak in the vinegar solution helps you remove residues and restore your drip pans to a cleaner state.
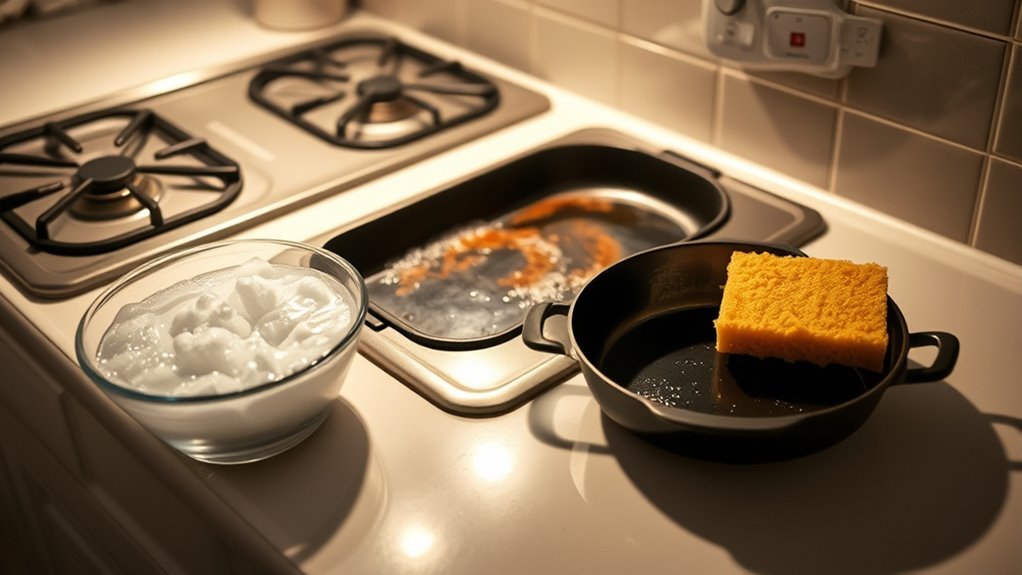
Apply Baking Soda and Scrub Gently
Once you’ve soaked and rinsed your drip pans, sprinkle a generous amount of baking soda evenly over their surfaces.
After soaking and rinsing, sprinkle baking soda evenly over your drip pans for effective cleaning.
Dampen a non-abrasive sponge with water to boost the cleaning power.
Now, gently scrub the drip pan using circular motions, applying just enough pressure to lift grease and stubborn stains without damaging the surface.
The baking soda acts as a mild abrasive, helping to break down grime effectively.
As you scrub, focus on any particularly dirty spots to ensure a thorough clean.
This gentle scrubbing method prevents scratching while making your drip pans look refreshed and cleaner.
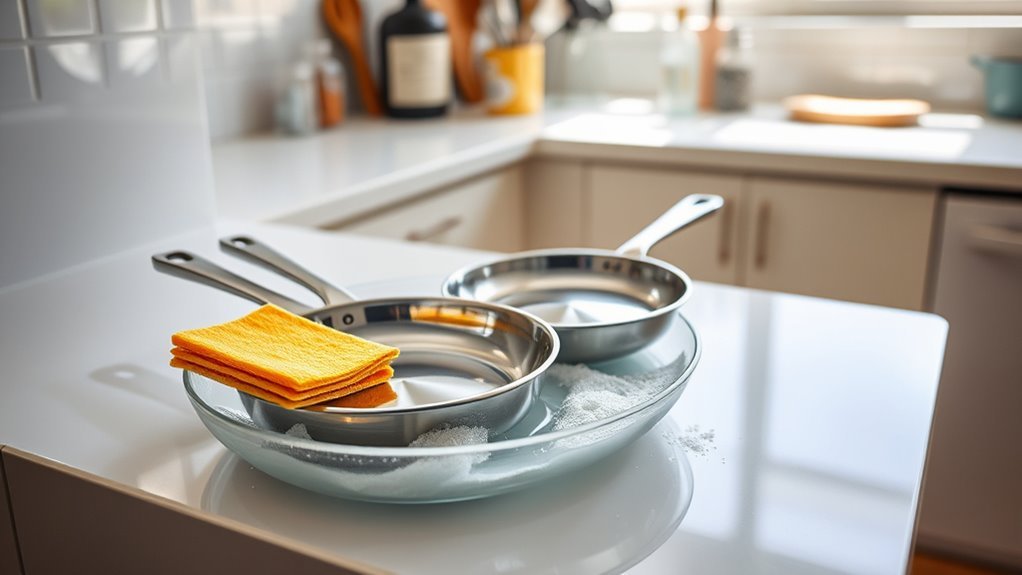
Rinse Drip Pans Thoroughly With Hot Water
To make sure your drip pans are free from baking soda and loosened grime, rinse them thoroughly with hot water. Using hot water helps soften grease and food residue, making your pans easier to clean. Avoid cold water, which can cause grease to harden and stick.
Follow these steps to rinse your drip pans effectively:
- Hold each drip pan under a steady stream of hot water to loosen debris.
- Use your hands or a soft brush to gently rinse away all soap, vinegar, and baking soda residue.
- Check for any remaining grease or residue, and repeat rinsing until the pans look clean.
Rinsing thoroughly ensures your drip pans are free of residue and ready for the next cleaning step.
Dry Drip Pans Completely
Although you’ve rinsed your drip pans thoroughly, you shouldn’t reinstall them until they’re completely dry. Start by wiping each pan with a clean towel or microfiber cloth to remove as much moisture as possible.
After rinsing drip pans, always wipe them dry before reinstalling to prevent moisture damage.
Then, place the drip pans in a well-ventilated area and let them air dry for at least 30 minutes. This drying process helps eliminate any residual water that could cause rust or corrosion.
Make sure the drip pans are completely free of dampness before moving on, as reinstalling them while wet can damage your stove and shorten the pans’ lifespan.
Properly dried drip pans not only prevent rust but also maintain their appearance and function better over time.
Taking these drying steps ensures your stove stays clean and in great condition.
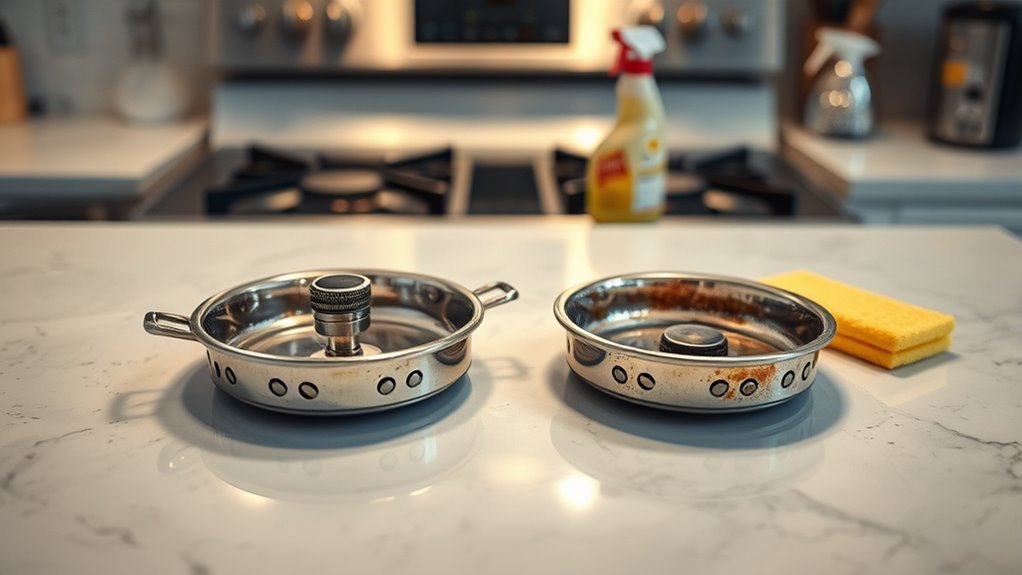
Reinstall Drip Pans and Burner Components
Before you reinstall the drip pans and burner components, make sure everything is completely dry to prevent rust and damage.
Once dry, it’s time to reassemble your stove parts carefully. Follow these steps to ensure a proper fit:
- Align the openings of the drip pans with the burner receptacles or gas ports, making sure they sit flush and fit snugly.
- For electric stoves, push the coil terminals firmly into their receptacles so the burner components are level and secure.
- Reassemble any grates, caps, or decorative rings, verifying each piece fits correctly.
After reassembly, turn on the stove briefly to confirm that all drip pans and burner components are properly installed and functioning safely.
This will keep your stove clean and working efficiently.
Frequently Asked Questions
How to Clean Really Dirty Stove Drip Pans?
You soak really dirty drip pans in hot vinegar and water for 30 minutes, then apply a baking soda paste on tough spots.
Let it sit, scrub gently, rinse well, and dry completely to restore cleanliness.
Does White Vinegar and Baking Soda Clean the Stove Top?
Like a dynamic duo, white vinegar and baking soda clean your stovetop effectively. They fizz away grime, dissolving grease and lifting stains, so you’ll have a sparkling stove without harsh chemicals or elbow grease.
How Often Should I Clean Stove Drip Pans?
You should clean your stove drip pans at least once a month.
However, if you cook often or notice spills, smoke, or odors, clean them every 1-2 weeks.
This helps keep your stove working efficiently and looking great.
Can You Use Easy off on Stove Drip Pans?
Sure, you *can* use Easy Off on stove drip pans—if you enjoy a surprise makeover with potential discoloration. Just kidding!
Only use it on sturdy pans, test first, wear gloves, and rinse thoroughly to stay safe.
Conclusion
Now that you’ve tackled those stove drip pans like a cleaning superhero, your kitchen practically sparkles like a five-star restaurant! Imagine how much easier cooking will feel when grime and grease don’t stand a chance.
Keep up this simple routine, and you’ll never dread stove cleanup again—it’s almost like magic! So go ahead, give your stove the glow-up it deserves, and enjoy cooking on a spotless, efficient surface every single time.
By regularly cleaning your stove drip pans, you not only enhance the look of your kitchen but also improve your cooking experience. Remember, a clean stove drip pan is key to maintaining a hygienic and efficient cooking environment.