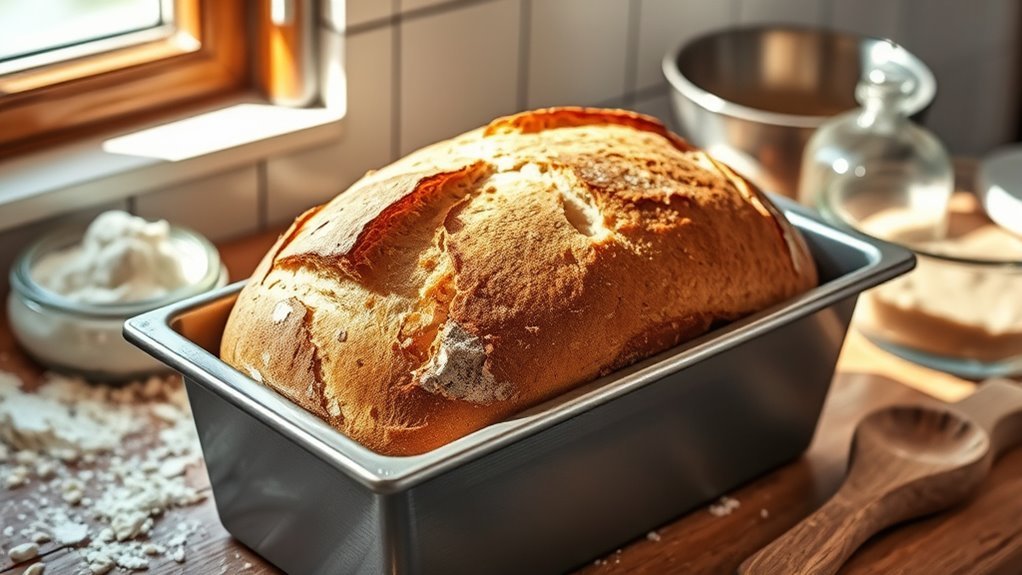
How You Can Bake Sourdough in a Loaf Pan
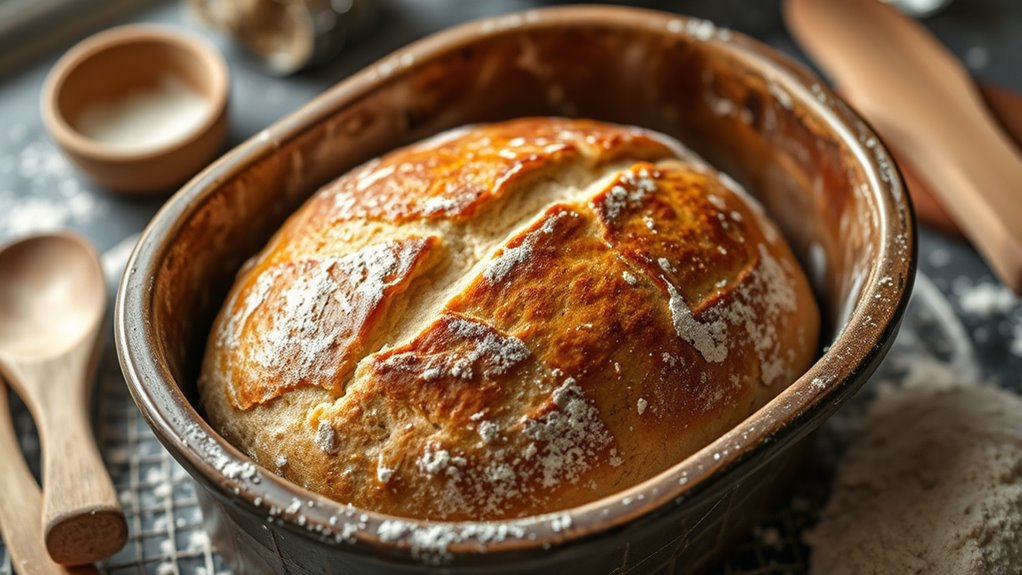
If you’re looking to bake sourdough in a loaf pan, this method offers a more uniform shape and a softer crust. Using a loaf pan helps control the dough’s rise and makes slicing easier, especially for sandwiches.
However, there are specific steps to prepare and shape your dough for this approach. Understanding how to proof and bake it properly can make all the difference in your final loaf’s texture and flavor.
Benefits of Baking Sourdough in a Loaf Pan
Although traditional sourdough baking often involves free-form loaves, using a loaf pan offers several advantages that make the process easier and more consistent.
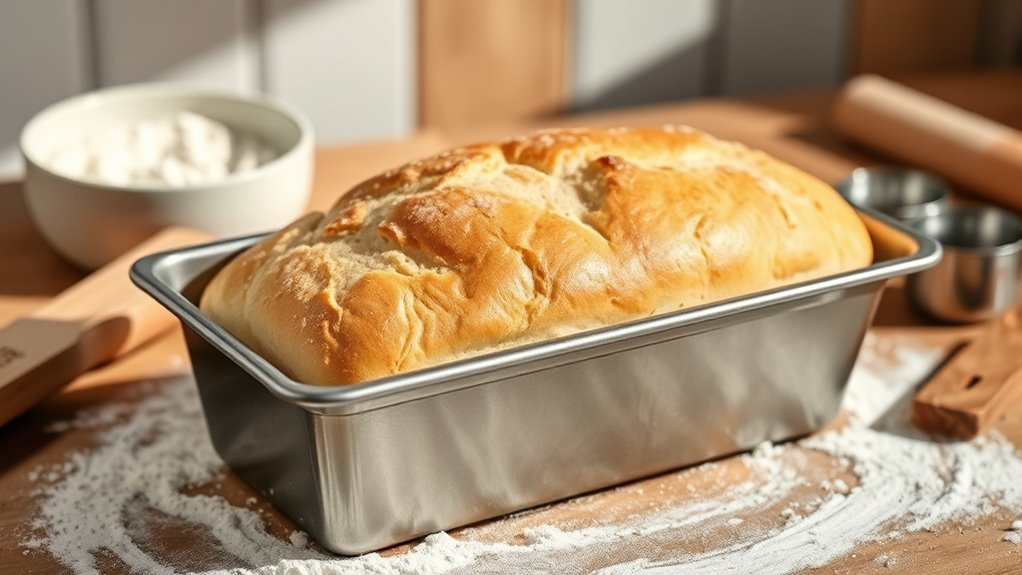
When you bake in a loaf pan, the pan supports the dough during proofing and baking, helping it maintain a uniform shape without requiring advanced shaping skills. This makes it especially helpful for beginners who want easy handling.
Baking in a loaf pan also allows you to use lower oven temperatures, which results in a softer crust instead of a hard, thick one. Plus, the loaf pan encourages a uniform crumb structure, perfect for sandwiches and toast.
Since you don’t need heavy Dutch ovens or steaming setups, using a loaf pan simplifies your baking equipment, making sourdough baking more accessible and practical for everyday use.
Essential Ingredients and Equipment
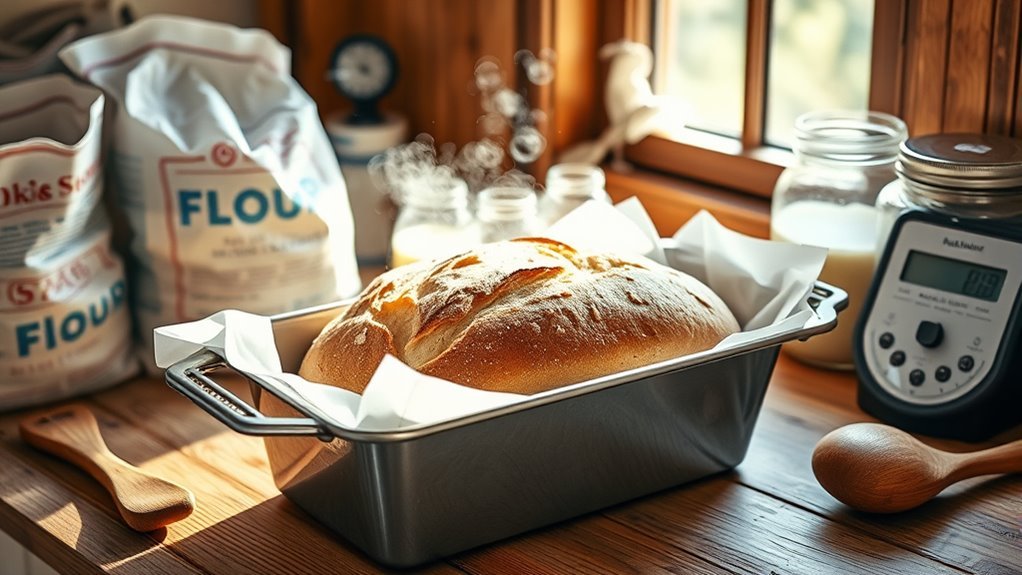
When you bake sourdough in a loaf pan, choosing the right ingredients and equipment is essential to achieving the best results. Start with high-quality bread flour, as its protein content supports gluten development, necessary for a strong loaf structure. Use an active sourdough starter for natural fermentation.
A measuring scale guarantees precise amounts of starter, flour, and salt, which is critical for consistency. Select a 9×5-inch loaf pan made of metal or glass as your baking vessel, and don’t forget loaf greasing or lining to prevent sticking.
For loaf preparation, equip yourself with tools like a proofing basket or bowl and a bench scraper to shape and handle dough efficiently. Having proper baking equipment streamlines the process and improves your sourdough’s texture and rise.
Preparing Your Sourdough Dough
Before you start mixing, make sure your sourdough starter is active and bubbly to guarantee a strong fermentation.
Combine your starter, flour, water, and salt, adjusting hydration to achieve the desired dough consistency.
Over 2 to 4 hours, perform gentle stretch and folds every 15-20 minutes to promote gluten development.
Let the sourdough dough undergo bulk fermentation until it doubles in size, becomes bubbly, and shows a slightly domed surface.
To shape the dough, gently fold it into an oval or batard loaf shape, using a light flour dusting to prevent sticking.
Place the dough in your prepared loaf pan with the seal side down.
Finally, proof the dough until it nearly doubles and passes the poke test, ensuring proper proofing time for the best results.
Shaping Techniques for Loaf Pan Baking
To shape your sourdough for loaf pan baking, focus on creating a tight, oval or batard form that resists cracking during proofing. Use dough folding to build surface tension without deflating air bubbles.
Lightly flour your hands and work surface for airtight shaping. Place the dough seam-side down in the loaf pan to ensure loaf pan support and maintain structural integrity. During the proofing stage, allow the dough to rest and undergo a final proof until it’s puffed and nearly doubled. These shaping techniques optimize proofing dough for even rise and texture.
| Step | Technique | Purpose |
|---|---|---|
| 1 | Oval/batard shape | Prevent cracks |
| 2 | Light flouring | Ease handling |
| 3 | Dough folding | Build surface tension |
| 4 | Seam down in pan | Loaf pan support |
| 5 | Final proof | Structural integrity |
Proofing Methods: Room Temperature and Cold Fermentation
Although proofing sourdough in a loaf pan offers flexibility, you’ll typically choose between room temperature proofing or cold fermentation depending on your schedule and desired flavor.
Room temperature proofing usually takes 4-6 hours, allowing the dough rise to nearly double and pass the poke test.
Cold fermentation, done in the refrigerator for 8 to 24 hours, slows proofing time, enhances gluten development, and deepens flavor. Watch for puffing without becoming over-proofed, as that can cause collapse during baking.
Your proofing environment and starter strength affect timing and results.
- Light, airy dough puffing up gently
- Dough nearly doubling in size at room temperature
- Chilled dough resting calmly in the refrigerator
- Gluten strands relaxing during cold fermentation
- Avoiding over-proofed dough collapse in the loaf pan
Step-by-Step Baking Process in a Loaf Pan
Once your dough has proofed to nearly double in size and feels light and slightly jiggly, it’s time to move it into the loaf pan for baking. Shape dough into a tight loaf and place it seam side down into a buttered or floured loaf pan. Proof in pan until it almost doubles again.
Meanwhile, preheat oven to 450°F (232°C), optionally adding a water tray for steam to enhance crust. Bake for 40-45 minutes, removing steam tray halfway. Let the sourdough loaf cool 10 minutes in the pan, then transfer to a cooling rack to finish cooling.
| Step | Details |
|---|---|
| Shape dough | Tight loaf, seam side down |
| Proof in pan | Until nearly doubled |
| Oven temp | 450°F (232°C) |
| Cooling | 10 min in pan, then rack |
Tips for Achieving the Perfect Crust and Crumb
Achieving the perfect crust and crumb requires attention to how you manage moisture and heat during baking. Since loaf pans limit airflow and steam escape, you can enhance crust color and texture by controlling steam in your oven.
Try these tips to get that ideal crust and crumb:
- Cover the loaf with foil or a lid at first to trap steam and encourage even expansion.
- Place a water tray in the oven’s bottom half to create steam, boosting crust crispness.
- Score the dough before baking to guide expansion and improve texture.
- Remove the loaf from the pan immediately after baking to prevent soggy crust.
- Brush the hot crust with melted butter to soften it slightly and add flavor.
This baking technique balances steam and heat for a crust that’s crisp yet tender inside.
Adjusting Baking Time and Pan Size Considerations
When you switch loaf pan sizes, you’ll need to adjust your baking time to make sure the bread cooks evenly throughout. Larger pans usually require 5-10 extra minutes, while smaller pans need a shorter bake duration to avoid over-browning.
Pan material also impacts baking time. Metal pans heat faster than glass loaf or ceramic pans, which may need a slightly longer bake.
If your bread browns too quickly, lower the oven temperature to maintain even baking.
To nail the perfect bake, use an internal thermometer to check that the sourdough reaches about 200°F (93°C) inside.
Frequently Asked Questions
Can You Make Sourdough Bread in a Loaf Pan?
Yes, you can bake sourdough in a loaf pan. Just grease it, proof your dough fully inside, and bake with steam or water for a soft crust and uniform crumb.
This method is perfect for sandwiches and toast.
Can You Use a Loaf Pan Instead of a Dutch Oven for Bread?
Yes, you can use a loaf pan instead of a Dutch oven. It offers a uniform shape and a softer crust.
With proper proofing plus added steam, you’ll still get good oven spring and delicious sourdough bread.
How Do You Adjust Baking Time for Loaf Pans?
You’ll adjust baking time based on loaf size and pan thickness—smaller loaves need less time, larger ones more. Start checking after 30 minutes, aiming for an internal temperature around 200°F and a golden crust.
What Makes a Loaf Pan Ideal for Sourdough?
You want a loaf pan that’s sturdy, heat-safe, and non-reactive, usually metal or glass. Its size and straight sides keep your sourdough’s shape uniform and guarantee even baking, while proper prep stops sticking and helps slicing.
Conclusion
Baking sourdough in a loaf pan turns your kitchen into a cozy bakery, much like a classic story unfolding. With simple steps and patience, you’ll craft a loaf that’s as comforting as a warm hug. Just like the timeless art of storytelling, each loaf carries its own character—ready to be shared and savored.
So, grab your pan, trust the process, and enjoy the delicious journey from dough to golden crust. Baking sourdough in a loaf pan not only simplifies shaping but also creates a beautiful, uniform loaf. Embrace this method to bring a touch of bakery charm to your home baking experience.