How You Tile Over a Shower Pan Step by Step
You might think tiling over a shower pan is complicated or risky, but with the right steps, you can achieve a durable, waterproof finish. Tiling over a shower pan requires careful preparation, precise cuts, and correct application to ensure a long-lasting result. It’s not just about slapping tiles on the surface—you’ll need a solid plan to avoid leaks and uneven surfaces.
Once you understand the process from prepping the base to sealing the grout, you’ll feel confident tackling this project yourself. Let’s start by looking at how to prepare the shower pan properly.
Prepare the Shower Pan and Waterproofing
Before you begin tiling, make sure the Kerdi shower pan is fully waterproof by performing a water test. Seal the drain, fill the pan, and check for any water level drops overnight. Proper waterproofing is key when working with shower pans, especially if you plan to install small tiles or different styles on the floor or walls.
Ensure your Kerdi shower pan is waterproof by sealing the drain and performing an overnight water test before tiling.
Verify the shower pan flange fits flush against the backer board or cement board, creating a secure barrier. Remember, thinset won’t stick well to the acrylic pan itself, so avoid applying it directly there.
Instead, focus on sealing joints between the tile and shower pan with waterproof caulk, not grout, to prevent cracking.
Following the Schluter Kerdi Shower Kit instructions ensures your sit-in-the-shower area stays leak-free, respecting the integrity of your waterproofing system and your home’s Privacy Policy.
Plan Your Tile Layout for the Shower Pan
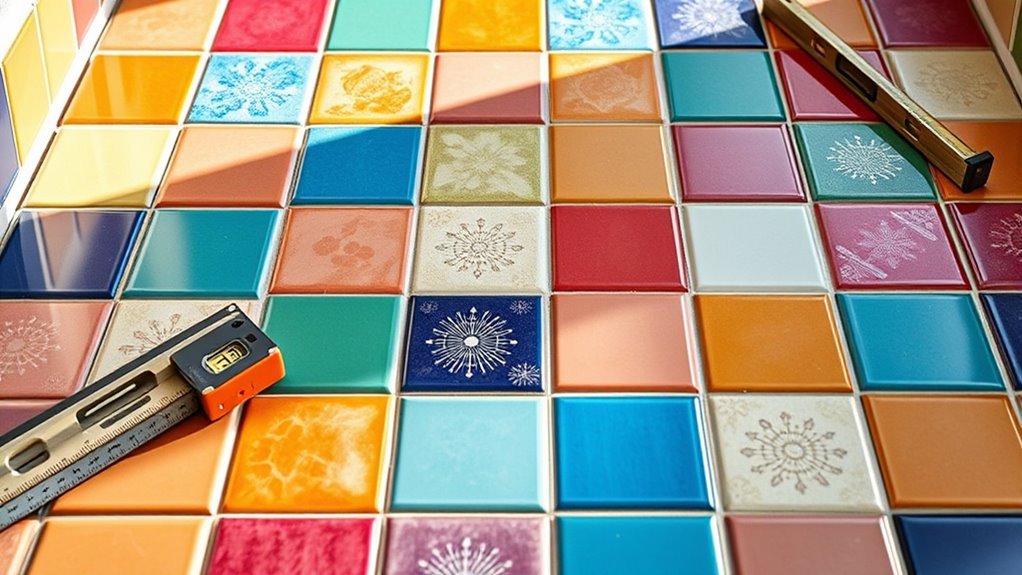
When you plan your tile layout for the shower pan, you’ll want to maximize full tiles and minimize tiny slivers, especially near the drain and edges. Start by establishing a grid or chalk lines to guarantee consistent grout joints and a balanced design.
Consider your tile size carefully: larger tiles reduce cuts and waste, while smaller mosaic tiles offer more flexibility around complex areas like the drain. Your tile orientation and arrangement should account for the pan’s lip and drain placement to create a flush, watertight connection.
This thoughtful layout plan helps you achieve a cohesive and visually appealing shower pan surface that’s both functional and attractive, setting the stage for a smooth installation process.
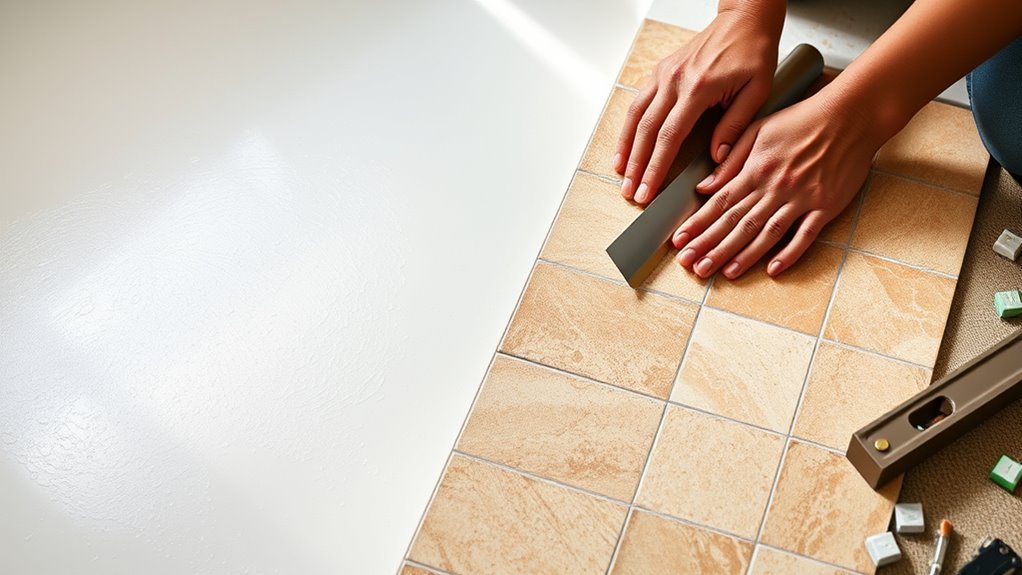
Dry Fit Tiles to Ensure Proper Placement
After planning your tile layout, you’ll want to dry fit the tiles on the shower pan to confirm their placement and fit. Dry fitting means placing the tiles without adhesive, letting you check how they align and ensuring the pattern looks right.
Use spacers during this step to simulate grout lines and maintain consistent spacing. Pay close attention to how the tiles sit around edges and the drain, making adjustments as needed before setting them permanently.
This process helps you spot any tiles that require trimming or reshaping for a clean, seamless finish. Regularly dry fit tiles throughout the project to avoid surprises and keep the overall pattern consistent, making the final installation smooth and precise.
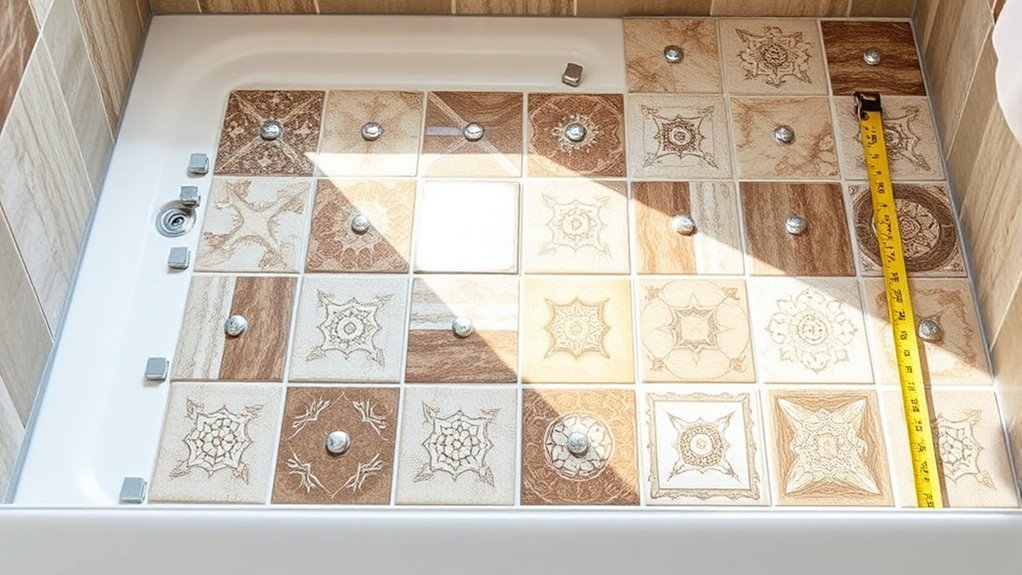
Cut Tiles Precisely Around the Shower Drain
Since the shower drain interrupts the tile layout, you’ll need to cut tiles precisely to fit around it. Start by marking the exact drain location on each tile with a pencil and straightedge.
Use a diamond-tipped Dremel tool or a wet saw with a diamond blade for accurate cutting along these lines. Apply even pressure to avoid chipping or cracking the tile.
If you’re working with mesh-backed mosaic tiles, carefully cut the mesh with scissors to fit around the drain opening.
Always dry fit the cut tiles around the drain before installation to ensure a proper fit.
Making adjustments at this stage saves time and prevents mistakes later in the tiling process. Precise cutting guarantees a clean, professional finish around your shower drain.
Mix and Apply Thinset Mortar Correctly
Although mixing thinset mortar might seem straightforward, you’ll want to follow the manufacturer’s instructions carefully to achieve a smooth, workable consistency. Use a drill with a paddle mixer to mix thoroughly.
When you apply thinset mortar, start with the flat side of a 1/4 x 3/16 V-notch trowel to spread it evenly, then comb the notches in one direction to ensure proper coverage. Press tiles firmly into the thinset to avoid air pockets.
Clean excess thinset promptly with a damp sponge before it hardens.
| Step | Tip |
|---|---|
| Mix | Use paddle mixer for uniformity |
| Apply | Flat side first, then notch comb |
| Press Tiles | Ensure full contact, no voids |
| Clean Excess Thinset | Wipe before drying for smooth finish |
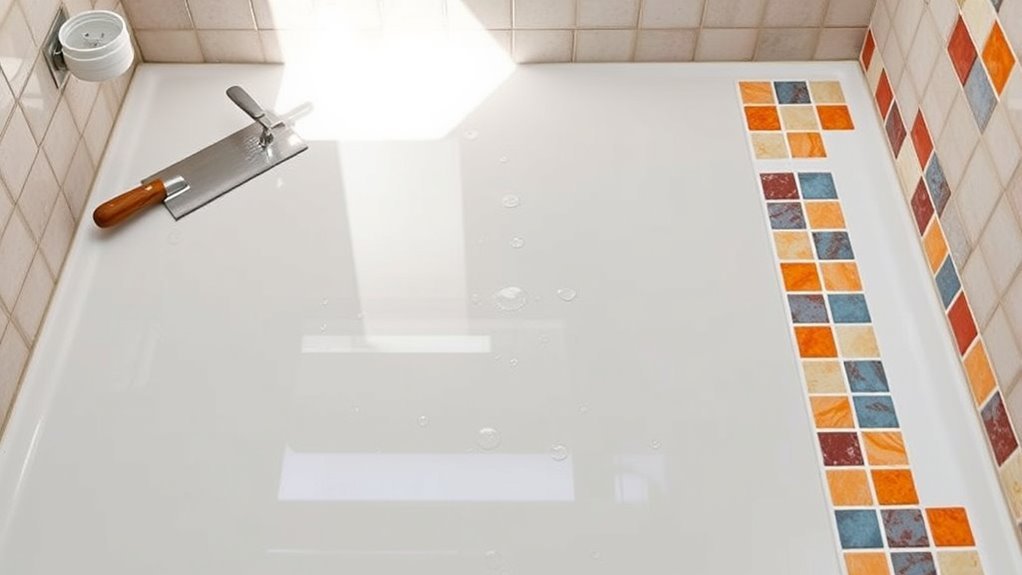
Install Tiles on the Shower Pan Surface
Once you’ve mixed and applied thinset mortar correctly, you’re ready to install the tiles on the shower pan surface.
First, make sure the shower pan is fully waterproofed and cured to prevent leaks.
Use a notched trowel to spread thinset mortar evenly on the pan, creating a strong base for your tiles.
Press each tile firmly into the thinset mortar, maintaining consistent spacing and paying close attention around the drain and edges for proper adhesion.
As you work, wipe away any excess thinset mortar from the tile surfaces and grout lines with a damp sponge to keep things clean.
After all tiles are in place, let the thinset mortar cure for at least 24 to 48 hours before moving on to grouting, ensuring a durable, long-lasting bond.
Set and Adjust the Shower Drain Height
Before you start tiling, you need to set the shower drain height so the flange sits flush with or just above the finished tile surface. Begin by adjusting the drain collar within the thinset mortar to match your planned tile thickness.
Use a level or straightedge to make sure the shower drain height aligns evenly with the surrounding tiles. Check the manufacturer’s instructions for specific height guidelines to avoid mistakes.
Once you set the tiles and the thinset cures, double-check the drain height again before grouting to ensure it remains properly positioned.
This careful adjustment guarantees water flows correctly and prevents pooling around the drain, giving your shower a professional finish.
Remove Excess Thinset and Clean Tiles
While the thinset is still wet, wipe away any excess from the tile surfaces using a damp sponge to keep your work clean and prevent mortar from hardening in unwanted areas. Focus on cleaning grout lines carefully with a damp brush or sponge to avoid hardened mortar in the joints.
Check tiles regularly and remove thinset buildup to ensure a smooth surface for grouting. For stubborn residue, gently scrape with a plastic putty knife or use a grout haze remover after curing. Avoid abrasive tools to protect the tile finish.
| Cleaning Step | Recommended Tool |
|---|---|
| Wipe excess thinset | Damp sponge |
| Clean grout lines | Damp brush or sponge |
| Remove stubborn residue | Plastic putty knife |
Apply Grout and Seal the Tile Joints
How do you guarantee your shower tiles stay waterproof and looking great? The key is properly applying grout and sealing the tile joints. Start by mixing epoxy grout as the manufacturer instructs to assure water resistance and durability.
Proper grout application and sealing are essential for waterproof, durable, and attractive shower tiles.
Use a grout float to press the grout firmly into every joint, filling all gaps completely. Next, immediately wipe off excess grout from tile surfaces with a damp sponge to prevent haze.
Once applied, let the grout cure fully for 24-72 hours before using the shower. After curing, if any haze remains, apply a grout haze remover for a polished finish.
Follow these steps:
- Mix epoxy grout precisely per instructions
- Press grout deep into joints with a grout float
- Wipe excess grout promptly to avoid residue
- Allow grout to cure fully before water exposure
Frequently Asked Questions
Can You Put Tile Over a Shower Pan?
You can tile over a shower pan, but you shouldn’t apply tile directly on the acrylic flange.
Instead, you’ll need to add a cement backer board first, then tile, ensuring proper waterproofing and sealing for durability.
What Is the 3/4/5 Rule for Tiling?
Think of the 3/4/5 rule as your tile’s heartbeat—it guides you to divide tiles by 3, 4, or 5 inches, creating harmony and balance.
You’ll avoid awkward cuts and achieve a flawless, visually soothing pattern every time.
When Tiling a Shower Wall, Do You Start at the Top or Bottom?
You start tiling a shower wall at the bottom. This approach helps you keep tiles level, prevents shifting, and lets gravity hold tiles in place.
It also makes fixing alignment easier before moving upward.
What Are Common Tiling Mistakes to Avoid?
Did you know 70% of tiling failures come from poor preparation? Avoid using thinset on acrylic pans and neglecting grout sealing.
Using tiny edge tiles and ignoring rounded edges can also cause problems. Failing to plan drain height properly may lead to cracking and water damage.
Conclusion
Tiling over your shower pan is like crafting a masterpiece—each step, from waterproofing to sealing, shapes a flawless finish. By carefully planning, cutting, and setting your tiles, you’re not just installing a surface, you’re building a lasting work of art.
Follow these steps with patience and precision, and your shower will stand strong and beautiful. It will be ready to face every splash like a true champion.
Your perfect tile job awaits! Remember, proper shower pan waterproofing and precise tile installation are key to achieving a durable and stunning result.