5 Steps to Pour a Shower Pan on a Concrete Floor
If you’re planning to pour a shower pan on a concrete floor, understanding the proper shower pan installation process is essential. Each step—from mixing the mortar to securing the waterproof membrane—plays a vital role in preventing leaks and ensuring durability.
You must approach the job with care and precision. Knowing how the materials and layers work together creates a reliable base for your shower.
Understanding these key phases will help you avoid common pitfalls and achieve a long-lasting shower pan. Before you start, it’s important to grasp how each component contributes to the overall waterproofing system.
Estimating Materials and Preparing the Mix
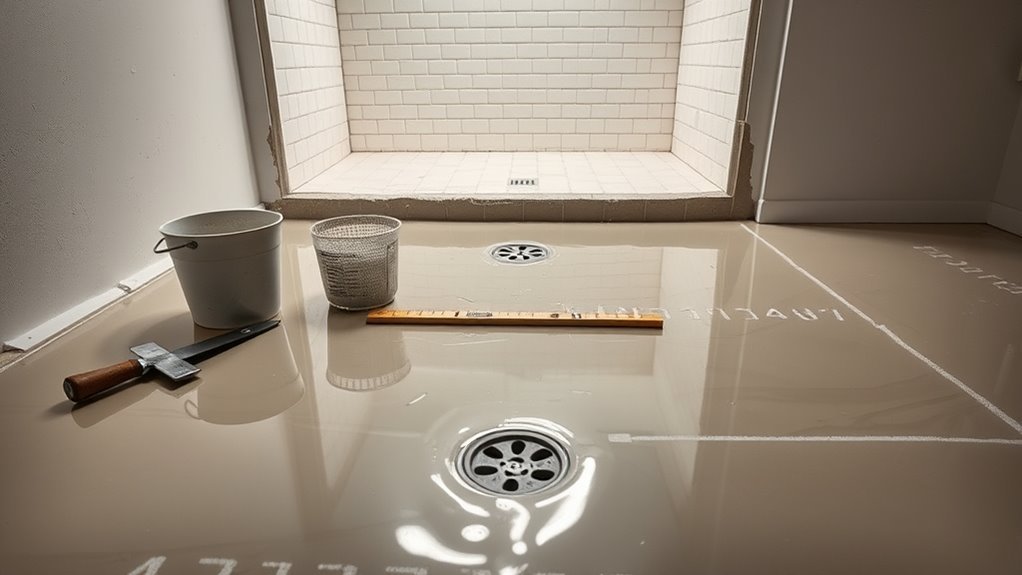
Before you begin pouring your shower pan, you need to accurately estimate the materials and prepare the mix.
Start by measuring the shower area’s length and width, applying a 2-inch depth rule for thickness.
Begin by measuring length and width, then use a 2-inch depth for thickness calculation.
Multiply these dimensions to find the volume you’ll need.
Use tools like the Slab Calculator or Sakrete App to simplify this calculation and determine the exact amount of concrete or mortar required.
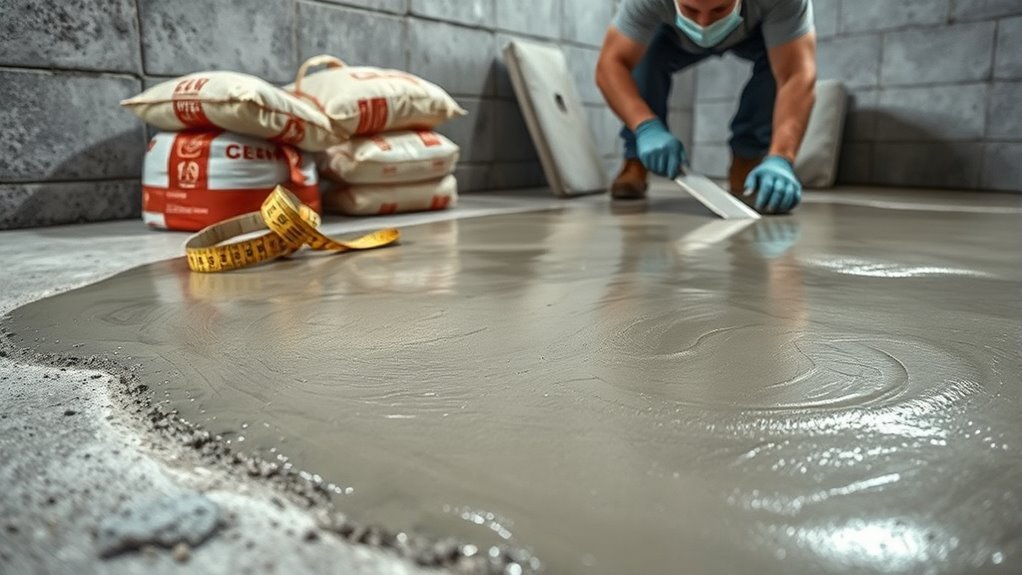
For the mix, prepare dry pack mortar by combining sand and Portland cement with just enough water to reach a snowball consistency.
Mix in batches, ensuring each batch holds its shape without crumbling.
Adjust the water content to maintain a firm but workable texture.
Proper estimation and mix preparation are essential for a durable, well-formed shower pan.
Installing the Cleavage Membrane and Reinforcement
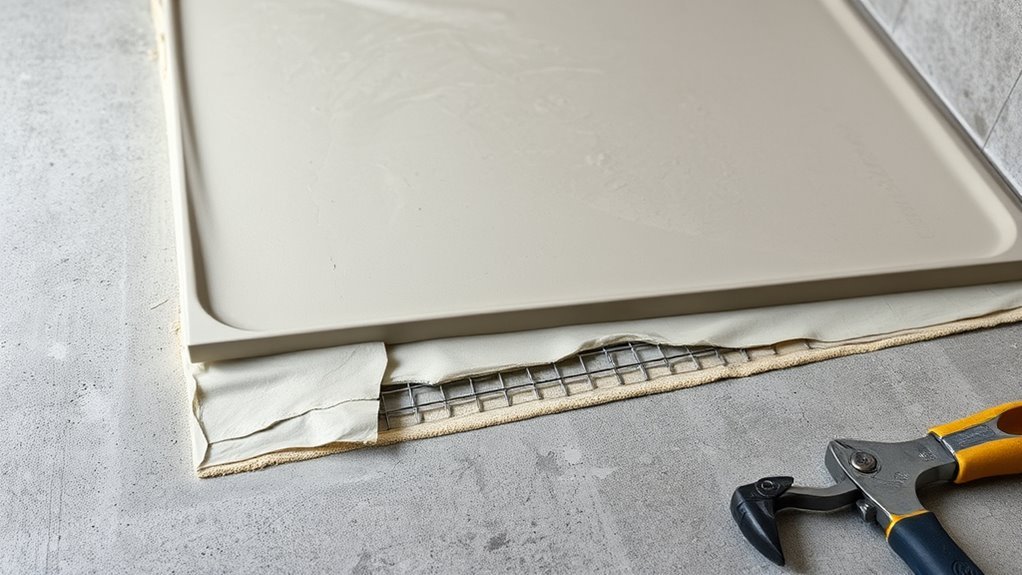
Once you’ve prepared your shower base, install a cleavage membrane by cutting a sheet of building paper or roofing felt to fit, making sure it extends at least 6 inches up the walls. Attach the membrane securely with waterproof adhesive, folding it neatly at corners for a watertight seal.
Cut an X over the drain opening, fold the edges into the drain flange, and secure with a clamping ring and sealant to ensure waterproofing.
Next, lay metal lath or reinforcement mesh over the membrane, securing it every 6 to 8 inches with nails or staples.
Use a level and measuring tape to position the membrane and reinforcement accurately, matching the planned slope for the shower floor. This step guarantees the mortar bed adheres properly and maintains durability.
Calculating and Forming the Pre-Slope Mortar Bed
To guarantee proper drainage, you’ll need to calculate the pre-slope by measuring the distance from the shower drain to the farthest wall and applying a slope of 1/4 inch per foot.
Start by forming a level perimeter around the high point using dry pack mortar, creating a stable edge that guides the slope. Tamp and pack the dry pack material firmly into this perimeter, checking with a level to ensure it stays perfectly level as you work.
Next, fill the center area with dry pack, gradually building up the slope toward the shower drain. Use a straight edge or level to verify a smooth, consistent incline.
Once complete, allow the pre-slope mortar bed to cure for at least 24 hours before moving on.
Applying the Waterproof Membrane and Securing the Drain
How do you guarantee your shower stays leak-free? Start by cutting a waterproof membrane to size, extending it 6 inches up the walls for a secure seal. Fold the membrane neatly at corners, creating a watertight barrier, and adhere it firmly with waterproof adhesive or sealant.
Next, cut an “X” over the drain opening, folding the edges into the drain flange for a tight fit. Secure the membrane by installing the clamping ring and seal over the folded edges around the drain to prevent leaks.
This step is vital before applying the final mortar bed, as it assures water won’t escape beneath your shower pan. Proper membrane application and drain sealing are your best defenses against future water damage.
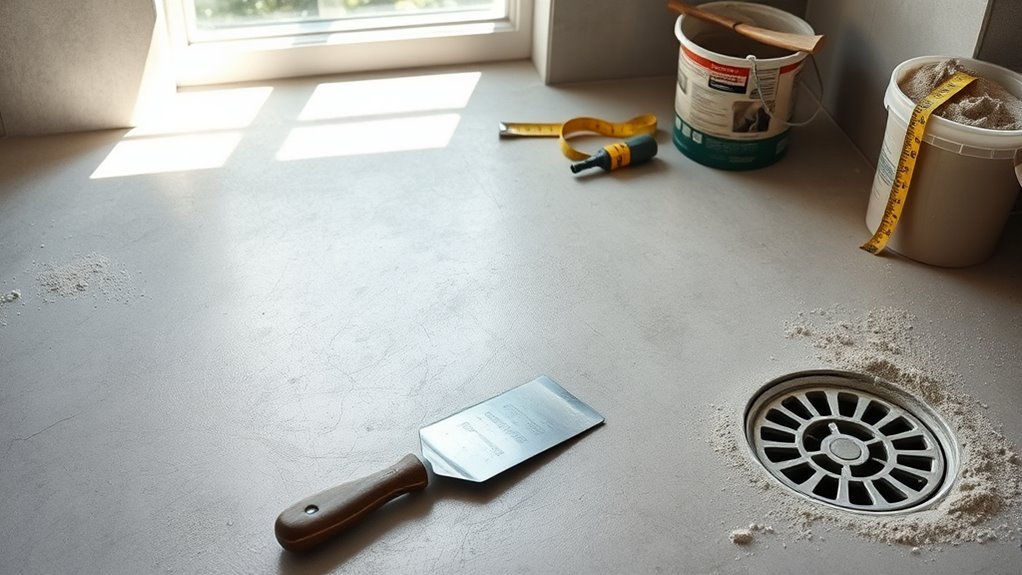
Pouring the Final Mortar Bed and Preparing for Tiling
Before pouring the final mortar bed, make sure the surface is clean and the drain flange is securely tightened to prevent leaks. Cut an X over the drain on the membrane, folding the edges neatly into the flange.
Mix the mortar to a “snowball” consistency, then spread it evenly, maintaining at least a ½-inch thickness.
Pay close attention to slope it ¼ inch per foot toward the drain, using a trowel for a smooth, continuous surface.
Check your work with a straightedge or level, making any necessary adjustments before the mortar sets.
Once poured, allow the mortar bed to cure for at least 16 hours.
After curing, the shower pan will be ready for tile installation, ensuring a stable, well-drained base.
Frequently Asked Questions
What to Put Under a Shower Base on Concrete?
You should put a waterproof membrane directly on the concrete, then add a layer of crushed gravel or a slip sheet for drainage.
Finally, apply a mortar bed with proper slope to support the shower base securely.
How to Lay a Shower Tray on Concrete Floor?
You’ll clean and dry the floor, apply thin-set mortar, position the shower tray carefully, and guarantee it’s level.
Then, secure it firmly and let it set before sealing edges for a watertight finish.
Do I Need to Put Anything Under My Shower Pan?
Yes, you should put a waterproof membrane or a mortar bed under your shower pan. This prevents leaks, provides stability, and protects the concrete floor from water damage.
Ensuring you have this layer in place helps your shower stay durable and leak-free over time. It is an essential step in the installation process for long-lasting results.
What Do You Put on a Concrete Floor Before Tiling?
Before tiling, you’ll spread a bonding primer and a waterproof membrane on the concrete floor, like laying a smooth, protective blanket.
This keeps moisture out and helps your tiles stick firmly, preventing cracks and damage later.
Conclusion
Now that you know how to pour a shower pan on a concrete floor, you’re ready to create a durable, waterproof base for your shower. Did you know that over 60% of bathroom leaks originate from improper shower pan installation? Taking the time to follow these steps carefully can save you costly repairs down the line.
By measuring accurately, maintaining proper slopes, and sealing thoroughly, you’ll guarantee a long-lasting, leak-free shower that stands up to daily use. Proper shower pan installation is essential for preventing water damage and ensuring a safe bathroom environment.
Remember, a well-poured shower pan on a concrete floor is the foundation of a successful shower project. Following these guidelines will help you achieve a professional result every time.