10 Steps to Install a Shower Pan on a Concrete Floor
Did you know that nearly 60% of bathroom renovations involve upgrading the shower area? If you’re planning to install a shower pan on a concrete floor, understanding the proper installation process is crucial. A well-installed shower pan ensures a watertight seal and protects your bathroom from costly leaks and water damage.
From prepping the concrete surface to testing for leaks, each step in the shower pan installation matters. Following these essential steps guarantees a durable and reliable shower base you can trust. Let’s walk through the key stages to achieve a professional-quality shower pan installation on concrete.
Preparing the Shower Area
Before you begin installing the shower pan, make sure you’ve cleared the entire area of debris and dust to create a clean workspace. Start by thoroughly cleaning the concrete floor, removing any grease, dirt, or loose material that could interfere with adhesion.
Check that the floor is level. If you spot any dips or humps, fix them using a self-leveling compound.
Next, block off the shower drain with a plug or tape to prevent debris from falling in and to maintain waterproof integrity during installation.
A clean, level, and obstruction-free concrete floor sets the foundation for a successful shower pan installation, ensuring the drain works properly and the pan fits securely without issues. Taking these preparation steps seriously will save you time and trouble later on.
Gathering Tools and Materials
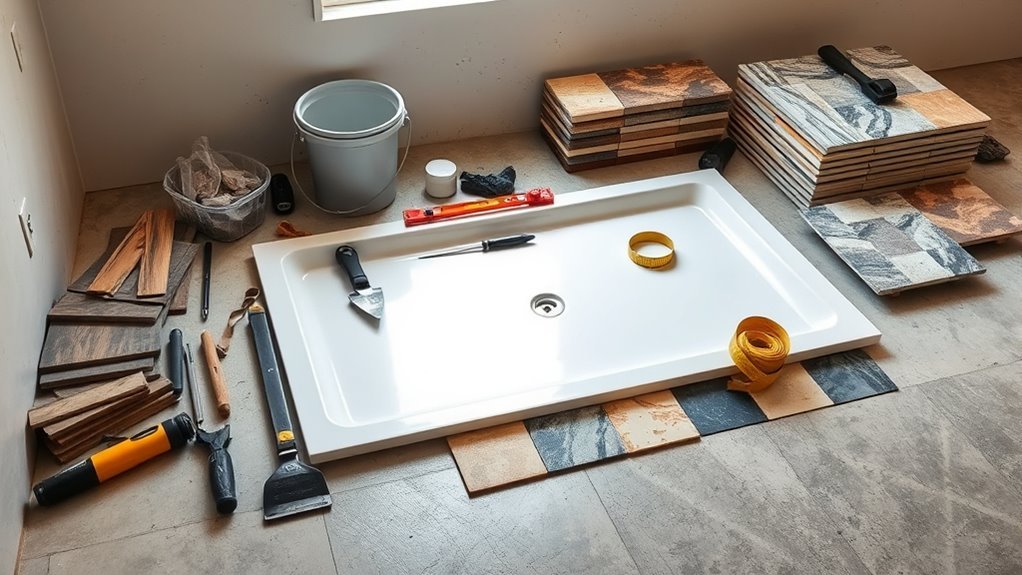
Although the preparation is vital, gathering the right tools and materials guarantees your shower pan installation goes smoothly. Start by collecting essential tools like a level, notched trowel, mixing buckets, measuring tape, and chalk line. These help you measure, mark, and apply materials accurately.
Gather essential tools like a level and notched trowel to ensure precise measuring and application.
For materials, get a high-quality waterproof membrane, shower pan cement, mortar mix, and reinforcement mesh from a reliable tile supplier to ensure durability and effective waterproofing.
Don’t forget the drain flange, which is indispensable for proper drainage.
Finally, wear protective gear such as gloves and knee pads to keep yourself safe and comfortable during the process. Having everything ready will streamline your work and prevent delays.
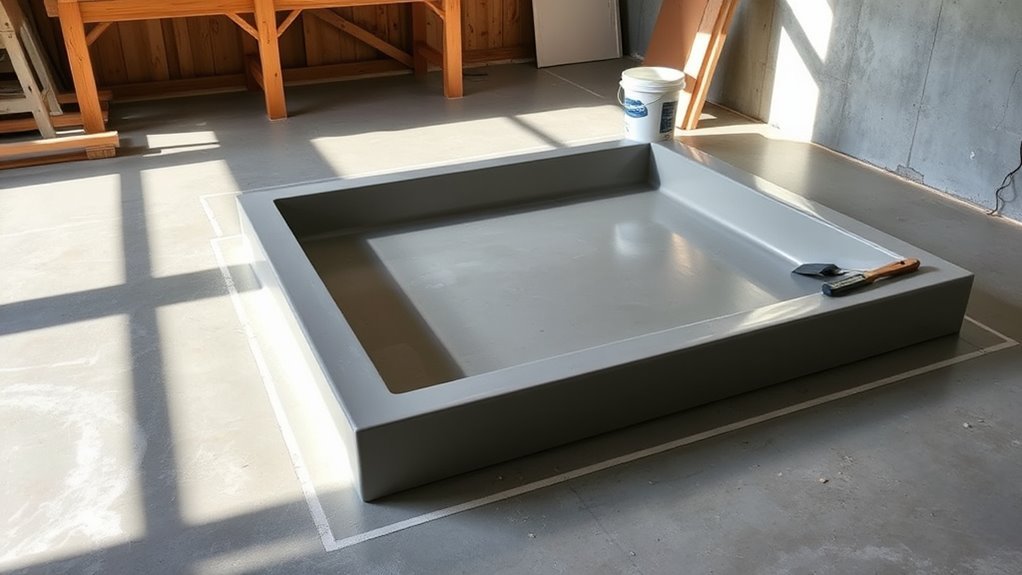
Leveling the Concrete Subfloor
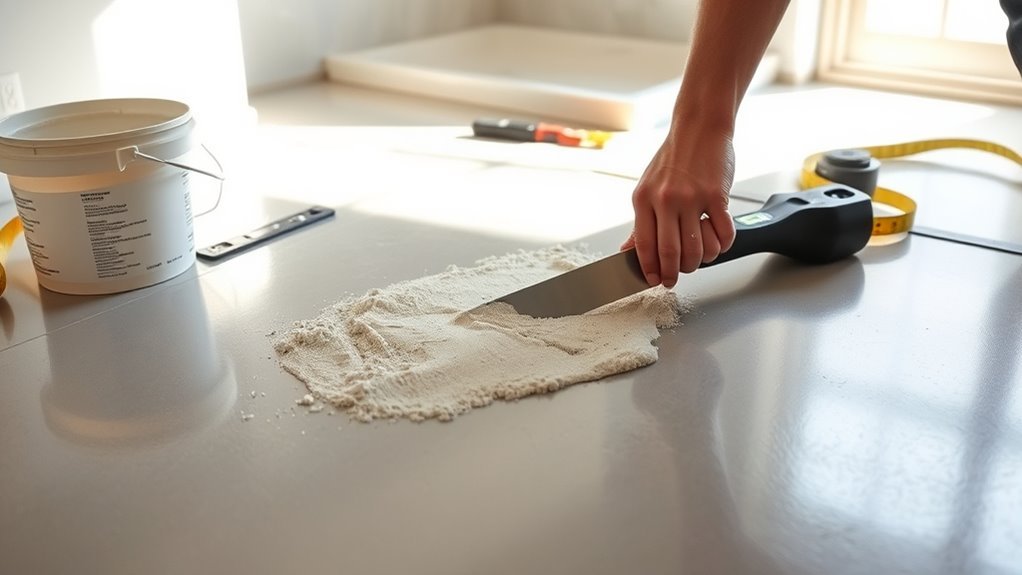
When you start leveling the concrete subfloor, use a long level to check the entire surface for flatness. Identify any low spots that could cause water to pool or the shower pan to sit unevenly.
Apply a self-leveling compound to these areas, spreading it evenly with a trowel to create a smooth, level surface. Allow the compound to fully cure according to the manufacturer’s instructions. Rushing this step can compromise the subfloor’s stability.
Once cured, recheck the subfloor with your level to ensure it’s flat and properly sloped for drainage. Proper leveling of the concrete subfloor is essential; it prevents leaks, guarantees effective drainage, and provides a stable base for your shower pan installation.
Taking your time here sets the foundation for a successful project.
Setting Up the Drain Flange
To guarantee your shower drains properly, you’ll need to set up the drain flange carefully. First, verify the drain flange fits snugly into the concrete floor’s hole without gaps or misalignment.
Next, apply a bead of waterproof caulk around its underside to create a watertight seal between the flange and the waterproofing membrane.
Finally, secure the flange to the subfloor with screws or bolts, tightening them evenly to prevent any movement.
Here’s a quick checklist:
- Confirm the flange is level and about 1/2 inch above the subfloor.
- Tighten the clamping ring or drain body bolts firmly.
- Double-check for a tight seal with the waterproofing membrane.
These steps ensure your drain flange is secure and ready for the next phase.
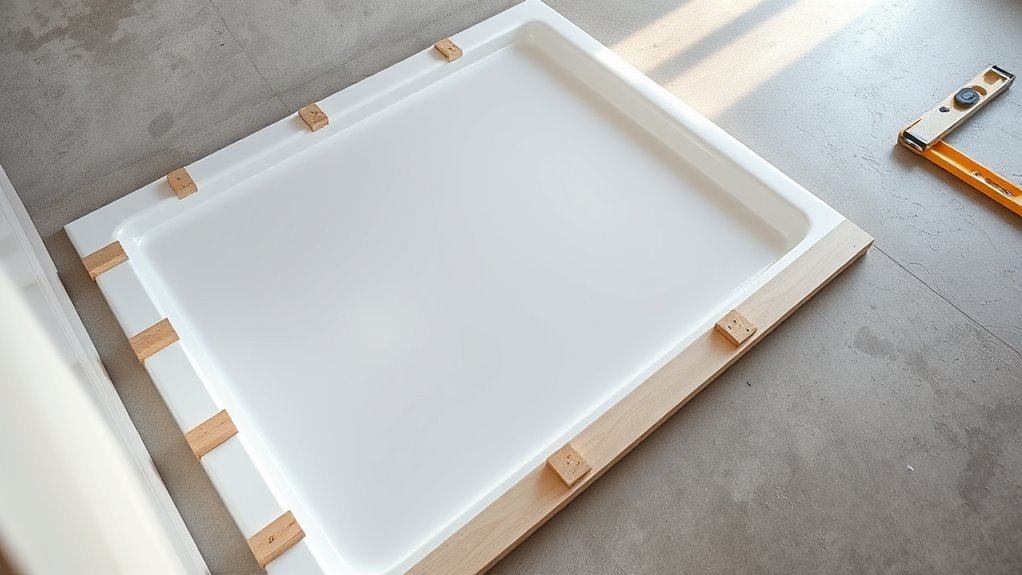
Dry-Fitting the Shower Pan
After securing the drain flange, you’ll want to dry-fit the shower pan to check its placement. Place the shower pan over the prepared mortar bed, aligning the drain hole with the drain flange.
Make sure the edges sit flush against the walls and verify the pan slopes correctly toward the drain without gaps. If needed, adjust the pan’s position to center and level it. Note any misalignments before final installation.
| Task | Checkpoint | Action |
|---|---|---|
| Align Drain Hole | Drain hole & flange | Center drain hole on flange |
| Edge Fit | Pan edges & walls | Ensure edges are flush |
| Slope Verification | Pan slope | Confirm slope directs water |
| Position Adjust | Pan placement | Center and level the pan |
Applying Adhesive and Securing the Pan
Start by applying a continuous bead of thinset mortar or adhesive evenly across the prepared surface to guarantee the shower pan sticks securely.
Next, press the pan firmly into place, making sure it stays level and aligns perfectly with the drain and walls.
To avoid air pockets and ensure a solid bond, gently tap the pan using a rubber mallet or tapping tool.
Follow these steps for best results:
- Apply adhesive evenly to avoid gaps that compromise stability.
- Position the pan carefully, checking it’s level and aligned with surrounding elements.
- Tap lightly to set the pan firmly without shifting its slope toward the drain.
Double-check everything before the adhesive sets, then let it cure as recommended, usually 24-48 hours, before moving on.
Installing the Gasket and Drain Screen
Once the shower pan is firmly set and cured, you can move on to installing the gasket and drain screen. Start by seating the drain gasket properly over the drain opening, applying a bead of silicone caulk around the flange to ensure a watertight seal.
Next, place the drain screen securely over the gasket, aligning it carefully and tightening according to the manufacturer’s instructions to prevent leaks. Make sure the drain gasket is evenly compressed and fully seated to avoid any water seepage.
Use a level to confirm the drain and screen sit flush with the pan surface for ideal drainage.
Finally, perform a water test to verify the gasket and drain screen are sealed tightly and no leaks occur before proceeding.
Folding and Securing the Pan Liner
When you fold the pan liner’s edges at the marked height on the wall framing, you create a watertight seal that guarantees proper overlap. Next, secure the liner carefully to prevent leaks and ensure durability. Follow these steps:
- Staple the folded liner edges firmly to the studs, avoiding gaps.
- Apply waterproof sealant along all folds and corners to reinforce the seal.
- Attach the liner to the drain flange with a clamp or ring, folding it neatly into the drain for a tight fit.
Check the entire liner for wrinkles or gaps after securing. This careful folding and sealing process protects your shower base from water damage, providing a reliable, leak-proof foundation before moving forward.
Performing a Leak Test
To guarantee your shower pan is fully waterproof, fill it with water so the surface is completely covered without overflowing. Conduct a water test by observing the water level for at least two hours. This helps with leak detection and confirms the seal integrity of your pan.
Check all seams, corners, and around the drain for any water seepage or level drops. Ensure the gasket and drain assembly are sealed tightly. If you spot any leaks, fix them before moving forward.
| Area Checked | What to Look For | Action if Leak Found |
|---|---|---|
| Seams and Corners | Water seepage | Seal or replace liner |
| Drain Assembly | Water escaping | Tighten or reseal |
| Water Level | Decrease in level | Identify and repair leak |
Final Inspection and Cleanup
After confirming there are no leaks in the seams, corners, and drain assembly, you should proceed with a final inspection to make certain the shower pan is securely installed and level. This step guarantees long-lasting performance and prevents future problems.
During your final inspection, focus on these key areas:
- Check the waterproof membrane and sealant for any cracks or gaps that might allow water intrusion.
- Verify the pan is firmly bonded to the concrete, preventing any movement or shifting.
- Conduct a thorough cleanup by removing tools, debris, and excess materials from the area, then clean the surrounding surfaces with gentle agents.
Proper final inspection and cleanup are essential to a successful shower pan installation, ensuring durability and a safe, tidy workspace.
Frequently Asked Questions
What to Put Under a Shower Base on Concrete?
You should put a waterproof membrane, like 15# building felt or Ditra, under the shower base on concrete. It prevents bonding, seals moisture, and guarantees durability.
Secure it properly to avoid leaks and movement issues.
How to Install Shower Tray on Concrete Floor?
You’ll clean and level the floor, lay a bond break, dry-fit the tray, then apply mortar or adhesive.
Place the tray carefully, secure it, align the drain, and test for leaks.
Before waterproofing and tiling, ensure everything is properly set and sealed.
What Are Common Shower Pan Installation Mistakes?
You’ll often mistake poor mortar bed slope causing pooling, insufficient waterproof membrane coverage, using wrong thinset, improperly securing the liner, or skipping the flood test.
Avoid these to prevent leaks and water damage later.
Is It Necessary to Put Mortar Under a Shower Base?
Think of mortar as the foundation of a sturdy bridge—you absolutely need it under your shower base. It keeps everything level, supports weight, prevents cracks, and stops leaks, ensuring your installation stays solid and leak-free.
Conclusion
Installing your shower pan on a concrete floor is like laying the foundation for a fresh start—each step builds a watertight promise of comfort and peace. By preparing carefully, sealing every joint, and testing for leaks, you’re not just crafting a shower; you’re creating a sanctuary where water flows freely, yet never escapes.
Trust the process, and you’ll enjoy the lasting strength and serenity that comes from a job done right. Following the 10 steps to install a shower pan on a concrete floor ensures durability and prevents water damage. Proper installation guarantees a secure, leak-free shower area that enhances your bathroom’s functionality and aesthetic.