How Do You Use a Springform Pan in 7 Simple Steps
When you’re ready to bake delicate desserts like cheesecakes or layered cakes, knowing how to use a springform pan can make all the difference. Using a springform pan correctly ensures your dessert comes out perfectly shaped and intact. It’s not just about choosing the pan but also assembling it correctly and preparing it to prevent sticking.
If you want to achieve clean edges and easy removal without damaging your creation, there are key steps you’ll want to follow carefully. Let’s take a closer look at how to handle your springform pan from start to finish.
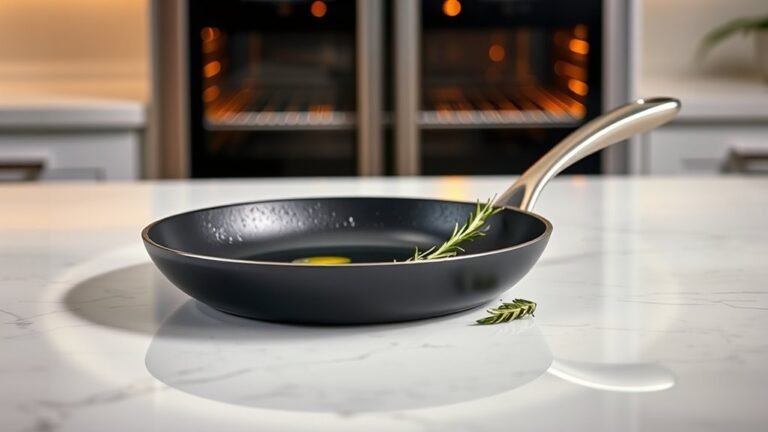
Select the Right Size and Type of Springform Pan

When you choose the right size and type of springform pan, you set the foundation for a successful bake. Springform pans come in various pan sizes, typically between 4 and 12 inches in diameter. For standard recipes, an 8 or 9-inch pan size works best.
Pick a light-colored, non-stick finish to ensure even baking and easy release, especially for delicate desserts like cheesecakes.
Consider the pan depth too. Deeper pans (3 inches or more) handle layered cakes or thick crusts well, while shallower pans suit thinner cakes.
Your pan size should match your recipe’s yield. Larger pans fit big gatherings, smaller ones are perfect for individual treats.
Choosing wisely helps you avoid common baking setbacks and guarantees a neat, delicious result every time.
Assemble and Secure the Pan Properly
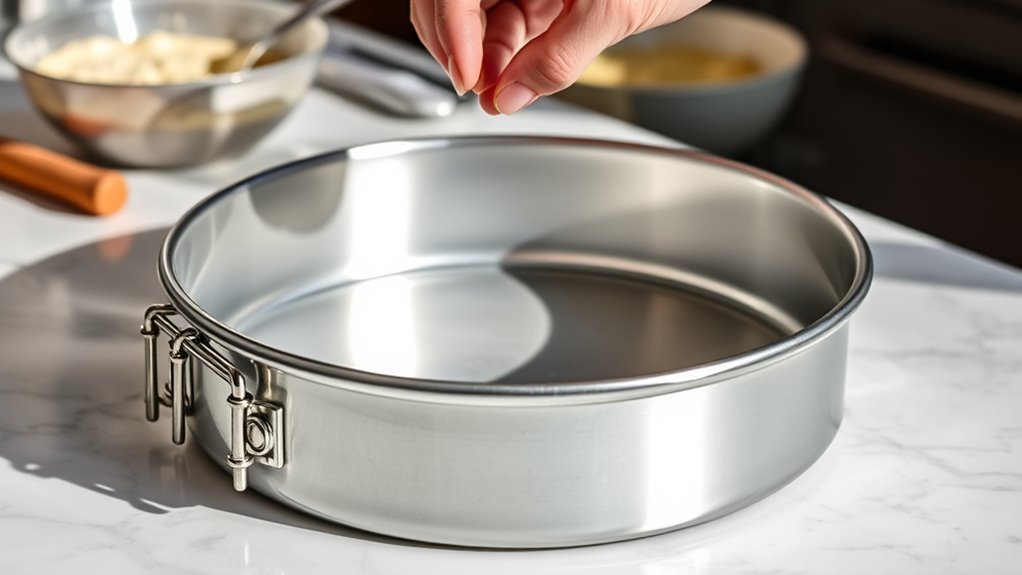
Before adding any batter, you need to assemble and secure your springform pan properly to prevent leaks and guarantee even baking.
Start by placing the round base on a clean, dry, flat surface.
Next, fit the high-sided band around the base, ensuring the lip of the base sits securely inside the band.
Align the edges of the band so they’re flush and even, avoiding any gaps.
Then, close the clamp on the side of the band, pressing down firmly until you hear it click into place.
Finally, double-check that the clamp is fully secured and the sides are tightly sealed.
Properly assembling and securing your springform pan sets the foundation for a successful bake without messy spills.
Prepare the Pan With Grease or Parchment Paper
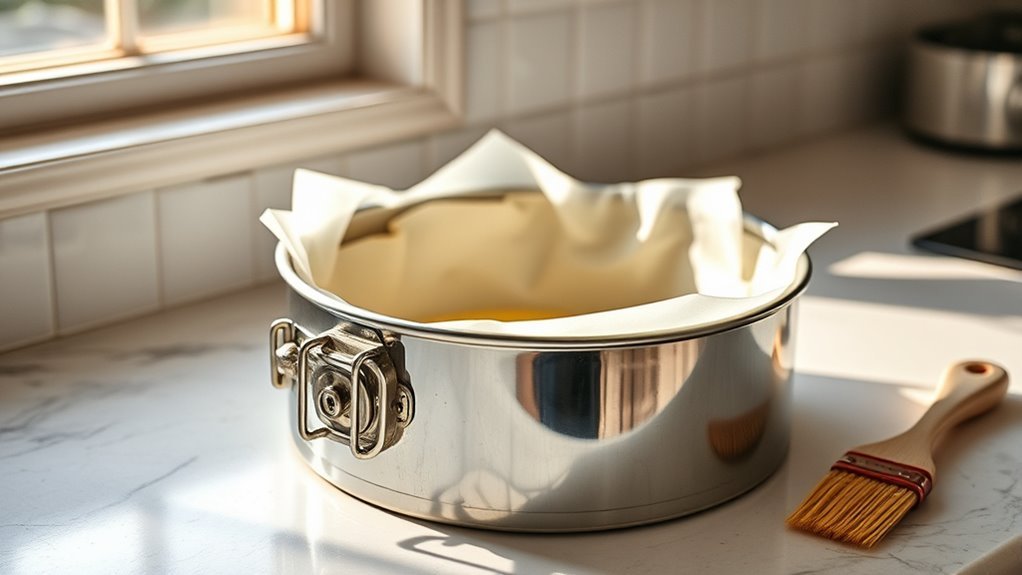
Although your springform pan is designed for easy release, you’ll want to lightly grease the bottom and sides with non-stick spray or butter to prevent sticking. Use just enough grease to cover the surfaces evenly. Too much can cause your batter to slide or bake unevenly.
For extra assurance, cut a circle of parchment paper to fit the pan’s interior bottom and place it flat to avoid wrinkles or bubbles. This extra step helps guarantee your cake or dessert will release cleanly.
Before greasing, check your springform pan’s non-stick coating is intact and scratch-free for the best results. Taking these simple precautions ensures your baked goods come out perfectly every time without sticking or tearing.
Pour or Press Your Recipe Mixture Evenly
To achieve an even bake, you’ll want to spread or press your mixture evenly across the bottom of the prepared springform pan. Use a spatula or the back of a spoon to spread the mixture smoothly, ensuring there are no gaps or uneven spots.
For recipes like cheesecakes or tarts, gently press the mixture into an even layer, applying consistent pressure from the center outward. This helps avoid uneven thickness and promotes uniform baking.
You can use a straight-edged tool or the bottom of a glass to smooth the surface and eliminate air bubbles.
If your recipe has layers, pour or press each layer carefully, making sure each is level before adding the next.
This keeps your dessert looking neat and professional in the springform pan.
Bake According to Your Recipe’s Instructions
When you’re ready to bake, make sure you follow your recipe’s specific instructions for oven temperature and baking time to get the best results.
Properly preparing your springform pan by greasing or lining it as the recipe suggests is essential before pouring in your mixture.
Place the filled springform pan on the middle rack of your oven to ensure even baking throughout the process.
If your recipe calls for a water bath or if you’re worried about leaks, set a baking sheet under the pan for extra protection.
Keep an eye on the baking time and test doneness with a toothpick or cake tester as directed.
Sticking to these steps will help you achieve perfectly baked results every time.
Allow the Baked Item to Cool Before Removing
Since the baked item needs time to set properly, you should let it cool completely in the springform pan before removing the sides. Cooling allows the structure to firm up, making it easier to release the dessert without cracking or damaging it.
Allow your baked creation to cool fully in the springform pan for clean, damage-free removal.
After you bake, wait at least 20-30 minutes for smaller items and up to an hour for larger, dense baked goods.
Before cooling, you can gently run a thin knife or spatula around the edge to help loosen the sides.
For best results, transfer the springform pan to a wire rack to cool evenly.
This careful cooling process guarantees your baked item maintains its shape and texture, preparing it for smooth removal later without compromising its delicate structure.
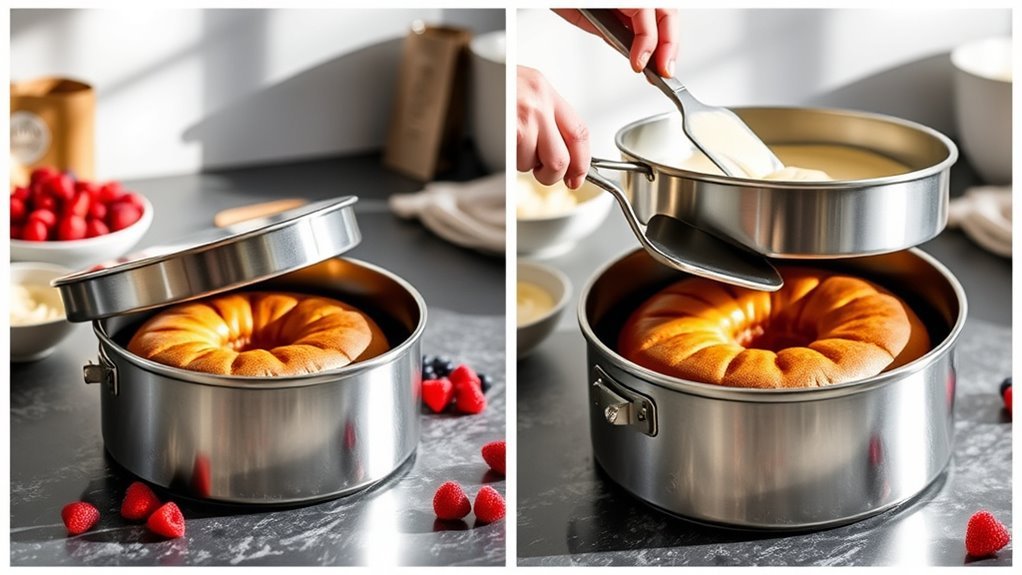
Release the Clamp and Carefully Remove the Sides
How do you guarantee your baked good stays intact while removing the springform pan’s sides? First, ensure your dessert has cooled completely, as warm items are fragile and prone to breaking.
To release the clamp, gently lift it to expand the ring without forcing it. Before unclipping, carefully slide a thin knife or spatula around the edges to loosen any sticking points between the baked item and the sides.
Once the clamp is open, slowly lift the sides straight up to avoid damaging delicate edges. Support the bottom of the pan with your hand for added stability as you remove the sides.
Frequently Asked Questions
What Is the Correct Way to Use a Springform Pan?
You assemble the pan, grease or line it, pour in your batter, and bake as directed.
Once cooled, you loosen the clamp and carefully remove the sides, releasing your baked good without damage or sticking.
Do You Grease and Flour a Springform Pan?
Yes, you should grease your springform pan to prevent sticking, then lightly flour it to add extra non-stick protection.
This helps your baked goods release cleanly and keeps the edges neat and presentable.
Which Way Does the Bottom of a Spring Form Pan Go?
To get the ball rolling, place the springform pan’s bottom with the smooth side facing up.
Make sure it’s snug in the ring to avoid leaks—secure it tight, so your cake comes out picture-perfect every time.
How to Bake a Regular Cake in a Springform Pan?
You grease the pan, pour in batter evenly, then bake it on the center rack at your recipe’s temperature.
After baking, cool it 10-15 minutes, unclamp the sides carefully, and transfer the cake to cool fully.
Conclusion
Using a springform pan is as easy as snapping together your favorite puzzle. Just follow these simple steps, and you’ll have a perfectly baked dessert every time.
From choosing the right size to carefully removing the sides, each part of the process guarantees your creation stays intact and looks amazing.
So go ahead, bake with confidence, and enjoy the satisfying moment when your cake comes out flawless and ready to impress! Mastering how to use a springform pan will elevate your baking and make every dessert a success.