How Do You Pan Fry Chicken Thighs in 10 Easy Steps?
If you want juicy, flavorful chicken thighs with crispy skin, pan frying chicken thighs is a great method to try. You’ll need to choose the right cuts, season them properly, and master the timing on your stove to get the best results.
It’s easier than you might think, but there are key steps that make all the difference. Before you start, consider how each step affects the final taste and texture—you might be surprised at what really matters. With these tips, you can enjoy perfectly cooked pan-fried chicken thighs every time.
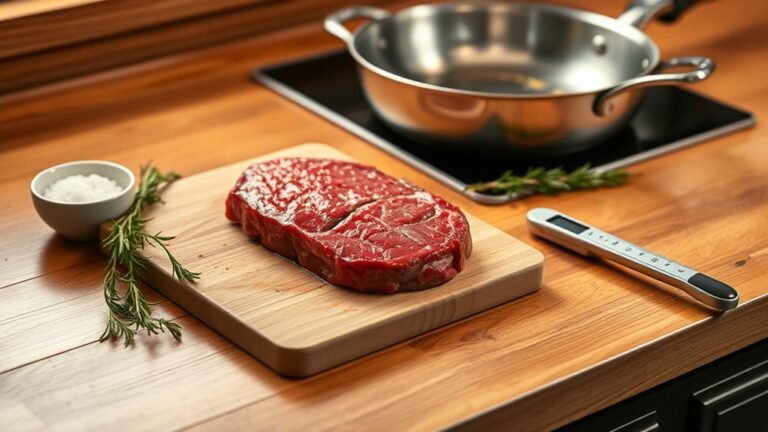
Selecting the Best Chicken Thighs
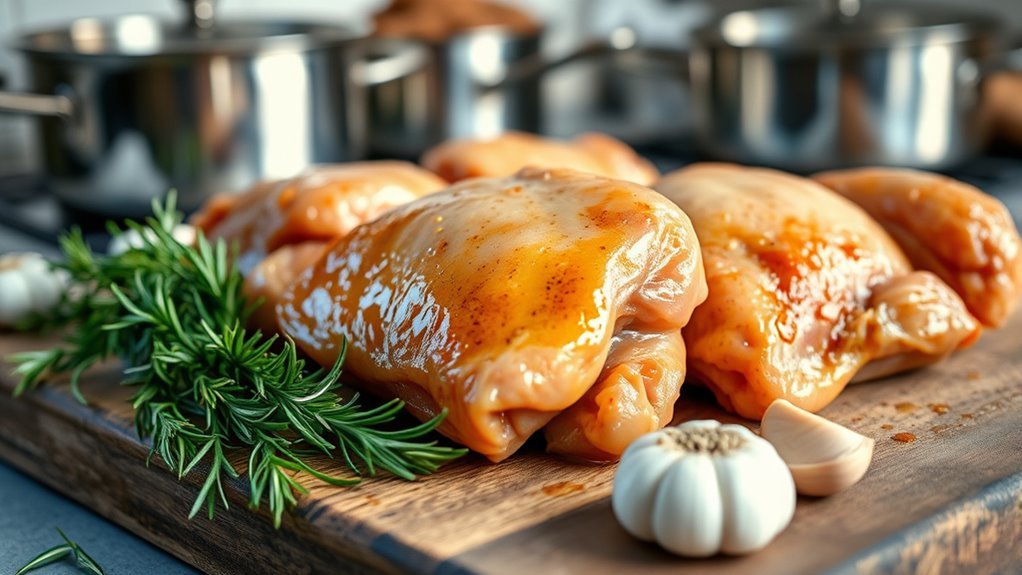
When selecting chicken thighs for pan frying, choose bone-in, skin-on pieces to achieve juicy meat with crispy skin. Focus on quality by picking fresh thighs with even coloring and no unpleasant odors. Avoid any discoloration, which signals lower quality or spoilage.
Opt for chicken thighs that are uniform in size; this helps ensure they cook evenly, so you don’t end up with some overdone while others are undercooked. Stay away from overly large or tiny pieces, since they’ll need different cooking times and affect your final result.
Check the packaging, too. Vacuum-sealed or airtight containers keep the chicken fresh and prevent freezer burn. With these tips, you’ll have the perfect skin-on chicken thighs ready for pan frying.
Preparing and Drying the Chicken
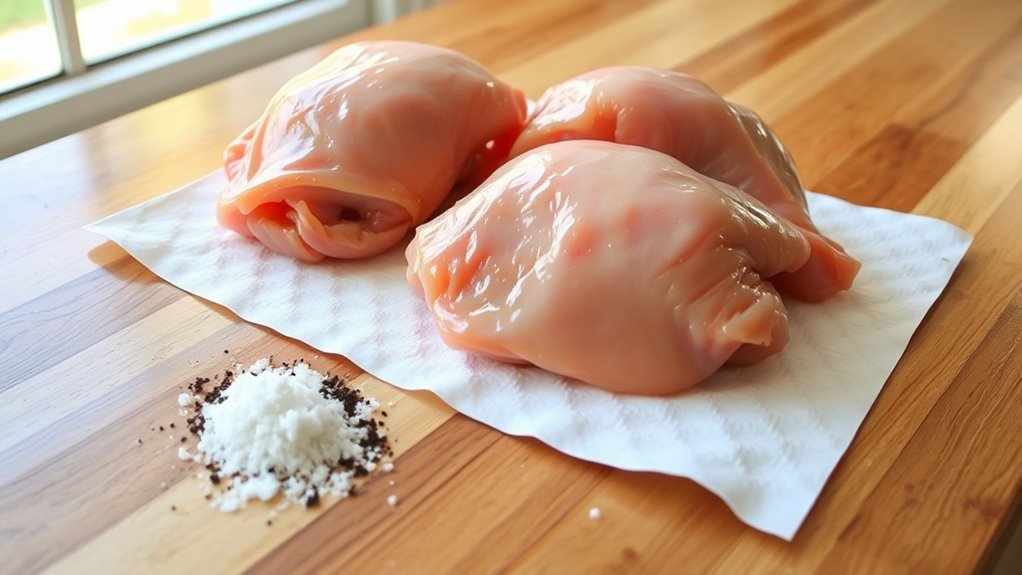
After choosing the best chicken thighs, the next step is to prepare them properly for pan frying. To achieve that perfect crispy skin, you need to dry chicken thoroughly before cooking. Use paper towels or a clean kitchen towel to pat dry both sides of each thigh, removing all excess moisture.
Dry chicken thighs thoroughly with towels to ensure perfectly crispy skin when pan frying.
Moisture on the surface causes splattering and prevents the skin from browning evenly. Taking the time to pat dry ensures your chicken develops a golden, crispy skin while cooking evenly inside.
Avoid skipping this step; it’s essential for a delicious, crispy exterior and reduces mess in your pan.
Once your chicken is completely dry, you’re ready to move on to seasoning and then pan frying with confidence.
Mixing the Perfect Seasoning Blend
Although seasoning might seem simple, mixing the perfect blend is key to elevating your pan-fried chicken thighs.
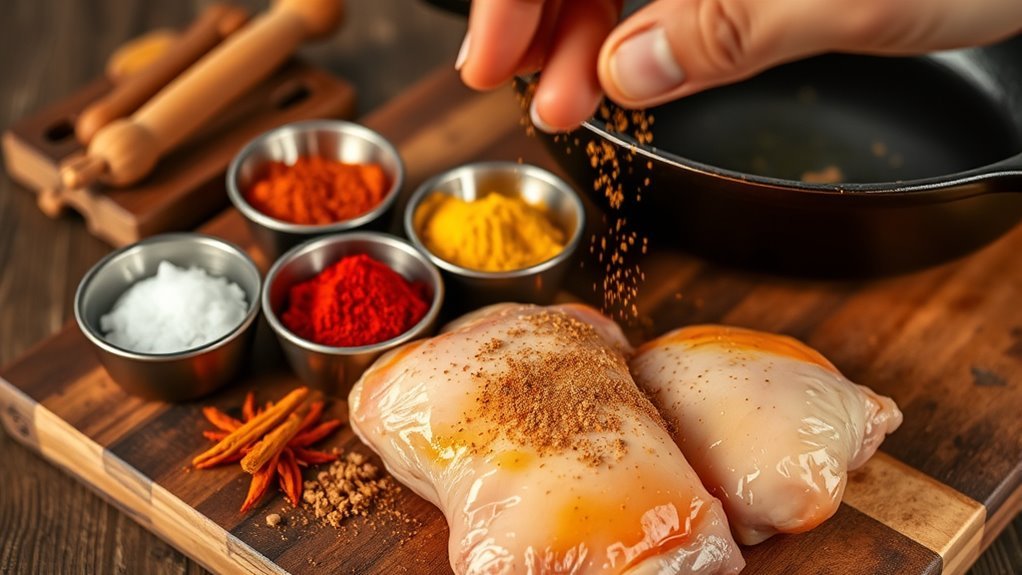
Start by combining equal parts onion powder, cumin, coriander, and paprika, then add a bit less turmeric to balance the flavors.
Measure about 2 teaspoons of spices total, adjusting based on the number of chicken thighs you’re cooking.
Mix the spices thoroughly in a small bowl or jar to guarantee even flavor distribution.
You can also boost the blend by adding herbs like thyme or rosemary, but keep the total seasoning around 2 teaspoons per batch.
This seasoning blend will give your chicken thighs a rich, well-rounded taste that enhances every bite.
Applying Seasonings Evenly
Once you’ve mixed your seasoning blend, the next step is applying it evenly to your chicken thighs. First, pat dry the chicken with paper towels. This helps the seasonings stick better.
Then, sprinkle your spices in a circular motion, ensuring you cover every nook and cranny. Rub the seasoning firmly onto all sides so the flavors penetrate evenly.
Sprinkle spices in circles and rub firmly to cover every part, ensuring even flavor penetration.
Keep these tips in mind:
- Pat dry to remove moisture and help spices adhere
- Apply evenly using circular motions and gentle pressure
- Season just before cooking to maintain spice potency
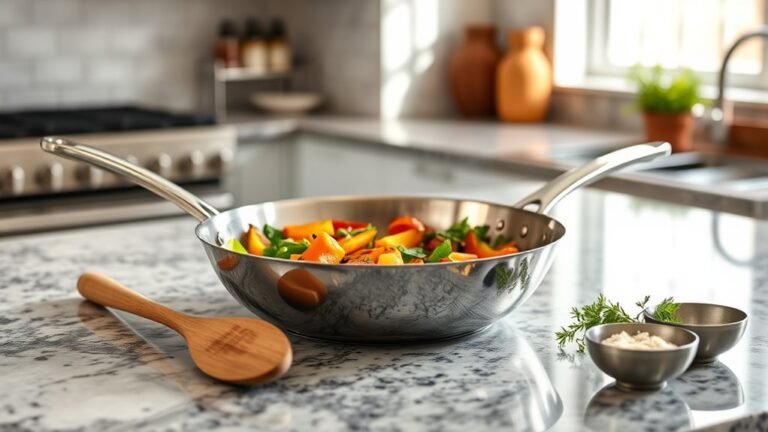
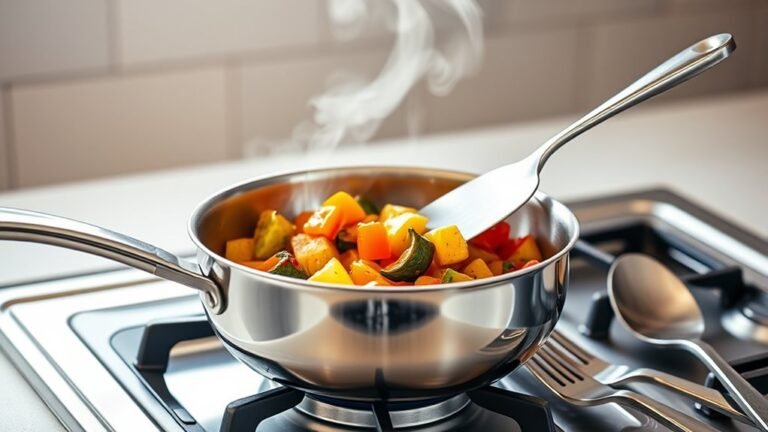
Heating the Pan and Adding Oil
Before you add oil, preheat a heavy skillet like cast iron over medium heat to guarantee even cooking and a perfect sear.
Make sure the skillet is hot before you pour in 1 to 2 tablespoons of high-smoke-point oil such as vegetable, canola, or light olive oil.
Heating the oil properly is key; wait until it shimmers and gently ripples, signaling it has reached the ideal temperature for frying.
Swirl the oil around the skillet to coat the entire bottom evenly, which prevents sticking and helps develop crispy skin on your chicken thighs.
Once the skillet and oil are hot, you’re ready to move on to placing the chicken skin-side down for cooking.
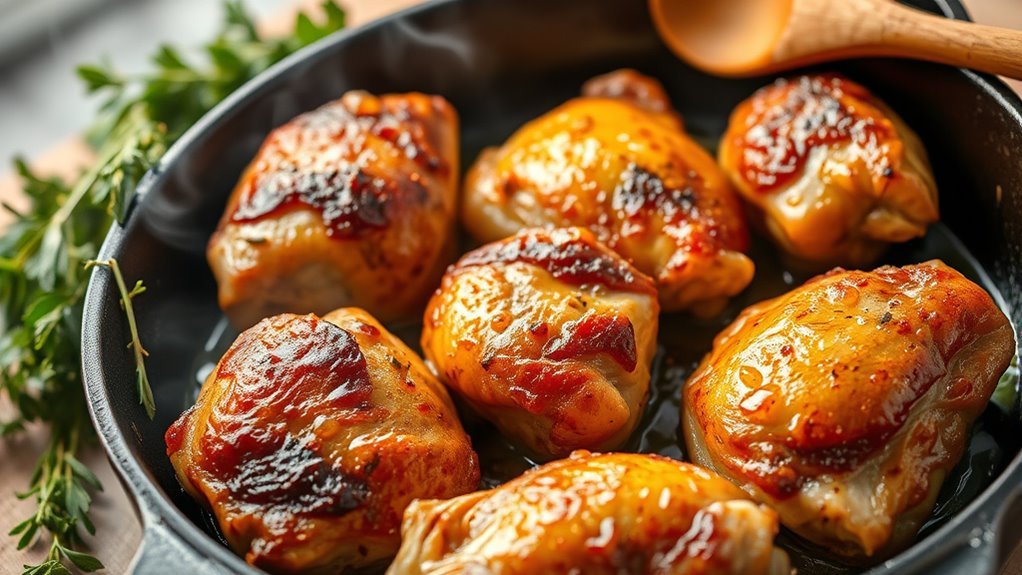
Cooking Chicken Skin-Side Down
When you place the chicken thighs skin-side down in the hot skillet, press them gently to guarantee even contact for a perfect sear. This step is vital for searing chicken thighs properly, ensuring the skin crisps up beautifully.
Cook the chicken skin-side down uncovered for about 8-10 minutes. Don’t flip too soon; wait until the skin naturally releases from the pan and turns golden brown. This patience results in crispy chicken with rendered fat that adds flavor.
Keep in mind:
- Use medium heat and enough oil for even cooking.
- Avoid moving the thighs during searing to develop a crust.
- Look for a deep golden color before flipping.
Mastering chicken skin-side down cooking means perfectly seared, crispy chicken every time.
Flipping and Cooking the Other Side
Although it might be tempting to flip the chicken early, wait until it naturally releases from the pan to preserve the crispy, golden crust you’ve worked hard to develop.
When it’s ready, use tongs or a spatula to gently flip the chicken, being careful not to tear the skin or lose juices.
Remember, flip the chicken only once to ensure even searing on both sides.
After flipping, cook the other side for about 12-15 minutes.
Keep an eye on the internal temperature; it should reach 165°F (74°C) for safe consumption.
Let the chicken rest briefly after flipping; this helps the juices redistribute and keeps the meat tender.
Adding Garlic and Deglazing the Pan
As the chicken finishes cooking, toss in sliced garlic during the last minute or two to infuse the oil with its aroma without letting it burn. Once the garlic releases its fragrance, remove the chicken and set it aside.
Pour a splash of broth or wine into the hot pan for deglazing. Use a wooden spoon to scrape up the flavorful browned bits stuck to the bottom, forming the base of a rich pan sauce.
Let the liquid simmer and reduce slightly to intensify those drippings. Finally, drizzle the pan sauce over the chicken or stir in herbs or butter for extra richness.
Remember these key points:
- Add garlic late to prevent bitterness
- Deglaze with liquid to lift fond
- Simmer sauce to concentrate flavors
Checking for Doneness
After you’ve removed the chicken and prepared the pan sauce, it’s time to guarantee your chicken thighs are cooked perfectly. Use a meat thermometer to check the internal temperature, inserting it into the thickest part of the thigh, avoiding bones.
The safe minimum temperature for doneness is 165°F (74°C). However, many cooks prefer an internal temperature between 170°F and 180°F (77°C to 82°C) for ideal tenderness.
If you don’t have a thermometer, pierce the chicken with a skewer or fork; clear juices running out indicate doneness.
Ensuring the proper temperature not only keeps you safe but also locks in flavor and juiciness.
This step is vital before moving on to resting and serving your perfectly pan-fried chicken thighs.
Resting and Serving the Chicken
Once you finish cooking, let your chicken thighs rest for at least five minutes to allow the juices to redistribute and keep the meat moist and tender. Resting helps the internal temperature stabilize around 165°F (74°C), ensuring safe, perfectly cooked chicken.
To preserve crisp skin and prevent moisture loss, place the thighs on a cutting board or plate, loosely covered with foil. When you serve the chicken right after resting, you lock in flavor and texture.
Keep these points in mind during resting and serving:
- Resting keeps the juices inside, preventing them from spilling out when sliced.
- Cover loosely with foil to maintain crispness.
- Serve immediately after resting for the best taste and tenderness.
Frequently Asked Questions
How to Pan Fry Chicken Thighs Properly?
You should pat the thighs dry, season them, and heat oil in a skillet. Cook skin-side down until crisp, flip, and continue cooking until the internal temperature hits 165°F.
Let them rest before serving.
How Long Does It Take to Pan Fry Chicken Thigh Pieces?
You’ll typically pan fry boneless chicken thigh pieces for about 6-8 minutes per side. Bone-in pieces take longer, around 20-30 minutes total.
Use a thermometer to guarantee they reach 165°F for safe, juicy results.
How to Cook Chicken Thighs Step by Step?
You’ll pat chicken thighs dry, season them, then heat oil in a skillet. Cook skin-side down until crispy, flip, and cook until 165°F inside.
Let rest, optionally adding butter or broth for extra flavor.
How Long Are You Supposed to Fry a Chicken Thigh?
You should fry chicken thighs for about 20-25 minutes total, especially if bone-in and thick.
Make certain the internal temperature hits 165°F to guarantee safety and juiciness—you don’t want to undercook or dry them out!
Conclusion
So, who knew that crispy, juicy chicken thighs could come from just a hot pan and some patience? You don’t need fancy gadgets or complicated recipes—just good thighs, a little seasoning, and some love (and maybe a bit of garlic and wine).
Next time you’re tempted to order takeout, remember: mastering pan-fried chicken is way easier than it sounds. Your taste buds—and wallet—will thank you.
Who’s the chef now? Pan frying chicken thighs is a simple, delicious way to enjoy a homemade meal that rivals any restaurant dish.