How to Do and Replace a Window Pane in 7 Simple Steps
Replacing a window pane might seem like defusing a bomb, but it’s actually a straightforward task you can tackle yourself. With the right window pane replacement tools and careful measuring, you can achieve a clean, secure fit without the need for professional help.
If you take your time measuring carefully and follow some practical steps, you’ll avoid costly mistakes and get a clean, secure fit. Before you pick up the tools, it’s important to understand the process fully—because the right technique makes all the difference when handling glass safely and effectively.
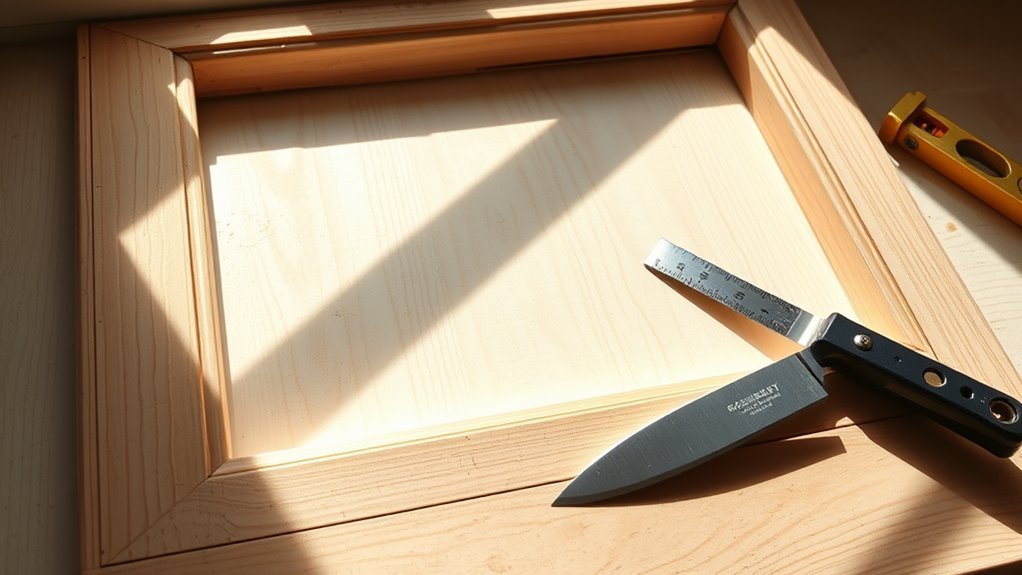
Measure the Window Opening Accurately
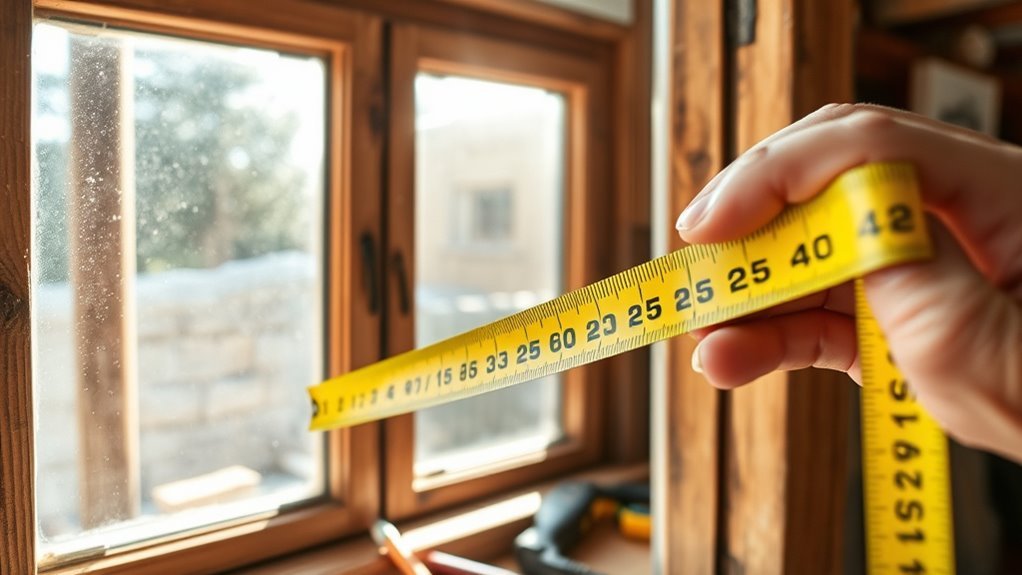
Using a tape measure, start by measuring the width and height of the window opening from the inside edges of the frame.
To guarantee measurement accuracy, take several measurements at different points: top, middle, and bottom for width; left, center, and right for height. This helps detect any irregularities or warping in the frame size.
Measure width at top, middle, bottom and height at left, center, right to spot frame irregularities.
Use these measurement points to get precise measurements essential for accurate glass dimensions.
Round each measurement to the nearest 1/16 inch, then subtract about 1/8 inch from both width and height to allow for proper fitting and expansion.
Double-check all window measurement data with your measurement tools before ordering or cutting replacement glass to prevent costly mistakes and ensure a perfect fit.
Remove the Old Glass and Putty Safely
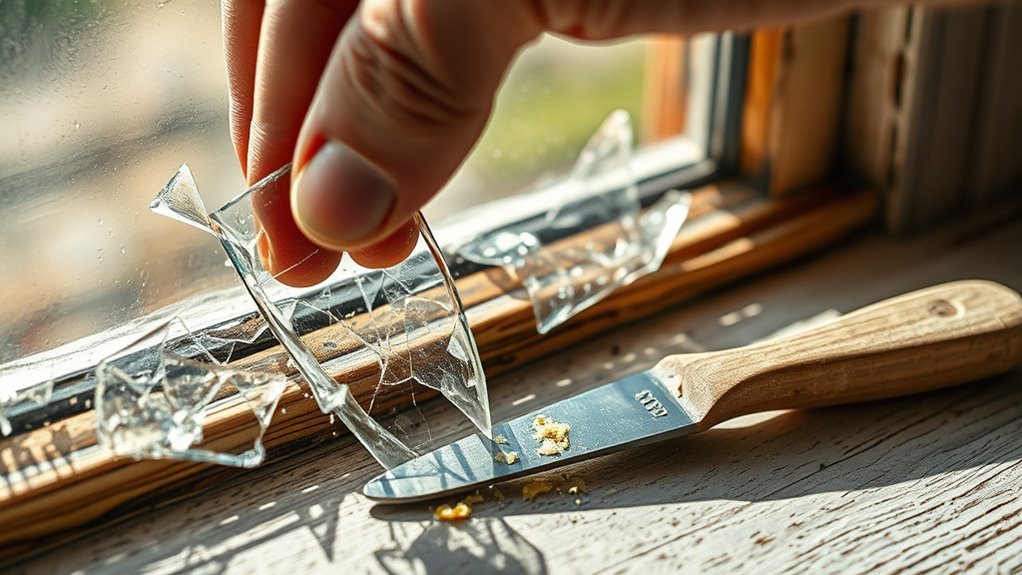
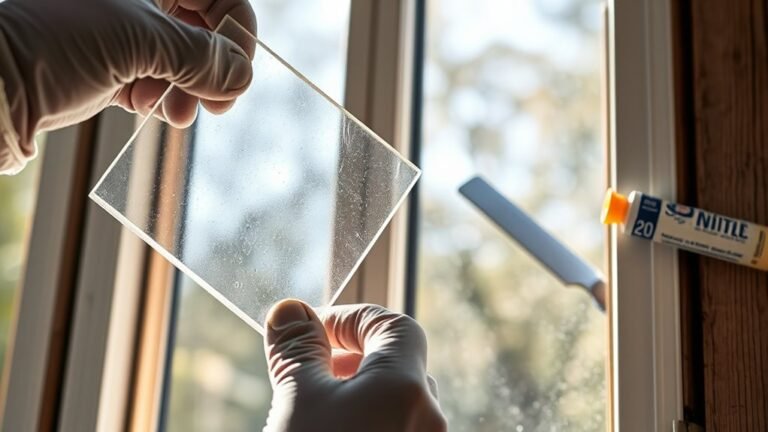
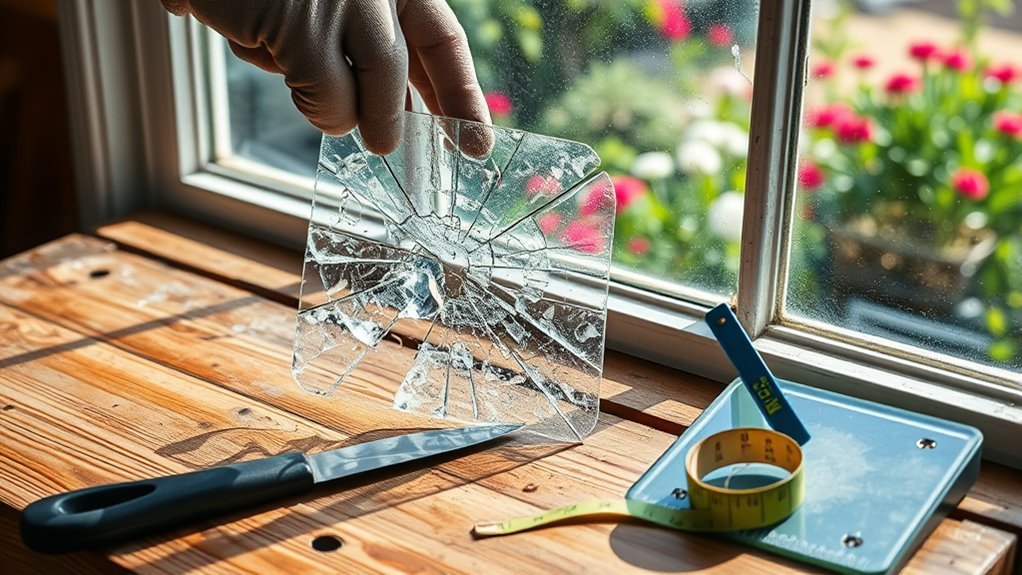
Before you start removing the old glass and putty, make sure you’re wearing heavy-duty gloves and safety glasses to protect yourself from cuts and eye injuries. If the glass is broken, cover it with a thick cloth and tap gently to loosen shards safely.
Use a putty knife or chisel to carefully remove the old glazing putty around the frame, softening it first with heat if needed. Pry out any glaziers points holding the glass in place, then lift out the old glass carefully.
Once removed, thoroughly clean the frame and remove all debris from the rabbet to ensure a smooth surface. Keeping the frame clean and free of old glazing putty prepares you for installing the new glass securely.
Prepare the Window Frame and Rabbets
Once you’ve removed all the old glass and putty, you need to prepare the window frame and rabbets carefully. Start by removing any remaining old putty and glazing points from the rabbet to ensure the new glass seats properly.
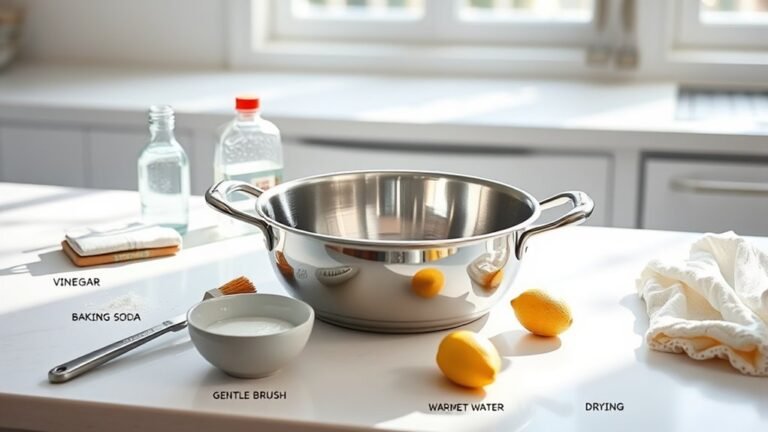
Next, sand the window sash’s rabbet with coarse sandpaper to create a smooth surface. Be sure to clean the rabbet thoroughly, removing dust and debris for a secure bond.
Then, measure window opening dimensions accurately, subtracting about 1/8 inch to allow for expansion and a proper fit.
Finally, apply a coat of exterior primer to the prepared rabbet area. This step enhances adhesion and weatherproofs the frame, ensuring your replacement pane stays secure and sealed.
Preparing the frame well sets the stage for a successful installation.
Cut and Fit the Replacement Glass Pane
Though measuring the window opening carefully is crucial, you’ll want to subtract about 1/8 inch from both the height and width to guarantee the replacement glass fits snugly without binding. Use your measurements to mark the glass, then score the cut glass firmly with a glass cutter along a straight edge.
Wearing safety gloves, snap glass carefully over a stable surface along the score line. Check the cut glass against the window frame’s opening and trim if needed for a precise fit. Finally, smooth edges before placing the pane.
| Step | Tip |
|---|---|
| Measure | Subtract 1/8 inch for fit |
| Score Glass | Use steady pressure |
| Snap Glass | Wear safety gloves |
| Trim & Smooth | Ensure precise fit & safety |
Apply Glazing Putty to Secure the Glass
After fitting the glass pane snugly into the frame, you’ll want to secure it firmly using glazing putty. Begin by kneading the glazing putty until it’s warm and pliable, making it easier to mold around the glass edges.
Roll the putty into a rope about ¾ inch thick to fit snugly into the rabbet.
Press it firmly into the rabbet, making sure to fill gaps and create a continuous seal around the glass.
Use a putty knife held at a 45-degree angle to smooth and shape the putty, removing any excess for a neat finish.
This process seals around the glass, providing a durable seal that protects against moisture and drafts.
Let the putty harden for about a week before painting.
Install Glazier Points for Extra Support
Because glazing putty alone mightn’t hold the glass firmly, you’ll want to install glazier points for extra support. These small metal clips form a vital support system that helps secure the window pane firmly within the sash.
To guarantee even support, insert glazier points approximately every 4 to 6 inches along the edges of the glass. Use a putty knife or glazier’s tool to gently slide each point into the wood, making sure they lie flat against the glass.
Proper support placement is key to preventing any glass movement. When pressed securely, glazier points enhance window stability, providing reliable support for the glass and preventing shifting before you apply the final glazing putty.
This step ensures your window remains safe and strong over time.
Smooth, Prime, and Paint the Finished Frame
Once you’ve secured the glass with glazier points and applied the glazing putty, give the putty about a week to harden completely.
Next, sand the frame lightly to smooth any rough edges.
Then, use a brush or roller to apply an oil-based primer evenly across the entire frame, ensuring thorough coverage for better paint adhesion.
Allow the primer to dry fully before moving on.
Apply at least two coats of high-quality paint, letting each coat dry completely between applications.
Use a fine brush to carefully paint corners and detail areas for a neat, professional finish.
Finally, inspect your work for any missed spots or uneven coverage, touching up as needed.
This smooth, primed, and painted finish will protect your window and enhance its appearance.
Frequently Asked Questions
How Do I Replace a Window Pane?
You’ll carefully remove the broken glass, clean the frame, and measure for a new pane.
Then, secure the new glass with glazier points, apply fresh putty, and let it cure before painting or sealing for a proper finish.
How to Replace a Window Step by Step?
First, measure and remove the old glass carefully. Clean the frame, apply glazing putty, set the new pane, secure it with points, smooth the putty, and let it cure before painting.
You’ll have a fresh window!
Can You Replace Just One Window Pane?
Yes, you can replace just one window pane without swapping the whole frame. It’s like fixing a single cracked tile—measure, order matching glass, remove the damaged pane, then seal and secure the new one carefully.
How to Take a Window Pane Out of the Frame?
You’ll start by removing old putty and glazing points with a putty knife or pliers.
Then, carefully break or lift out the glass, wearing gloves and safety glasses to protect yourself from shards.
Conclusion
So, you’ve measured, chipped, sanded, and wrestled with glass like a pro—congratulations! Now, sit back and admire your masterpiece, a window so snug even the nosiest neighbor won’t sneak a peek.
Remember, glazing putty isn’t just decoration; it’s your glass’s superhero cape, holding everything together. With a little patience and elbow grease, you’ve turned a pane of trouble into a pane of pride.
Who knew replacing glass could be this satisfying? This simple window pane replacement process proves that with the right tools and know-how, anyone can do it. Enjoy your perfectly sealed, clear window and the satisfaction of a job well done!