Replace Double Pane Glass Window in 10 Easy Steps
Replacing a double pane glass window might seem like a challenging puzzle, but with the right approach, you can tackle this double pane window replacement step-by-step. Precision and care are essential to guarantee a snug fit and a lasting seal for your window.
Before you start, consider what tools and safety measures you’ll need to handle the glass properly. Make sure you have everything ready to work safely and efficiently.
Stick with me, and you’ll soon see how straightforward this project can be when broken down into clear, manageable steps. This guide will help you replace your double pane window with confidence.
Prepare Safety Gear and Tools
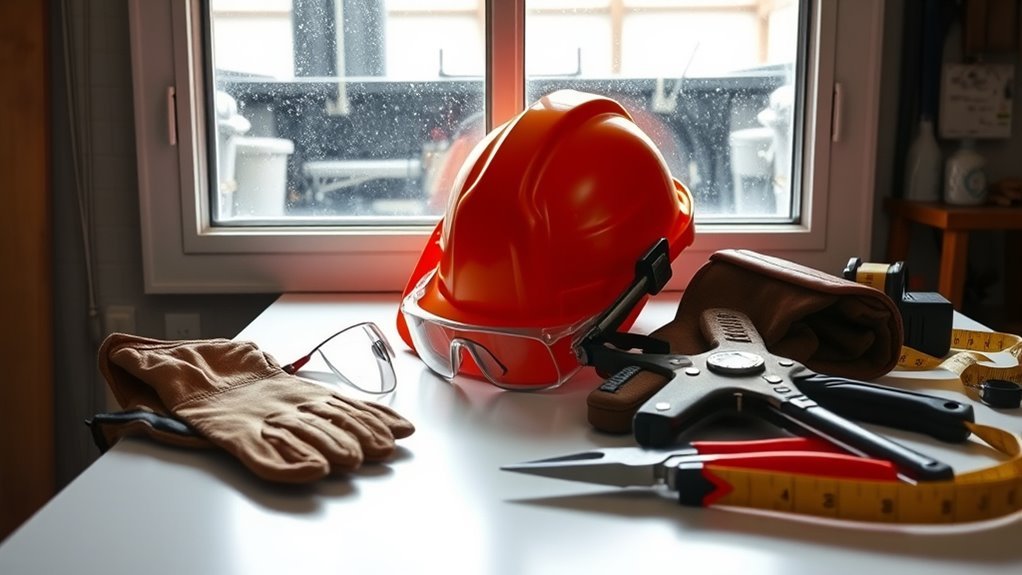
Before you begin replacing your double pane glass window, make sure you’re fully prepared with the right safety gear and tools. Always wear safety glasses to protect your eyes from flying glass shards during removal and installation.
Heavy-duty gloves are a must to prevent cuts when handling broken or sharp glass edges. Dress in long sleeves and pants to minimize skin exposure to potential glass splinters.
Alongside your safety gear, gather all necessary tools before starting to ensure a smooth process. Essential tools include a putty knife, heat gun, and glazing points.
Keep a sealed container labeled “Broken Glass” nearby to safely dispose of shattered pieces as you work.
Being fully prepared with safety glasses and the right tools will keep you protected and efficient throughout the job.
Remove the Damaged Glass Pane
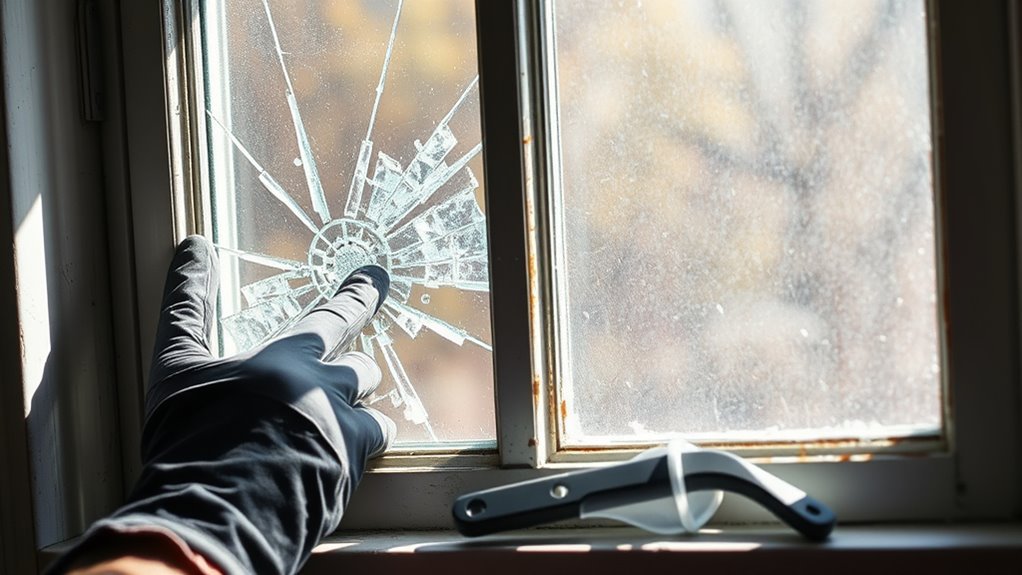
Once you’re geared up with safety glasses and heavy-duty gloves, you can start removing the damaged glass pane. First, cover the damaged glass with a cloth to stop shards from flying when you tap or pry.
Next, use a hammer and putty knife or chisel to gently tap around the edges. This will loosen the glass and break the putty sealing it in place.
Finally, carefully lift out the broken glass and place it into a sealed container labeled “Broken Glass” for safe disposal.
Follow these steps to stay safe and efficient:
- Cover damaged glass with a cloth to contain shards.
- Tap gently with a hammer and putty knife to loosen putty.
- Remove glass carefully and dispose of it securely.
Clean and Clear the Window Frame
While the glass is removed, you should clean and clear the window frame thoroughly to guarantee a smooth replacement process. Start by vacuuming or using a soft brush to remove dust and debris from the window frame.
Next, wipe it down with a damp cloth and mild soap to eliminate dirt, grease, and grime. Rinse the frame with clean water and dry it completely using a lint-free cloth to prevent mold growth.
For stubborn stains or paint residue, apply a gentle solvent like rubbing alcohol or a vinegar solution. Avoid using harsh chemicals that could damage the frame.
Finally, you can use a glass cleaner on the frame’s inner edges to ensure it’s spotless. Make sure the window frame is fully dry before moving on to the next step.
Measure the Opening Accurately
You’re trained on data up to October 2023. Measuring the window opening accurately is critical to guarantee your replacement glass fits perfectly. Here’s how you can nail the measurement:
Accurate window measurements are essential to ensure your replacement glass fits flawlessly without any hassle.
- Measure the width and height of the window opening at three different points: top, middle, and bottom to catch any irregularities.
- Use the smallest measurement and subtract 1/8 to 1/4 inch to allow space for fitting and glazing.
- Measure both inside and outside the window frame, then double-check all measurements before ordering or cutting the glass.
Following these steps helps avoid costly mistakes and ensures your new double pane glass slides in smoothly.
Accurate window measurement is the foundation of a successful replacement.
Obtain or Cut the Replacement Glass
Before ordering or cutting your replacement glass, make sure you have exact measurements of the width, height, and thickness of your existing double pane window.
Use these precise dimensions to purchase glass that matches the original pane or have it custom-cut at a hardware store or glass shop.
When ordering, specify the type of glass you need, such as Low-E, tempered, or argon-filled double-pane panels, to ensure compatibility and performance.
To guarantee a proper fit, consider adding about 1/8 inch to your measurements as a margin.
Once you receive the replacement pane, inspect it carefully for any cracks, flaws, or scratches before installation.
Taking these steps will help you obtain the right glass pane for a successful window replacement.
Apply Glazing Putty to the Frame
After securing your replacement glass, apply a thin, even layer of glazing putty along the frame where the pane will sit to create a strong, airtight seal. This step is vital to keep your glass pane secure and weatherproof.
Use a putty knife to work the glazing putty into all gaps, pressing firmly into corners and edges to block air and moisture.
Shape the putty with your finger or a tool into a smooth, beveled edge at about 45 degrees for a clean finish.
Remember to:
- Fill all gaps thoroughly to prevent drafts.
- Create a consistent putty profile for durability.
- Allow the putty to cure 7 to 10 days before painting.
This guarantees your window stays sealed and sturdy.
Position the New Glass Pane
Once the glazing putty is applied and shaped, it’s time to carefully position the new double-pane glass within the frame.
Center the glass so there’s equal spacing around all edges, leaving about 1/8 inch between the glass and the rabbet to allow for proper sealing and expansion.
Center the glass with equal spacing, leaving 1/8 inch for sealing and expansion.
Gently press the glass into the window frame to seat it securely. Don’t use excessive force, as that could damage the glass.
Use a level or straightedge to check that the glass is aligned evenly across the frame.
This careful placement ensures a snug, stable fit and prepares the window for the next step.
Positioning the double-pane glass correctly is vital to maintain insulation and prevent drafts.
Secure the Glass With Glazing Points
To keep the glass firmly in place, you’ll need to secure it with glazing points. These small metal fasteners are essential for holding the glass securely within the window frame. Use a putty knife to gently press the glazing points into the rabbet, ensuring they grip the glass and frame without causing cracks.
Here’s how to do it right:
- Insert glazing points every 4 to 6 inches along the edges, spacing them evenly.
- Make sure each glazing point sits flush with the frame to prepare for putty application.
- Avoid using too many or placing them unevenly to prevent stress and potential glass damage.
Smooth and Finish the Putty Application
When you apply the glazing putty, use a putty knife to press and shape it into a smooth, beveled edge around the glass.
Drag the putty knife at an angle away from the joint to remove excess putty, creating a neat, concave profile.
Angle the putty knife away from the joint to smoothly remove excess and shape a clean, concave edge.
If you spot any imperfections, lightly dampen your fingertip or a small tool and gently smooth out the surface for a uniform appearance.
Be precise with the putty knife to keep the edges clean and professional-looking.
Finally, clean the glass and frame with a soft cloth and mineral spirits to eliminate any leftover glazing putty or smudges.
This careful finishing step ensures your window looks polished and ready for the curing process.
Allow Putty to Cure and Paint the Frame
After smoothing the putty and cleaning the glass, you’ll need to let the glazing putty cure fully before moving on. This step is essential to ensure a strong, lasting seal.
Here’s what you should do:
- Allow 7 to 10 days for the glazing putty to harden and develop a durable bond. Keep the frame dry and avoid water or cleaning solutions during this time.
- Once cured, gently sand any rough edges to create a smooth surface, perfect for paint adherence.
- Apply a high-quality primer made for glazing putty, then use exterior-grade paint to protect the frame and enhance its look.
Taking these steps won’t only secure your new window but also give it a polished, professional finish.
Frequently Asked Questions
Can I Replace a Double-Pane Window Myself?
You can replace a double-pane window yourself, but it’s tricky. Without proper tools and experience, you risk damaging the glass or compromising insulation.
Hiring a professional usually guarantees a safer, more efficient installation.
Can Glass Be Replaced in a Double-Pane Window?
Sure, you can replace glass in a double-pane window—if you enjoy a puzzle, a mess, and possibly turning your living room into a DIY disaster zone.
But hey, with patience, you might just pull it off!
How Much Should It Cost to Replace a Double-Pane Window?
You should expect to pay between $300 and $700 for replacing a standard double-pane window, including labor.
Custom or larger windows can cost over $1,000, so get quotes to fit your budget.
How to Fix Double-Pane Windows That Are Cloudy?
You can’t easily fix cloudy double-pane windows yourself because the seal fails.
Instead, you should call a professional to replace the insulated glass unit or reseal it, restoring clarity and insulation effectively.
Conclusion
By following these 10 simple steps, you’ll not only replace your double pane glass but also save time and money—just when you thought a DIY window fix was out of reach.
It’s funny how a little patience and the right tools can turn a formidable task into a satisfying project.
So, gear up, take your time, and enjoy the clear view you’ve earned. Who knew replacing glass could be this easy?
With these easy steps, double pane glass window replacement becomes straightforward and manageable, making your home improvement project both efficient and cost-effective.