7 Easy Steps to Decorate a Cake Baked in a Tube Pan
You might not realize that cooling your tube pan cake properly is key to achieving a smooth, even finish when decorating. Proper cooling helps prevent soggy layers and uneven frosting, which no one wants. This crucial step sets the foundation for successful cake decoration.
Skipping this step can lead to disappointing results, with frosting that doesn’t adhere well or looks messy. Once you master this initial phase, you’ll find applying the crumb coat and piping decorations much easier.
Understanding these foundational steps will change how you approach cake decoration entirely, setting you up for success with every bake. Taking the time to cool your cake thoroughly ensures a beautiful, professional-looking finish every time.
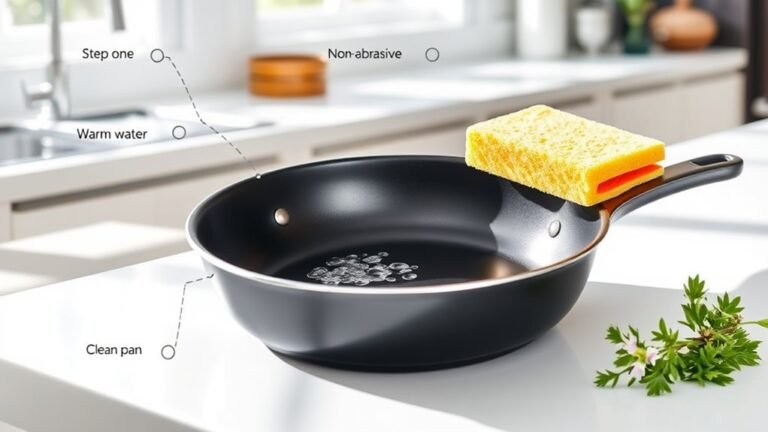
Allow the Cake to Cool Completely

Before you start decorating, let the cake cool in the pan for 10 to 15 minutes to avoid breaking it when you remove it. Once it’s stable enough, turn the cake out onto a wire rack to cool completely.
This step is essential because it prevents moisture from building up underneath, which can lead to a soggy texture. Make sure the cake reaches room temperature before you move on to decorating.
If it’s still warm, your frosting might melt or slide off, ruining your design. Taking the time to cool your tube pan cake thoroughly gives you a stable, even surface to work with, so your decorations will look neat and stay in place.
Patience here really pays off for a flawless finish!
Apply a Thin Crumb Coat of Frosting
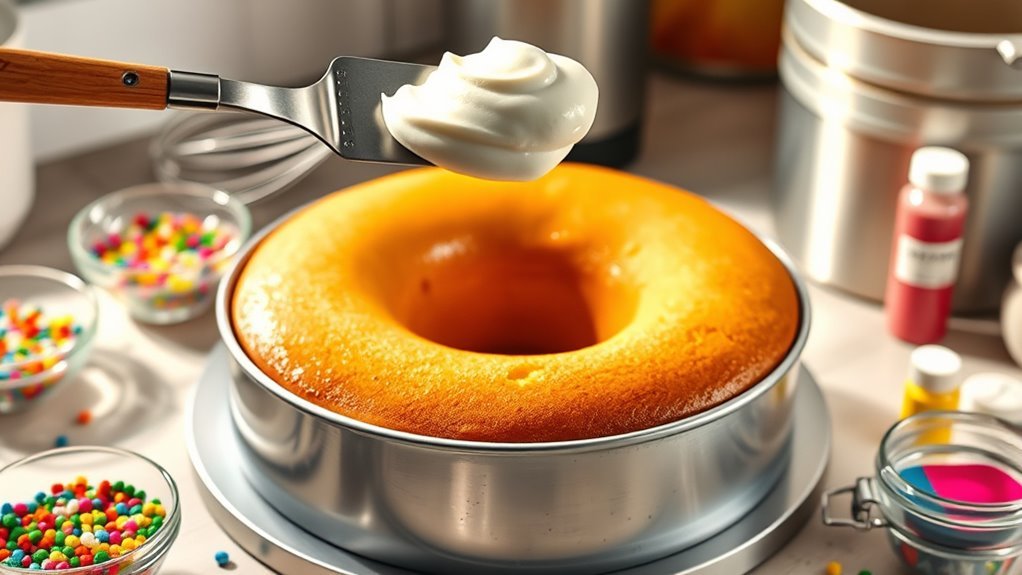
Once your cake has cooled completely, you can start applying a thin crumb coat of frosting. Use an offset spatula or a butter knife to spread a light, even layer of frosting over the entire cake.
After cooling, gently spread a thin crumb coat of frosting evenly over the cake using a spatula or butter knife.
This thin coat seals in crumbs and creates a smooth base for your final layer. Apply it gently with sweeping motions, ensuring the frosting is thin enough to let the cake’s surface show through. Avoid piling on too much frosting to prevent excess buildup.
This step helps keep your decoration clean and polished. After spreading the crumb coat, you’ll prepare to chill the cake, which will set the frosting and make your next layer easier to apply.
But for now, focus on an even, thin layer that covers every inch of the cake.
Chill the Cake to Set the Crumb Coat
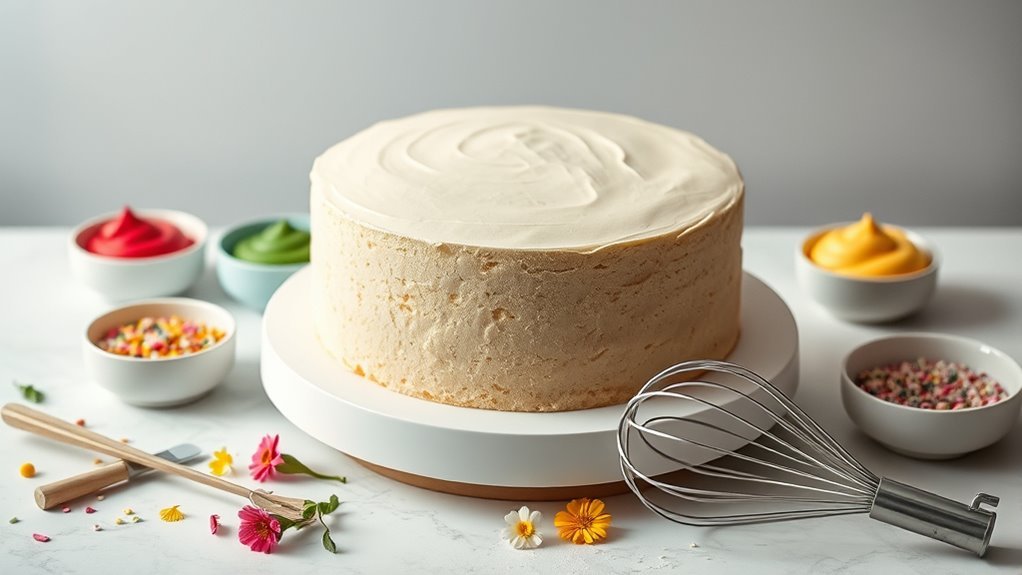
After applying the crumb coat, you’ll want to chill the cake in the refrigerator for at least 30 minutes. This step helps the thin layer of frosting set firmly, preventing crumbs from mixing into your final decoration.
Before applying the crumb coat, make sure your cake has completely cooled on a wire rack after resting in the pan for 10-15 minutes to avoid cracking.
Once cooled, the crumb coat becomes a stable base, making it easier to add the final frosting layer smoothly.
Skipping this chilling phase can cause your decorations to smudge or crumble. So, be patient and let your cake rest in the fridge.
This simple step guarantees a clean, polished finish on your beautifully decorated tube pan cake.
Choose Your Piping Tips and Colors
With your crumb coat chilled and set, you’re ready to bring your cake to life through decoration. Start by selecting piping tips that suit your design: star tips create textured patterns, while round tips produce smooth dots. Fit multiple piping bags with different tips so you can easily switch between styles as you decorate.
Next, choose colors that complement your cake’s theme using gel food coloring for vivid shades. Test each color and tip on a small surface to check for consistency and flow before applying to the cake.
Consider using contrasting colors to make details pop or harmonious shades for a subtle effect.
This preparation guarantees your decorations will stand out beautifully against the cake’s surface and achieve the look you want.
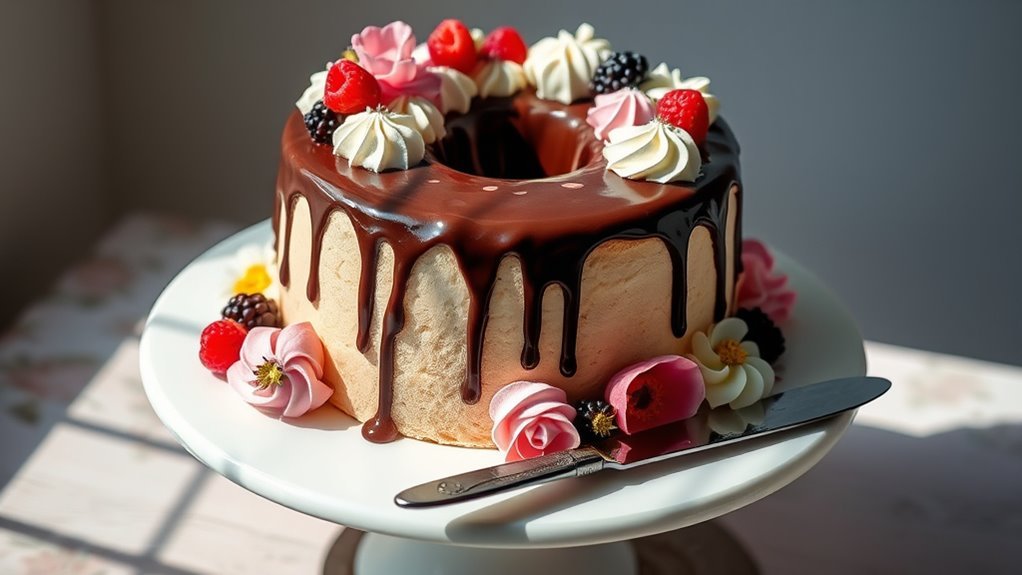
Pipe Stars Around the Top Edge
Start by fitting your piping bag with a star tip like #21 or #22 to pipe stars around the top edge of your cake. Hold the bag at a 45-degree angle and apply steady pressure to begin each star right at the tip.
Squeeze gently while moving slightly outward to create the star’s points. Be sure to space each star evenly to form a uniform border that enhances your cake’s appearance.
As you finish each star, lift the piping bag slightly to produce clean, sharp points. This technique guarantees your stars look consistent and professional.
Take your time, and don’t rush the process; the even spacing and crisp shapes make a big difference in the final look.
This simple border adds charm and polish to your decorated tube cake.
Add Dot Borders for Extra Detail
Although piping stars creates a lovely border, adding dot borders can bring extra detail and texture to your cake’s edges.
Adding dot borders enhances your cake’s edges with extra detail and charming texture.
To start, fit a small round piping tip onto your bag filled with smooth icing, making sure there are no air bubbles for consistent flow.
Hold the bag steadily and apply even pressure to pipe uniform dots along the cake’s edge.
For a more dynamic look, vary the size of the dots while keeping their spacing even to maintain balance.
This technique adds a polished, professional touch without much effort.
Take your time to keep the dots neat and consistent, and you’ll elevate your tube pan cake’s decoration with this simple yet effective detail.
Finish With a Dusting or Glaze
When you want to give your tube pan cake a polished finish, adding a dusting or glaze can make all the difference. A light dusting of powdered sugar or cocoa powder adds simple elegance, while a warm glaze like fruit jam or chocolate creates a shiny, flavorful surface.
Use a fine sieve to evenly sprinkle dusting ingredients for a professional look. For glazes, gently warm and pour over the cooled cake to avoid cracks and ensure smooth coverage. Customize both with flavors and colors to match your cake’s theme or occasion.
| Finish Type | Tips for Best Results |
|---|---|
| Dusting | Use fine sieve for even coating |
| Glaze | Warm gently, pour on cooled cake |
| Both | Customize flavors and colors |
Frequently Asked Questions
How Long Do You Wait to Flip a Cake Out of a Bundt Pan?
You should wait about 10-15 minutes before flipping a cake out of a bundt pan. This lets it firm up, so it holds its shape and comes out cleanly without breaking or sticking to the pan.
How to Keep Cake From Sticking to a Tube Pan?
You’ll keep your cake from sticking by thoroughly greasing the pan, dusting it with flour or cocoa powder, and lining the bottom with parchment paper.
Let it cool slightly before loosening the edges and inverting carefully.
What Is the Liquid That Cake Decorators Use?
Like a painter’s brush, you’ll use royal icing—a liquid of powdered sugar and egg whites—or thinned buttercream. Gel food colors and glazes add flair, while flavored syrups bring taste and moisture to your decorations.
How Do I Decorate My Bundt Cake?
You decorate your bundt cake by glazing it smoothly, then piping borders or designs with a bag and tip. Add fresh fruit or sprinkles on top, and finish with a dusting of powdered sugar or cocoa powder.
Conclusion
Now that you’ve mastered these simple steps, savor the satisfaction of a stunning, smoothly frosted tube cake. By cooling carefully, coating confidently, and creatively crafting charming decorations, you’ve turned baking basics into beautiful brilliance.
Remember, patience perfects every piped pattern, and practice polishes your pastry prowess. So, keep experimenting with colors and contours, and watch your cake creations captivate countless celebrations with colorful, charming charm!
With these 7 easy steps to decorate a cake baked in a tube pan, your skills will continue to grow, making each cake more delightful than the last. Embrace the process and enjoy the delicious artistry of cake decorating!