How Should a Fracture Pan Be Positioned in 10 Essential Steps
When you need to position a fracture pan, doing it correctly is vital for patient comfort and hygiene. Proper fracture pan positioning is essential to ensure safety and prevent spills during use. It’s not just about sliding the pan under—there’s a careful process to follow that guarantees safety and prevents spills.
If you skip a step or rush, it can lead to discomfort or complications. Understanding the key actions you must take will help you perform this task efficiently and respectfully. Let’s walk through the essential steps together.
Prepare the Necessary Supplies and Perform Hand Hygiene
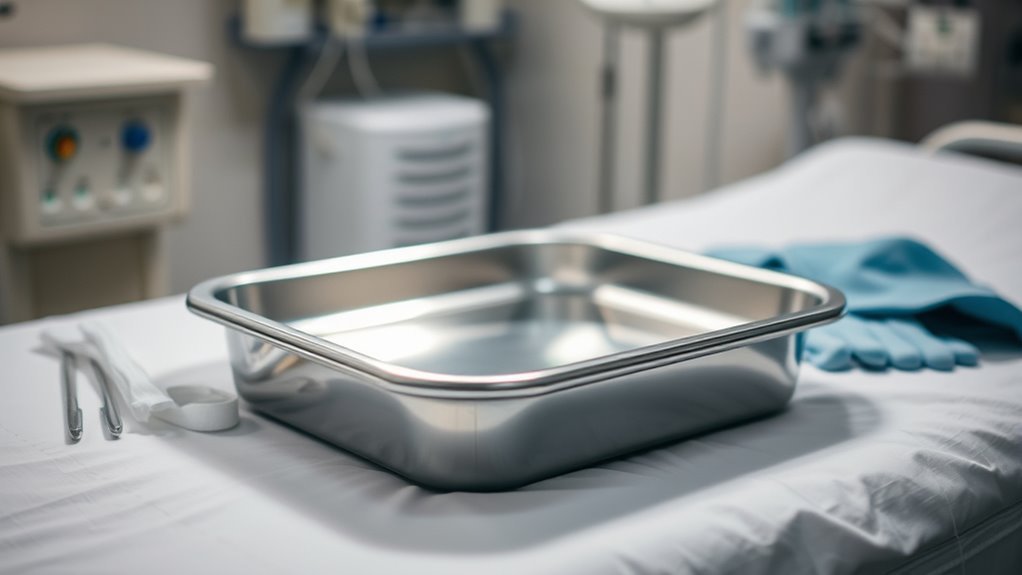
Before you begin, gather all necessary supplies such as the fracture bedpan, gloves, barrier, and toilet tissue to make certain a smooth procedure. Having everything ready prevents interruptions and helps you focus on the patient.
Gather all necessary supplies beforehand to ensure a smooth and uninterrupted procedure focused on patient care.
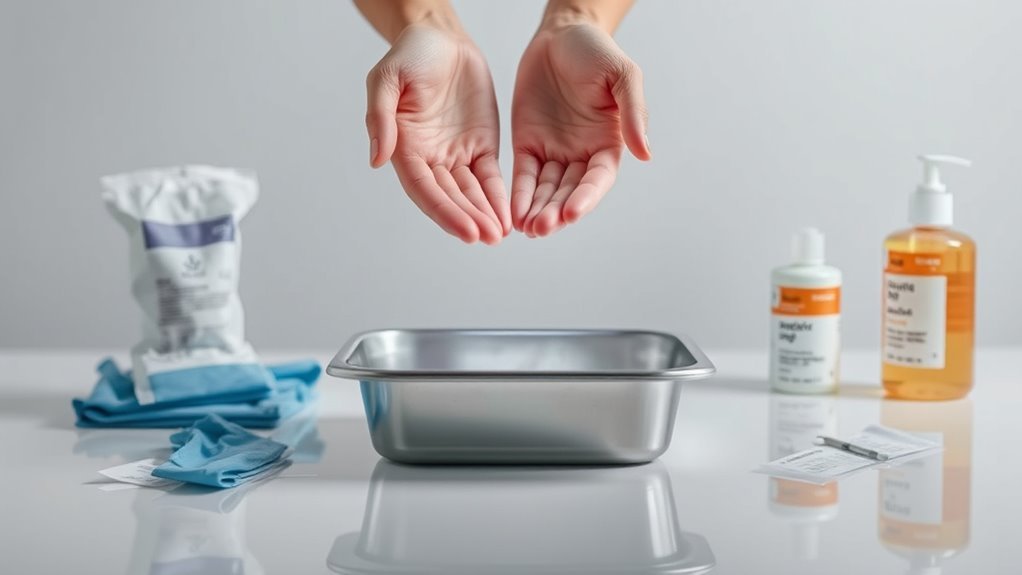
Next, perform thorough hand hygiene using soap and water or an alcohol-based sanitizer. This step is vital to reduce infection risk and protect both you and the patient.
Once your hands are clean, don disposable gloves to maintain a sterile environment during the process.
While preparing, ensure the patient’s privacy by closing curtains or doors and covering them appropriately.
Respecting privacy not only protects dignity but also promotes comfort.
Communicate Clearly With the Patient and Provide Privacy

After gathering supplies and ensuring your hands are clean, focus on communicating clearly with the patient. Your communication sets the tone for comfort and cooperation.
Follow these steps to maintain privacy and ease anxiety:
- Explain the procedure simply and respectfully, emphasizing patience and the patient’s role in signaling readiness or need for help.
- Provide privacy by closing curtains or doors and covering the patient with a sheet or blanket during positioning to protect dignity.
- Maintain a calm, professional demeanor throughout, confirming the patient understands and feels respected to foster trust and comfort.
Clear communication and respect for privacy are essential. They help the patient feel dignified and secure during the fracture pan positioning process.
Adjust the Bed to a Comfortable Working Height
When you adjust the bed to a comfortable working height, you reduce strain on your back and shoulders while positioning the fracture pan. Set the bed so your elbows stay close to your sides, usually between 30 to 36 inches from the floor.
This height lets you reach the patient’s hips and legs easily without overextending. Always lock the bed and secure the wheels before adjusting to keep the patient safe. Use smooth controls to avoid sudden movements that may cause discomfort.
| Aspect | Recommendation |
|---|---|
| Working Height | 30 to 36 inches from floor |
| Bed Security | Lock bed, secure wheels |
| Positioning Ease | Reach hips and legs easily |
Proper bed height is key for safe, efficient bedpan positioning.
Position the Patient Supine With the Bed Flat
Adjusting the bed height makes it easier to position the patient supine with the bed flat. Proper positioning guarantees comfort and safety while using the fracture pan. Follow these essential steps:
- Lower the bed to a fully horizontal position, ensuring the patient lies flat on their back for correct alignment.
- Slightly elevate the patient’s head if they can tolerate it, enhancing comfort without compromising the flat bed position.
- Keep the patient covered with a sheet or blanket to maintain privacy, and make sure the bed is locked with wheels secured to prevent movement during positioning.
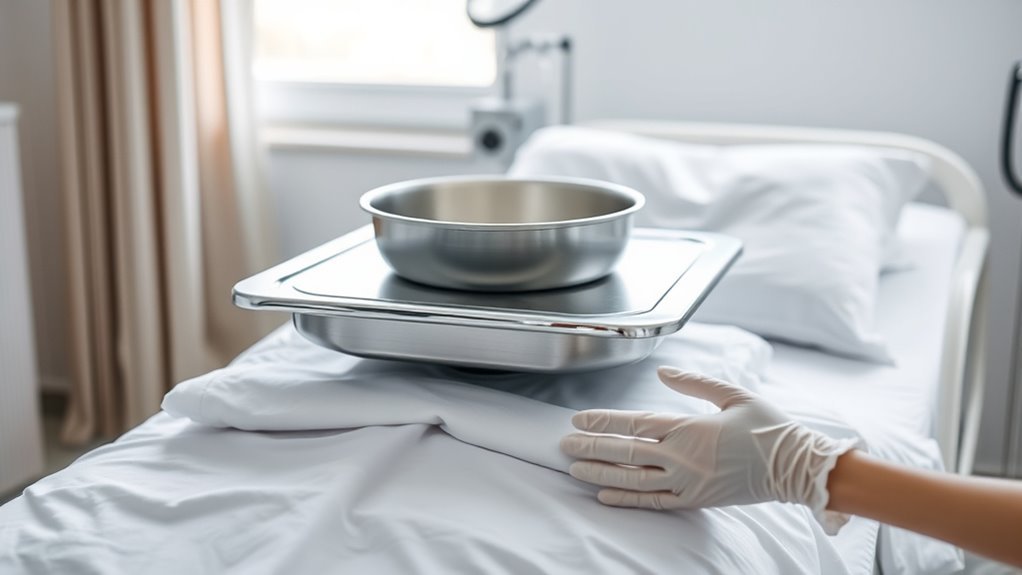
Don Gloves Before Handling the Fracture Pan
Because handling a fracture pan involves contact with bodily fluids, you must don disposable gloves to protect both yourself and the patient from infection. Gloves are essential for infection control, preventing cross-contamination between you and the patient.
Before you handle the pan, make sure your gloves are sterile or clean, depending on your facility’s protocol. Properly fitting gloves allow you to manage the pan safely and place it precisely where needed.
Skipping this step increases the risk of spreading germs and compromising patient safety. Always remember that putting on gloves is a critical part of the process, ensuring that both you and the patient remain protected throughout the procedure.
Don’t rush this step; it’s key to effective infection control.
Gently Lift or Roll the Patient to Expose the Hips
As you prepare to position the fracture pan, gently lift or roll the patient onto their side to expose the hips, taking care to minimize discomfort and guarantee safety throughout the movement.
Use proper body mechanics and support the patient’s back and shoulders to prevent injury.
Keep the patient covered with a sheet or gown to maintain privacy and dignity.
Before you begin, ensure the bed is locked and stable to avoid any accidents.
- Gently lift or roll the patient, supporting the hips and back firmly but carefully.
- Communicate each step clearly to help the patient stay calm and cooperative.
- Maintain proper support to avoid strain and keep the patient comfortable throughout the process.
Place the Fracture Pan Under the Patient’s Hips With Correct Orientation
Once the patient’s hips are exposed and supported, slide the fracture pan carefully under their buttocks. Make sure the larger, flat end of the fracture pan sits directly beneath the hips, with the deeper end oriented toward the patient’s toes.
This proper positioning guarantees the pan aligns with the natural body contours, providing comfort and preventing leaks.
Keep the pan flat against the skin, avoiding gaps that might cause discomfort or spillage.
As you position the pan, smooth out any bed linens to prevent wrinkles and maintain stability.
Properly aligning the fracture pan under the hips supports effective waste collection and minimizes pressure points.
Take care to keep the pan secure and correctly oriented before gently lowering the patient back onto it, ensuring their comfort and hygiene.
Center the Patient’s Buttocks Over the Pan Opening
To guarantee proper function and comfort, center the patient’s buttocks directly over the fracture pan opening. Proper pan positioning is vital to prevent spills and ensure effective waste collection.
- Gently adjust the patient’s hips so the entire buttocks align precisely with the pan’s opening.
- Ensure the pan is symmetrically placed under the buttocks with no edges hanging off to avoid leakage or discomfort.
- Check from the side to confirm the buttocks are fully supported and centered, with weight evenly distributed on the pan.
Confirm the Pan Is Stable and Secure
Although positioning the pan correctly is essential, you must also confirm it stays stable and secure beneath the patient’s hips. First, verify the fracture pan is flat and firmly positioned to prevent any shifting during use.
Ensure the fracture pan is flat and stable beneath the patient’s hips to prevent shifting during use.
Gently apply pressure to check that it’s stable and securely resting on the bed surface. Check the pan’s alignment with the patient’s body, making sure it’s centered to avoid accidental dislodgement or spillage.
Watch for any wobbling or tilting, and adjust as needed to maintain a secure fit.
Finally, after any repositioning, double-check that the pan remains stable and the patient feels comfortable. Keeping the pan stable and securely positioned helps ensure safety and effective use.
Elevate the Head of the Bed and Ensure Patient Comfort
When you elevate the head of the bed to a comfortable angle, you help reduce strain and make it easier for the patient to use the fracture pan. Proper positioning is essential for patient comfort and effective use.
To guarantee this:
- Elevate the head of the bed just enough to allow the patient to sit up slightly, promoting proper positioning and easier access to the pan.
- Adjust the bed’s height and angle before placing the fracture pan to align it ideally with the patient’s body, reducing the risk of spillage.
- Check in with the patient to confirm they feel comfortable and supported, preventing muscle strain and maintaining dignity during toileting.
Frequently Asked Questions
How Should a Fractured Pan Be Positioned?
You position the fracture pan by sliding its larger, flat end under the hips, angling the deeper end toward the toes.
Make sure it’s centered, stable, and doesn’t press on the fracture site for comfort and safety.
How to Position the Bed Pan?
You place the bedpan under the hips, aligning it with the body’s natural curves. Tilt it slightly upward at the back, ensuring the deeper end faces the toes for drainage.
Keep it stable and comfortable throughout use.
How Should a Standard Bedpan Be Positioned?
Back in the day, you position a standard bedpan by sliding the wider, curved end under the patient’s buttocks, flat end toward the feet, centering it beneath the hips.
This ensures comfort and stability before use.
What Is the Best Position for Using a Bedpan Quizlet?
You should position the patient in a Fowler’s position, elevate the bed head 30-45 degrees, and place the bedpan firmly under their hips, ensuring comfort and stability to avoid spills and encourage proper use.
Conclusion
Positioning a fracture pan is like planting a seed in a garden—you prepare the soil, place it gently, and guarantee it’s steady so it can serve its purpose without disruption. By following these steps carefully, you create a safe, secure space for your patient’s needs, just as a gardener nurtures growth with patience and care.
Remember, your thoughtful actions help comfort and support. Turning a simple task into a moment of trust and dignity is essential. Proper fracture pan positioning ensures patient safety and promotes healing.