10 Steps to Frost a Cake Baked in a Tube Pan
Frosting a cake baked in a tube pan is like dressing a sculpture—every curve and contour deserves attention. When it comes to frosting a cake baked in a tube pan, mastering the right techniques ensures your dessert looks as polished as it tastes. From cooling and removing the pan to applying a smooth, even layer of frosting, each step is crucial.
If you want your cake to look as polished as it tastes, you’ll need to master a few key steps, from cooling and removing the pan to applying a smooth, even layer of frosting. Keep these techniques in mind, and you’ll achieve a flawless finish that’s worth showing off.
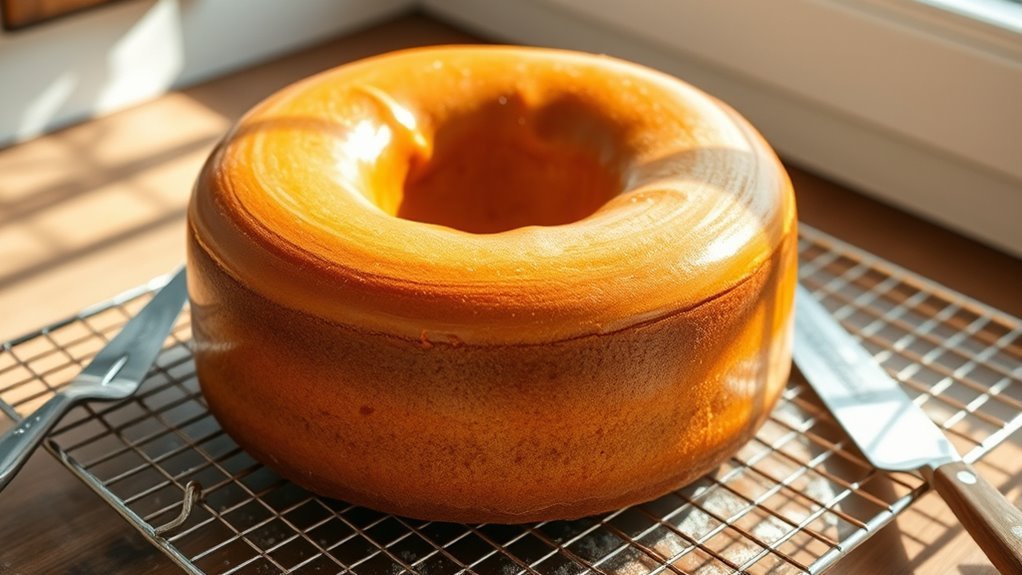
Cool the Cake Completely
Once your cake is out of the oven, let it cool in the pan for 15 to 20 minutes to prevent cracking. This initial cooling period helps the cake set slightly, reducing the risk of damage.
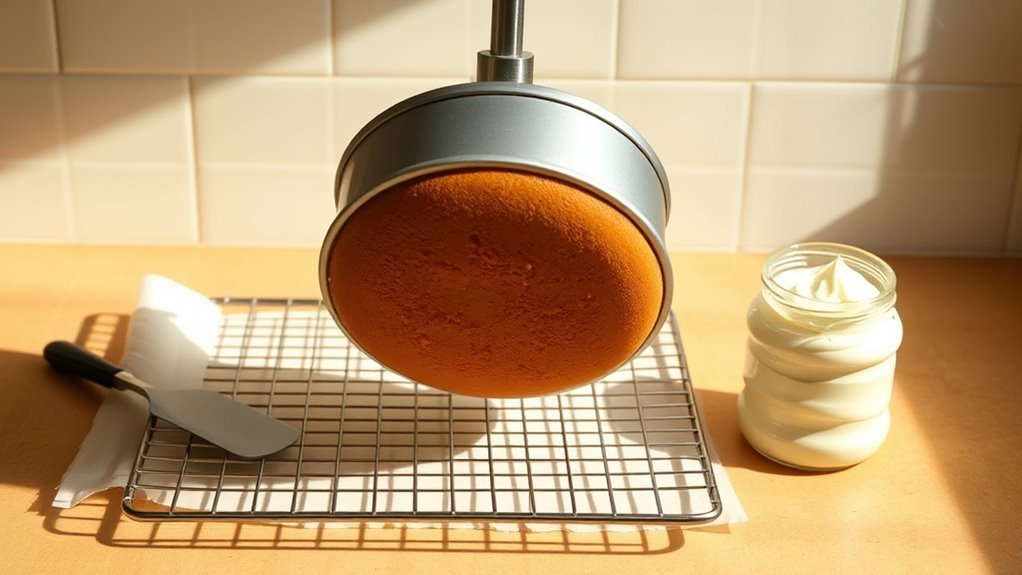
After that, invert the tube pan onto a wire rack to allow air to circulate freely around the cake during cooling. This promotes even cooling and prevents sogginess.
Make sure to remove the central tube and outer ring before the cake cools completely, so the cake cools uniformly.
Let the cake cool thoroughly on the wire rack until it reaches room temperature.
Cooling the cake completely at room temperature is essential before frosting, as it prevents the frosting from melting or sliding, and ensures your cake stays intact during decoration.
Remove Cake From the Pan Carefully
After your cake has cooled completely on the wire rack, it’s time to remove it from the pan. First, let it sit in the pan for 10-15 minutes to set.
Then, carefully run a thin knife or offset spatula around the edges to loosen edges stuck to the pan.
Gently run a thin knife or offset spatula around the edges to loosen the cake from the pan.
Next, invert the tube pan onto a wire rack or a towel-lined surface to gently turn out the cake.
Tap the bottom and sides of the pan lightly to release any spots still clinging. If the cake resists, use a spatula or your finger to ease it free without damaging its shape.
Taking these steps guarantees you remove cake from the pan cleanly, keeping it intact and ready for frosting.
Prepare Your Work Surface
Before you begin frosting your cake, clear and prepare your work surface to create a clean, flat area for decorating. Cover your workspace with parchment paper or a silicone mat to catch any drips or crumbs, making cleanup easier.
Gather all your tools, spatulas, turntables, and piping bags, so everything is within reach as you work. Having your tools organized on the workspace helps maintain your flow and focus.
Place a damp cloth nearby to quickly wipe spatulas and keep your work surface tidy throughout the process.
Finally, make sure your workspace is well-lit so you can see the details of your frosting clearly and work precisely.
A well-prepared work surface sets you up for successful cake decorating.
Apply a Thin Crumb Coat
Although it may seem simple, applying a thin crumb coat is essential to seal in crumbs and create a smooth base for your final layer of frosting. Start by spreading a thin layer of frosting evenly over the entire cake surface.
Applying a thin crumb coat seals crumbs and creates a smooth base for your final frosting layer.
Use an offset spatula to gently smooth the crumb coat, making sure you don’t apply too much frosting or leave gaps. This thin coat traps loose crumbs and prevents them from mixing into the final frosting layer, ensuring a cleaner finish.
Focus on covering all exposed cake surfaces with a light, even layer. Avoid thick peaks or uneven patches.
Applying this smooth crumb coat sets the stage for a flawless final frosting, giving your tube pan cake a polished, professional look.
Chill the Cake to Set the Crumb Coat
Once you’ve applied a smooth crumb coat, chilling the cake helps set the frosting and lock in those trapped crumbs.
After making sure your cake is at full cooling, completely cooled to avoid melting or sliding, wrap it tightly in plastic wrap to keep moisture in.
Place the cake in the refrigerator and chill the cake for at least 30 minutes.
Using a turntable during the crumb coat application makes chilling easier and more even.
You’ll know the crumb coat is ready when it feels firm to the touch.
This step is essential before moving on, as it stabilizes the frosting and prevents crumbs from mixing into the final layer.
Taking the time to chill the cake ensures a neat, professional-looking finish later on.
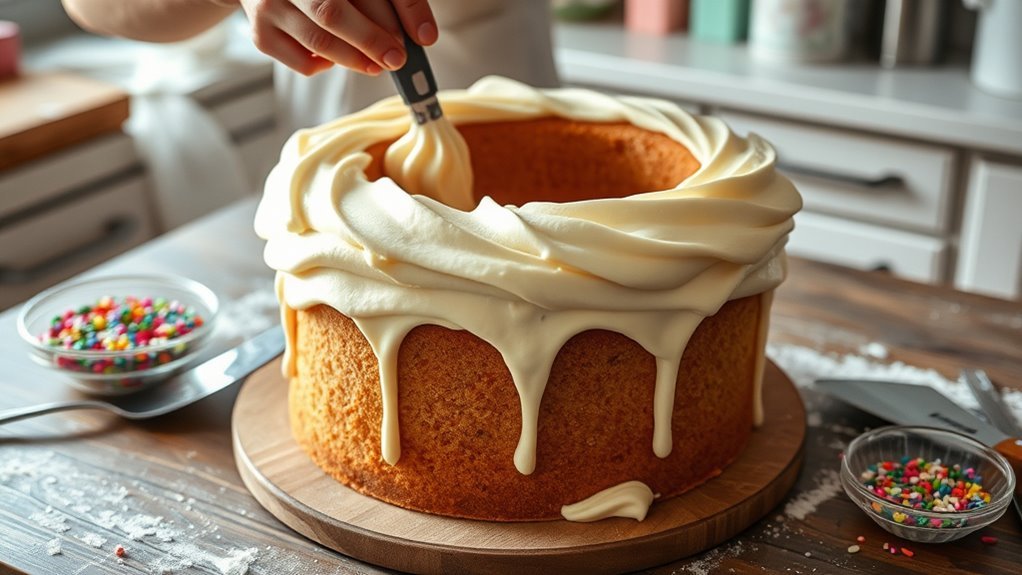
Smooth the Final Layer of Frosting
When you’re ready to apply the final layer of frosting, use an offset spatula or cake scraper to gently smooth the top and sides with even pressure.
To achieve a flawless finish, keep these tips in mind:
To achieve a flawless finish, follow these essential tips for smooth, even frosting application.
- Work in sections, starting from the top and moving down the sides for uniform coverage.
- Dip your spatula in hot water, then wipe it dry before smoothing to create a mirror-like surface.
- Remove excess frosting with a clean, damp spatula or cloth to enhance smoothness.
- Chill the cake for 30 minutes after the initial layer to help the frosting set and make smoothing easier.
Use an Offset Spatula for Precision
Because precision matters in cake decorating, using an offset spatula gives you better control over spreading frosting smoothly and evenly. Hold the offset spatula at a slight angle to glide effortlessly over your cake, which helps avoid tearing the frosting during application.
Use the flat side to gently lift and smooth the frosting, ensuring a smooth finish without bubbles or ridges. When shaping sharp edges or defined borders, angle the spatula carefully while pressing lightly for precise frosting application.
Remember to clean the spatula regularly to keep your work looking professional and free from smudges or excess frosting. This simple tool makes frosting a tube pan cake much easier and results in a beautifully even layer every time.
Smooth the Sides With a Cake Scraper
Although frosting with an offset spatula sets the foundation, smoothing the sides with a cake scraper perfects the finish. To get smooth sides, hold your metal or acrylic cake scraper at a slight angle.
Gently rotate the cake on a turntable while pressing the scraper steadily against the frosting.
Apply consistent pressure, working from the bottom upward to remove excess frosting evenly. Remember to wipe the scraper often with a damp cloth to prevent buildup and keep the sides clean.
Here’s how to achieve flawless smooth sides with your cake scraper:
- Hold scraper at a slight angle
- Rotate cake smoothly on a turntable
- Apply even, consistent pressure from bottom up
- Wipe scraper frequently to avoid frosting buildup
After smoothing, chill the cake for 15-20 minutes to set the frosting and maintain that sleek appearance.
Add Decorative Piping or Toppings
To elevate your cake’s appearance, add decorative piping or toppings that highlight its design. Grab a piping bag fitted with decorative tips like open or closed star to pipe stars, dots, or rosettes on the frosted surface. These textured borders and detailed designs create visual interest and enhance the cake’s elegance.
After piping, sprinkle toppings such as edible flowers, chocolate shavings, or colorful sprinkles for extra flair. You can also drizzle melted chocolate, caramel, or fruit coulis over the piped decorations to boost both flavor and appearance.
Finally, finish with a light dusting of powdered sugar or cocoa powder to add a subtle, refined touch. These steps transform your tube pan cake into a stunning centerpiece.
Refrigerate Before Serving
Once you’ve added your decorative touches, refrigerate the cake for at least 1-2 hours to let the frosting set and firm up. Chilling the cake guarantees the frosting won’t melt or slide off when you cut it, keeping your presentation neat.
Before you refrigerate, wrap the cake tightly in plastic wrap to keep it fresh and prevent drying out.
After chilling, allow the cake to sit at room temperature for 15-30 minutes to bring out the best flavor and texture.
Remember, refrigeration also stabilizes the cake’s structure, making slicing easier without crumbling.
Refrigerate to help the frosting set properly
Wrap tightly to maintain freshness
Chill to prevent frosting from melting
Let it rest post-refrigeration for top-notch taste and texture
Frequently Asked Questions
How to Prepare a Tube Pan for Baking?
You’ll want to grease the tube pan thoroughly, dust it with flour or cocoa powder, and optionally line the bottom with parchment paper.
Make certain it’s clean and dry before adding batter to ensure even baking and easy release.
What’s the Best Way to Frost a Bundt Cake?
Like painting waves on a canvas, you’ll drizzle smooth glaze over your Bundt cake, tilting it gently to let the icing cascade evenly.
Warm the frosting, pour slowly, then let it set for that glossy, perfect finish.
How Long Do You Wait to Flip a Cake Out of a Bundt Pan?
You should wait about 10 to 15 minutes before flipping your cake out of the bundt pan.
This brief wait helps the cake release easily without sticking or breaking, making sure it stays intact and beautiful.
Can You Put 2 Boxes of Cake Mix in a Bundt Pan?
Two boxes of cake mix can be a double-edged sword; you can use them if your Bundt pan holds the volume.
Just don’t overfill and watch baking time carefully to avoid a soggy center or overflow.
Conclusion
So, after all that waiting, cooling, chilling, and smoothing, you’ll finally frost your tube cake—only to realize the hardest part was patiently letting it set. Who knew that a simple cake could turn you into a part-time scientist, cake decorator, and professional procrastinator?
But hey, all that effort means your cake won’t just taste amazing—it’ll look like a masterpiece, too. Trust me, your patience will pay off bite by delicious bite. Following these 10 steps to frost a cake baked in a tube pan ensures your dessert is both stunning and scrumptious.